Restore Factory Camera After Retrofit Guide
Share
A new OEM-style screen should not cost you the camera feature you use every time you back into a trailer, pull out of a tight parking spot, or line up at the curb. If you need to restore factory camera after retrofit work, the issue is usually not the camera itself. It is typically a mismatch between the radio, the vehicle harness, the camera signal type, or the programming configuration.
That is good news. Most factory camera problems after an infotainment upgrade are diagnosable without replacing random parts. The right approach is to confirm how your specific Ram, Ford, Jeep, Dodge, or Chrysler system was equipped from the factory, then make sure the retrofit retains that same signal path.
Why a Factory Camera Stops Working After a Retrofit
Factory backup cameras are part of a larger vehicle network. The camera, radio or display module, body control systems, parking sensors, steering-angle data, and active guidelines may all communicate differently depending on the model year and original equipment package.
When a camera works before a screen or radio conversion but disappears afterward, the most common cause is that the new unit is not receiving the camera feed or has not been configured to recognize it. An OEM screen may physically fit the dash and still require the correct vehicle-specific harness, interface module, USB hub, antenna connections, or programming step to function as intended.
This is why universal radio installs often create headaches. A generic head unit can require video converters, retention modules, spliced wiring, and separate interfaces to preserve factory features. An OEM-based plug-and-play upgrade is designed around the truck's existing architecture, but fitment still matters. A 2019 Ram 1500 Classic and a 2019 Ram 1500 DT, for example, use different platforms despite sharing a model year.
Before ordering a replacement camera or assuming the retrofit screen is defective, verify the exact vehicle year, trim, radio family, factory screen size, and whether the truck originally had a camera. Those details determine the correct solution.
Restore Factory Camera After Retrofit: Start With the Basics
The fastest first check is simple: put the vehicle in Reverse with the ignition on and confirm what the new display does. A black screen, a blue screen, a "camera unavailable" message, or no change at all are different symptoms. Each one points to a different part of the system.
If the display switches to a black image, the radio may be receiving a reverse command but not a usable video signal. That can indicate an unplugged camera connector, an incompatible camera input, a damaged harness, or a missing interface.
If the screen never changes when Reverse is selected, the system may not be receiving the reverse-status signal. On an OEM conversion, this can be related to an incomplete harness connection, an unseated connector, incorrect module configuration, or software that does not match the vehicle.
If the camera image appears but guidelines, trailer lines, parking sensor graphics, or surround-view options are missing, the feed itself is working. The remaining issue is usually configuration or compatibility. Not every upgrade retains every graphic feature, particularly when moving between different radio generations or adding equipment the truck did not originally have.
A camera that displays upside down, flickers, rolls, or shows distorted color can point to a signal-format issue. Factory camera systems do not all use the same video format. Using an adapter intended for another platform may produce an image that is unstable or unusable.
Confirm the Retrofit Parts Match Your Truck
Vehicle-specific fitment is the foundation of a clean install. The radio or screen must match the correct generation of vehicle, and the supporting components need to match the radio family. On many OEM infotainment conversions, the screen alone is not the complete system.
Depending on the vehicle, a proper retrofit may involve the display, radio module, bezel, main harness, media hub, GPS antenna, microphone, and programming. Skipping a supporting part to save money can lead to a camera that works inconsistently, missing phone functionality, inactive USB ports, or persistent warning messages.
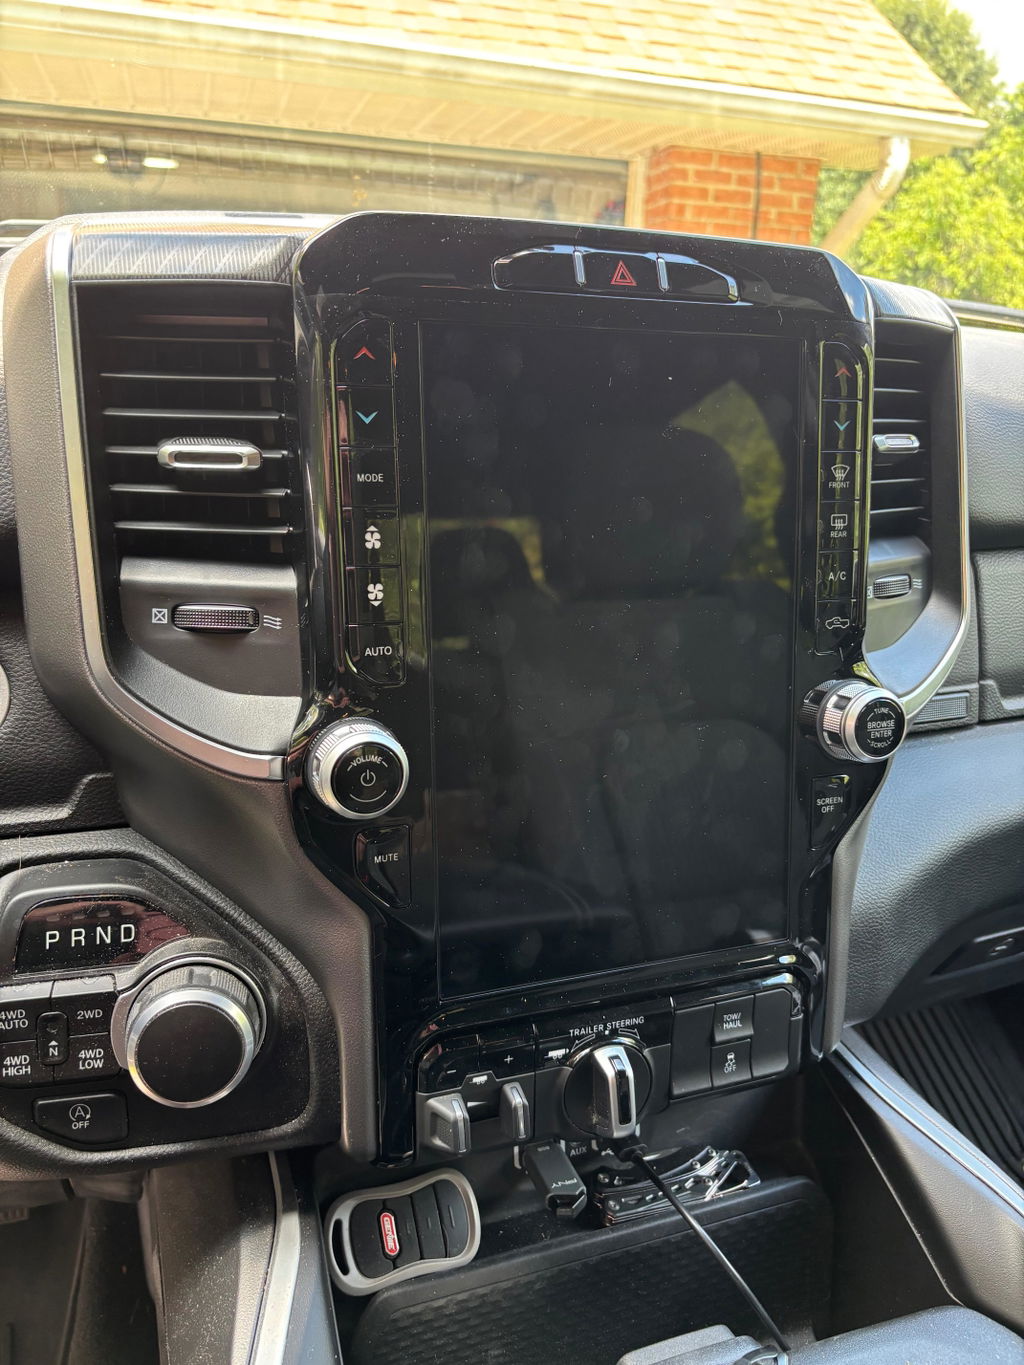
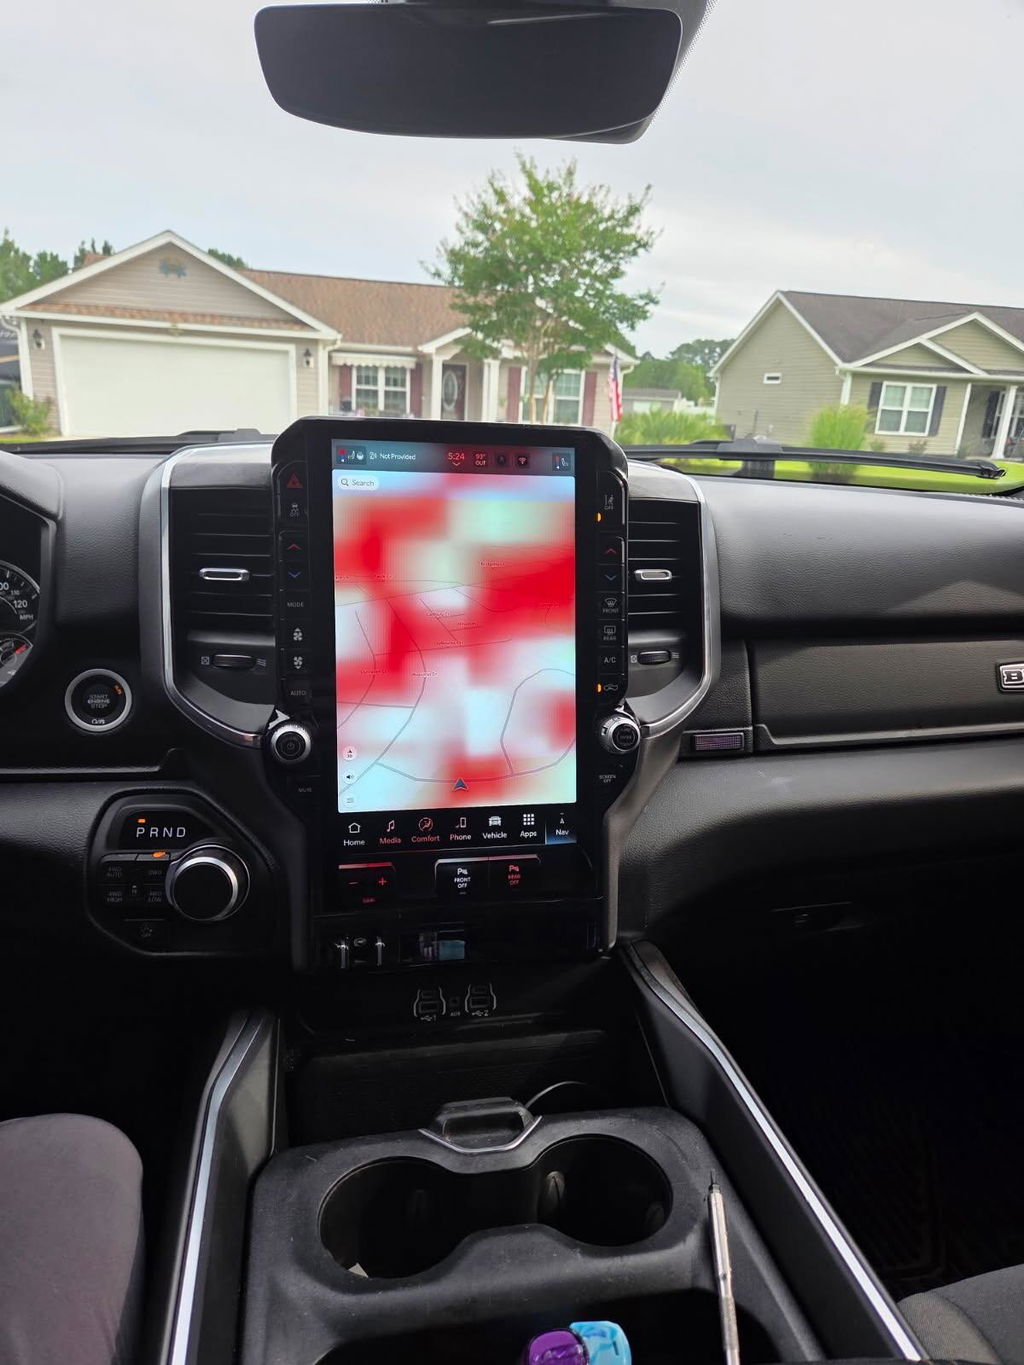
For Ram owners moving to a newer Uconnect system, the original camera may be retained when the upgrade kit is built for the correct truck platform and factory equipment. The critical detail is not just whether the truck is a Ram 1500. It is whether it is a Classic or DT body style, its model year, original radio configuration, and the camera equipment installed from the factory.
Ford applications require the same discipline. SYNC generation, screen size, factory camera type, and module configuration all affect the upgrade path. An F-150, Super Duty, Maverick, or Expedition can have several infotainment and camera configurations within the same production range.
Do not rely on a photo of the dash alone. Check the vehicle VIN, original build equipment when available, connector style, and current part numbers. This is the information that separates a true plug-and-play package from a collection of parts that may or may not communicate.
Inspect Connections Before Replacing Components
If the system was working before the retrofit, inspect the installation before buying a new camera. Disconnect the battery only when appropriate for the vehicle and follow the radio or kit instructions for your application. Then check each connector at the rear of the display, radio module, and vehicle harness.
Look for a connector that is partially seated, locked at an angle, pinned behind the dash, or installed in the wrong port. Many OEM connectors will click into place, but a click alone does not always confirm the secondary lock is fully engaged. A bent pin, loose terminal, or damaged connector shell can also interrupt the video feed.
Pay close attention to any camera retention harness or interface included with the retrofit. It should be routed without sharp bends, tension, or contact with metal brackets. If the dash has been reassembled tightly around the wiring, pull the unit back out far enough to inspect the harness path.
Avoid cutting or splicing factory camera wiring unless the installation specifically requires it. Factory circuits are more reliable when they remain intact, and unnecessary modifications make future diagnosis harder. OEM-compatible adapters and vehicle-specific harnesses are the cleaner route.
Programming Is Often the Missing Step
A factory camera can be physically connected and still remain inactive until the radio or vehicle modules are programmed correctly. This is especially common after installing a newer OEM radio, larger factory-style display, or a module sourced from another vehicle.
Programming tells the system which features the vehicle has. That can include rear camera input, active guidelines, parking sensors, trailer camera options, satellite radio, amplifier settings, and screen configuration. If the replacement radio was originally configured for a vehicle without a camera, it may need its settings updated before it will display the existing feed.
The correct process depends on the platform. Some applications require a compatible programmer that writes feature settings to the vehicle. Others need the radio configured to the VIN or equipped options. In certain cases, a dealer-level scan tool or qualified installer is the right choice, particularly when security gateway access, module initialization, or advanced driver-assistance features are involved.
Do not use random configuration files or attempt to enable features your truck does not support. Incorrect settings can create unrelated faults, disable expected functions, or cause a module to behave unpredictably. Program only the equipment that is actually installed on the vehicle.
Know When the Camera Itself Is the Problem
Not every failure is retrofit-related. Tailgate cameras live in a harsh environment, and factory units can fail from water intrusion, road debris, damaged wiring near the tailgate hinge, or corrosion at the connector. If a known-good factory radio also shows no image, the camera or its wiring deserves closer inspection.
A quick visual inspection can help. Check the camera lens for cracks, moisture, or heavy contamination. Inspect the harness where it flexes between the bed and tailgate. If the image cuts in and out when the tailgate moves, a broken wire in that flex area is a strong possibility.
Still, test the retrofit setup first when the camera stopped working immediately after the upgrade. Replacing a camera will not solve a missing reverse trigger, incorrect radio configuration, or wrong harness.
Choose the Cleanest Path Back to Factory Function
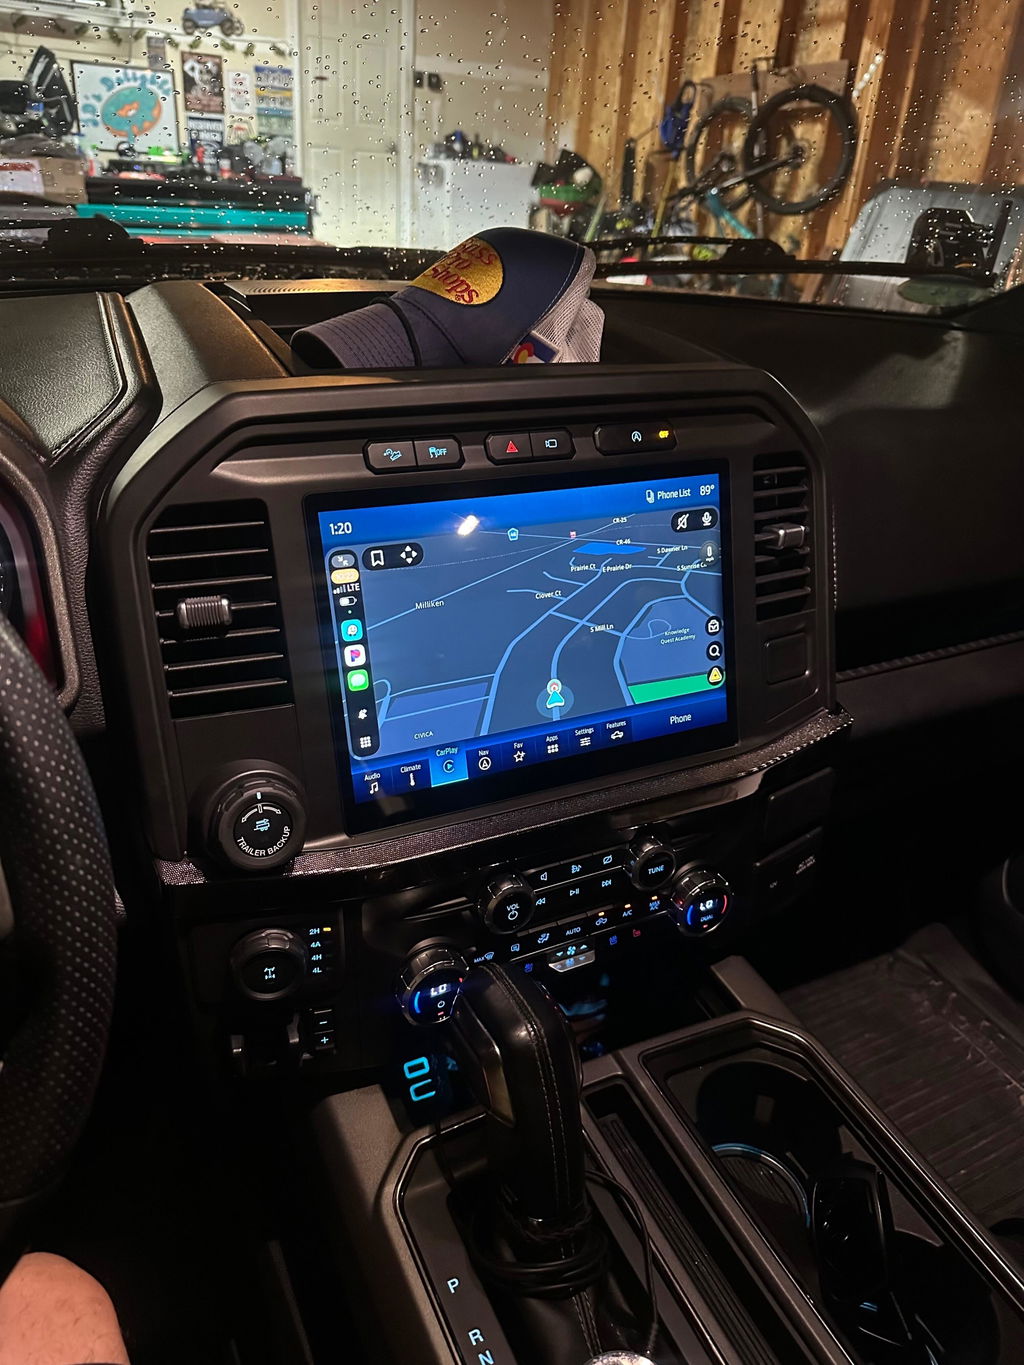
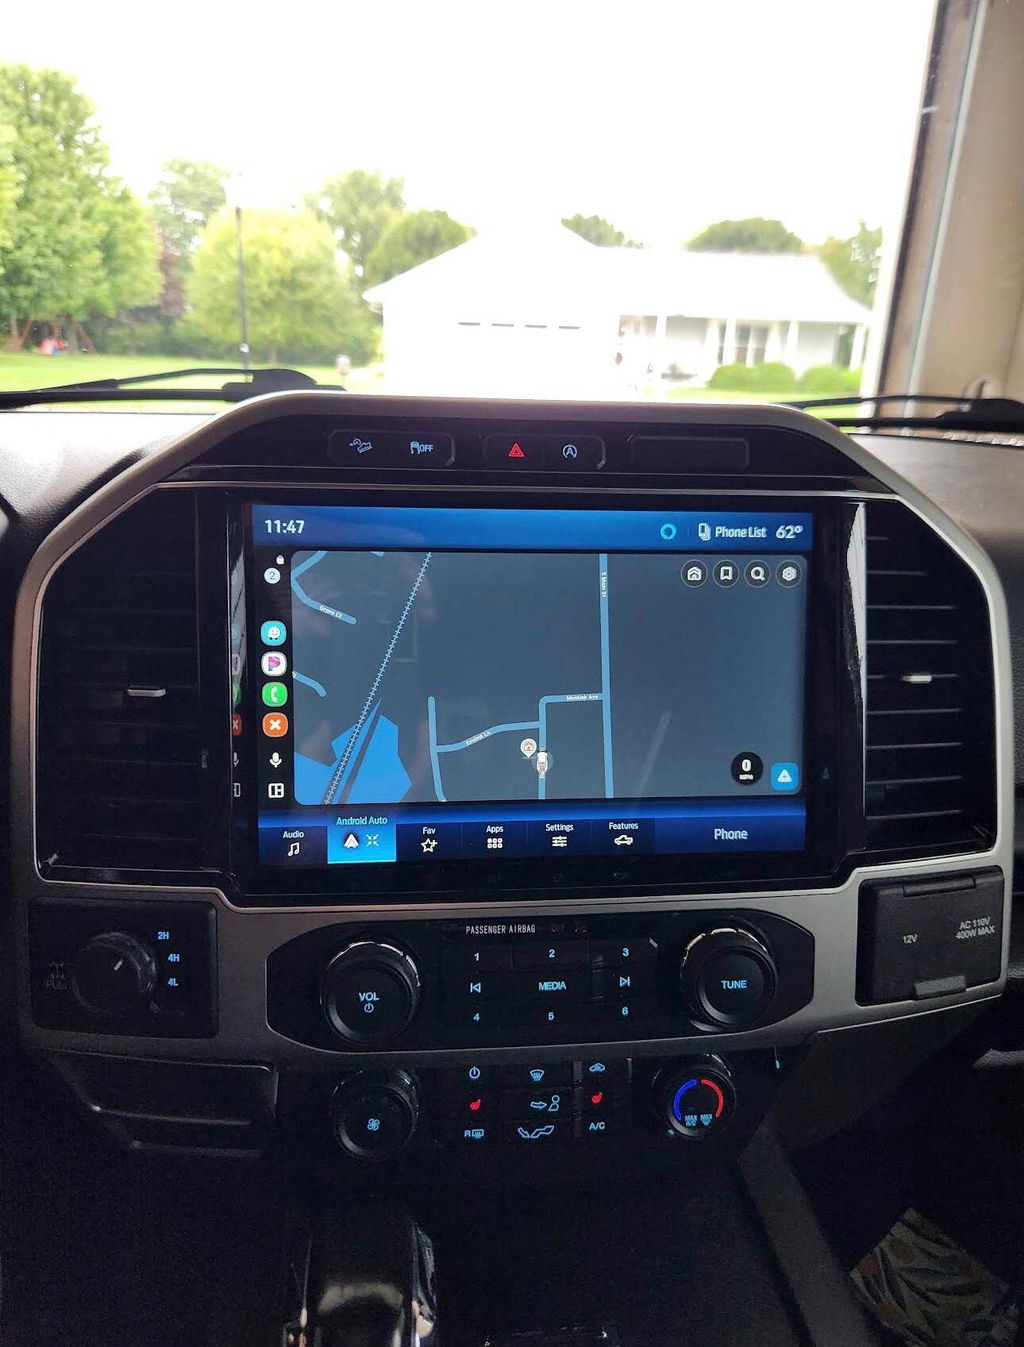
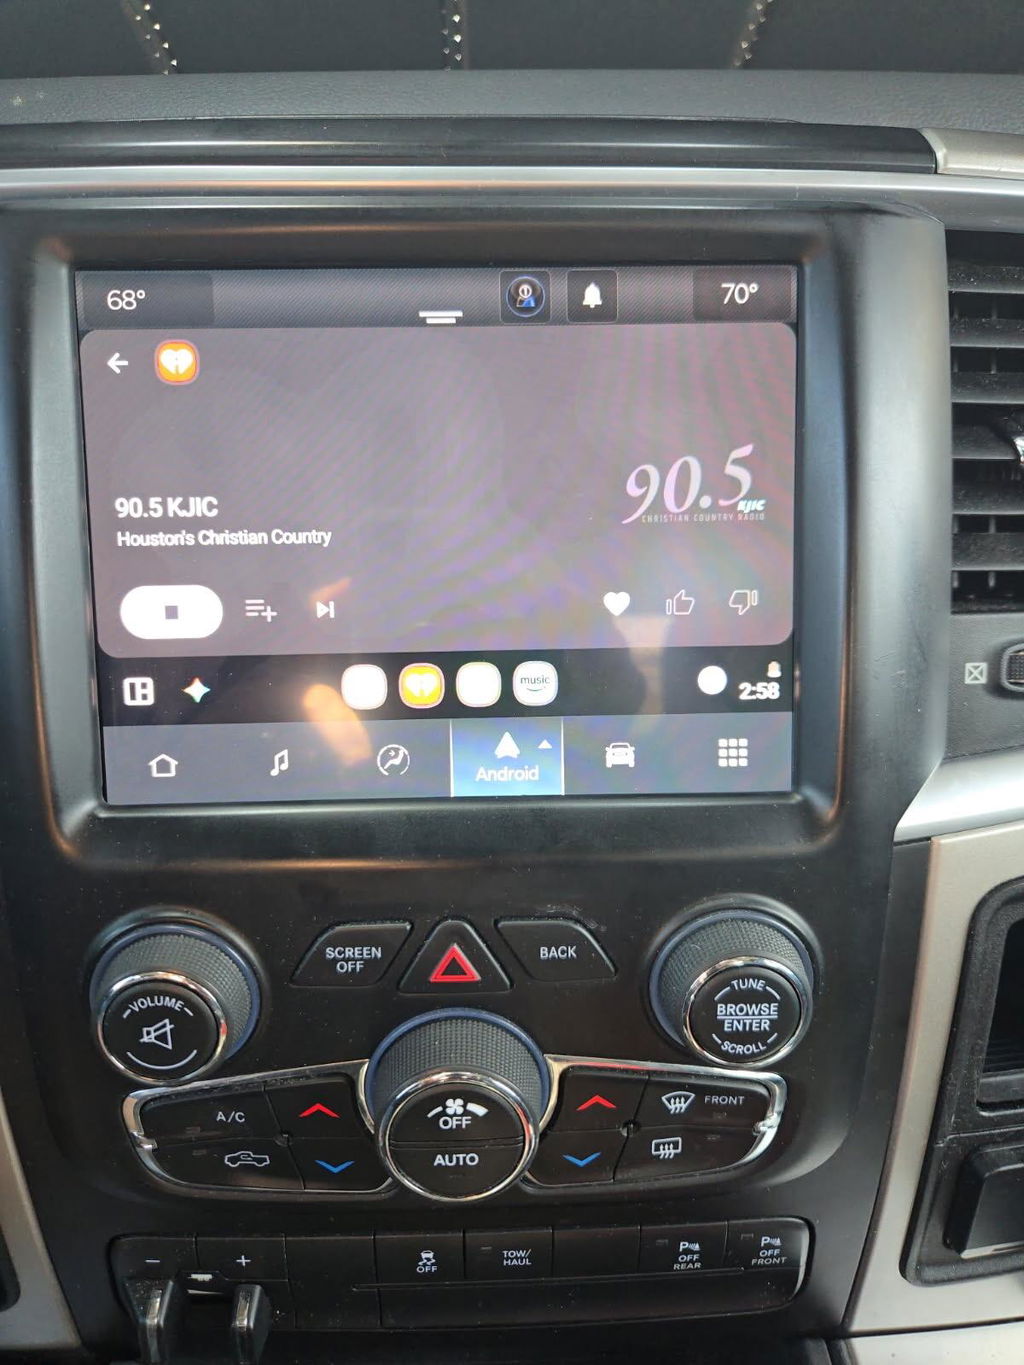
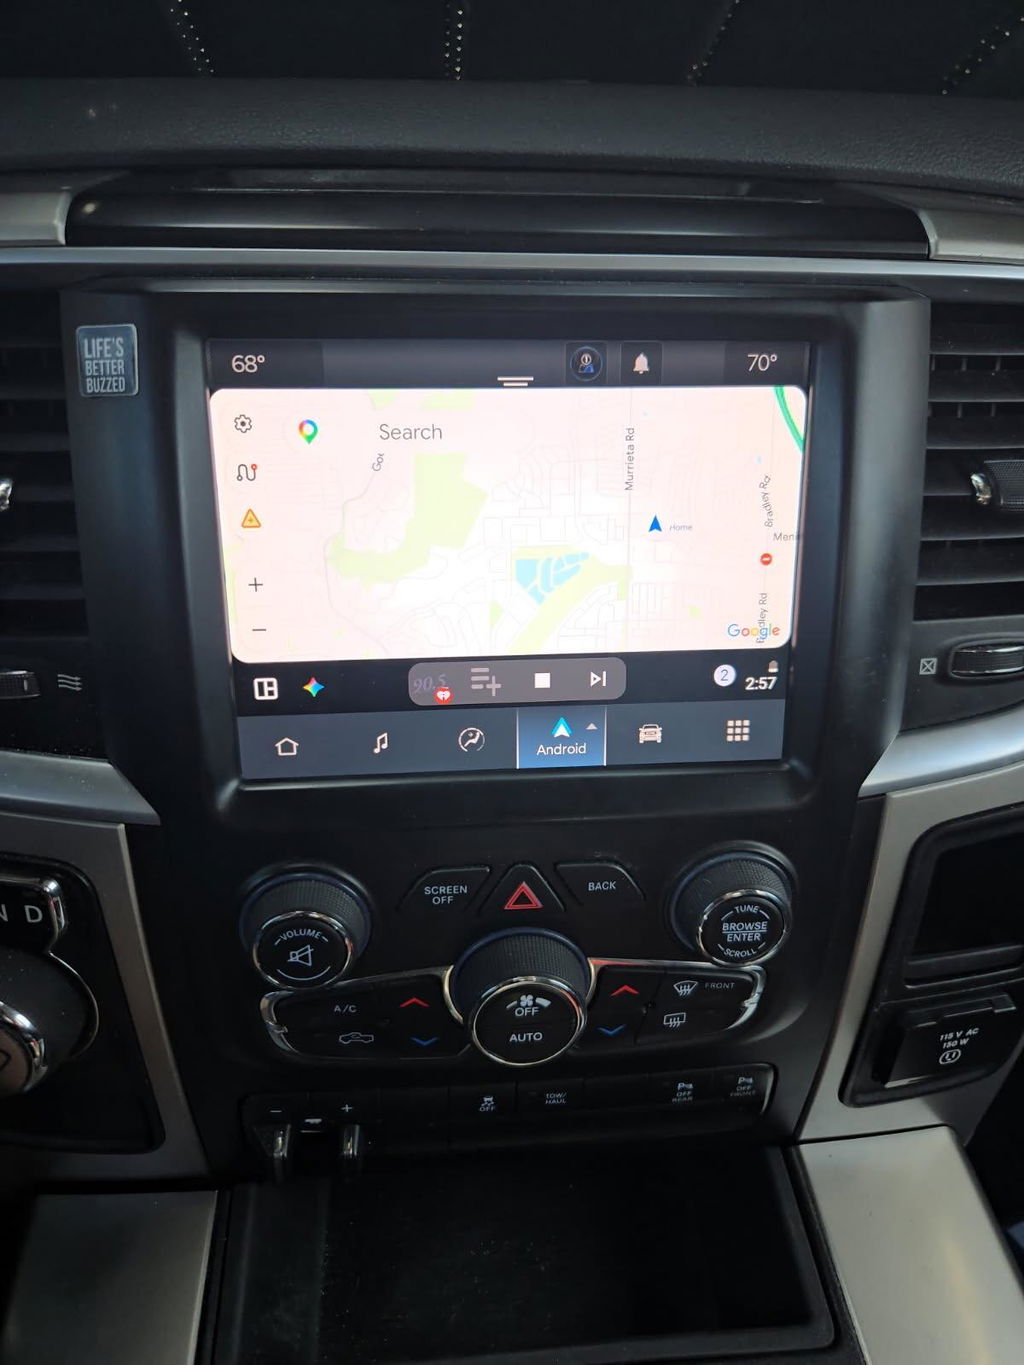
The best way to restore a factory camera is to use components engineered for the exact vehicle and retain the original factory signal whenever possible. That protects the camera system you already own while giving you the benefits of a newer screen, updated Uconnect features, wireless Apple CarPlay, Android Auto, or a larger OEM-style display.
For customers who want factory integration without custom wiring, DD Offroad focuses on vehicle-specific OEM upgrade paths rather than universal electronics. The right kit should clearly identify compatible model years, platform generation, required components, and any programming needed after installation.
If your camera is missing after a retrofit, resist the temptation to add adapters until you know why the signal is gone. Confirm fitment, inspect the connections, verify programming, and test the original camera circuit in that order. A properly matched OEM-based retrofit should make your truck feel more current without giving up the factory features that made it useful in the first place.