How to Prepare Your Truck for Screen Replacement
Share
A screen upgrade should improve your truck, not create a weekend of chasing warning lights, scratched trim, or missing factory functions. Before you prepare truck for screen replacement, confirm exactly what is in the dash now and what your replacement kit is designed to support. On Ram, Ford, and other late-model platforms, the screen is tied into more than radio controls. Climate settings, camera views, vehicle menus, factory amplifiers, USB hubs, and steering-wheel buttons may all be part of the system.
The preparation work is what keeps an OEM-style conversion plug and play. Take the time to verify fitment, protect the interior, and set up the truck correctly before the first trim panel comes loose.
Confirm Fitment Before You Remove Anything
Start with the truck's year, make, model, trim level, cab configuration, and factory radio or screen size. Do not rely on the screen size alone. Two trucks from the same model year can use different radio modules, bezel designs, camera connections, or audio configurations depending on trim and options.
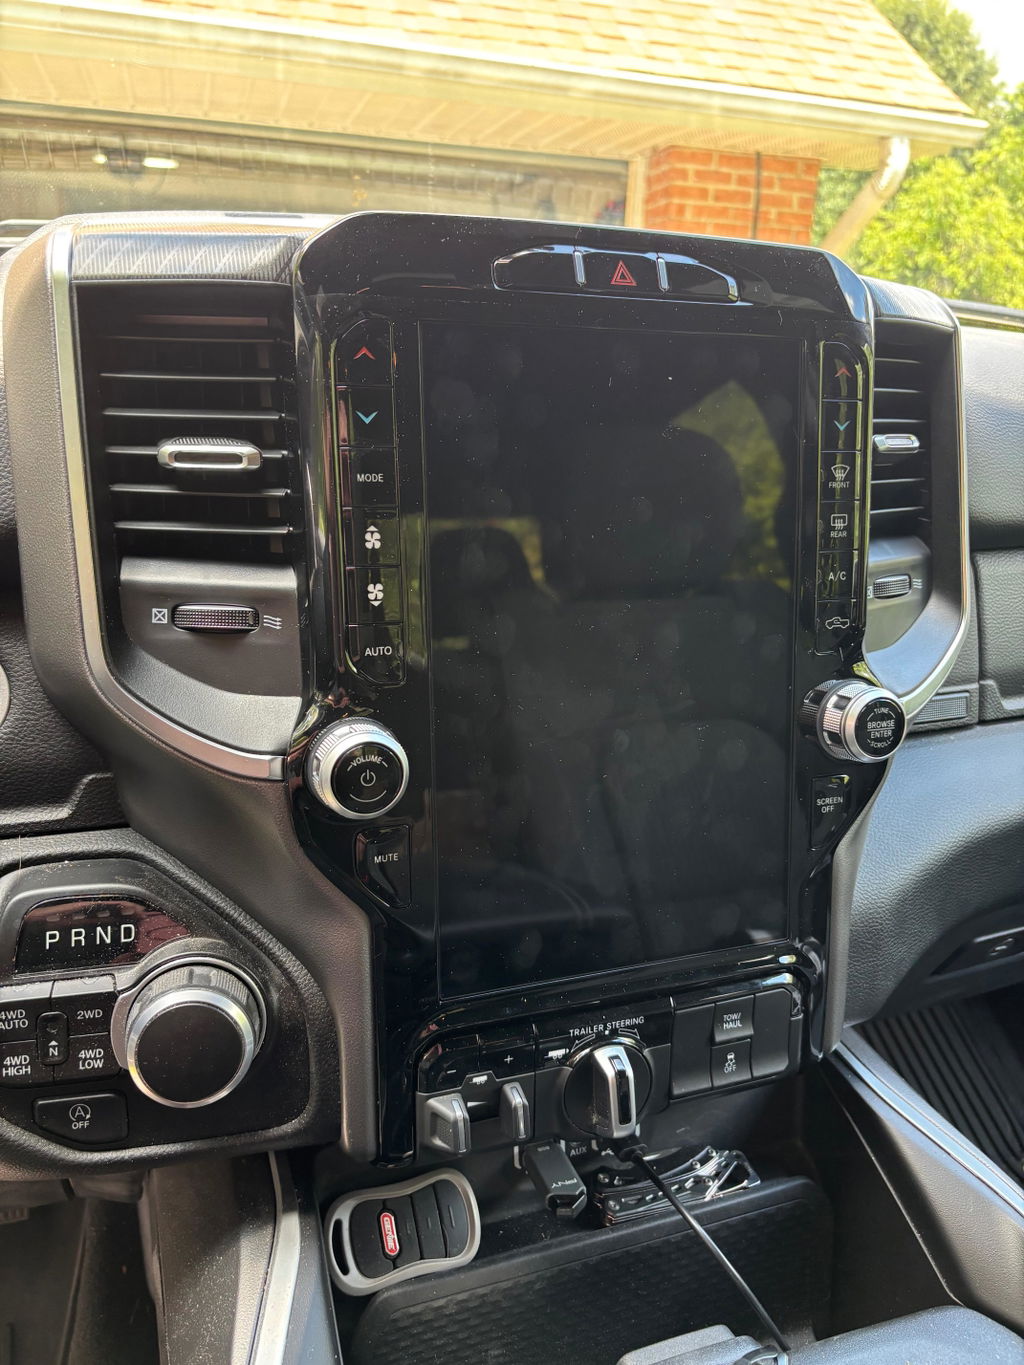
For example, a Ram equipped with an 8.4-inch Uconnect system is not automatically configured the same as every other 8.4-inch Ram. A factory Alpine system, 360-degree camera package, navigation setup, or heated-seat controls can change what must be retained during the upgrade. Ford trucks can have similar differences between SYNC versions, trim packages, and screen layouts.
Check the replacement kit's listed model years and required factory equipment against your truck. If the kit requires a specific radio module, bezel, media hub, or programming step, have every component on hand before disassembly. Genuine OEM components are designed around factory integration, but they still must match the vehicle configuration.
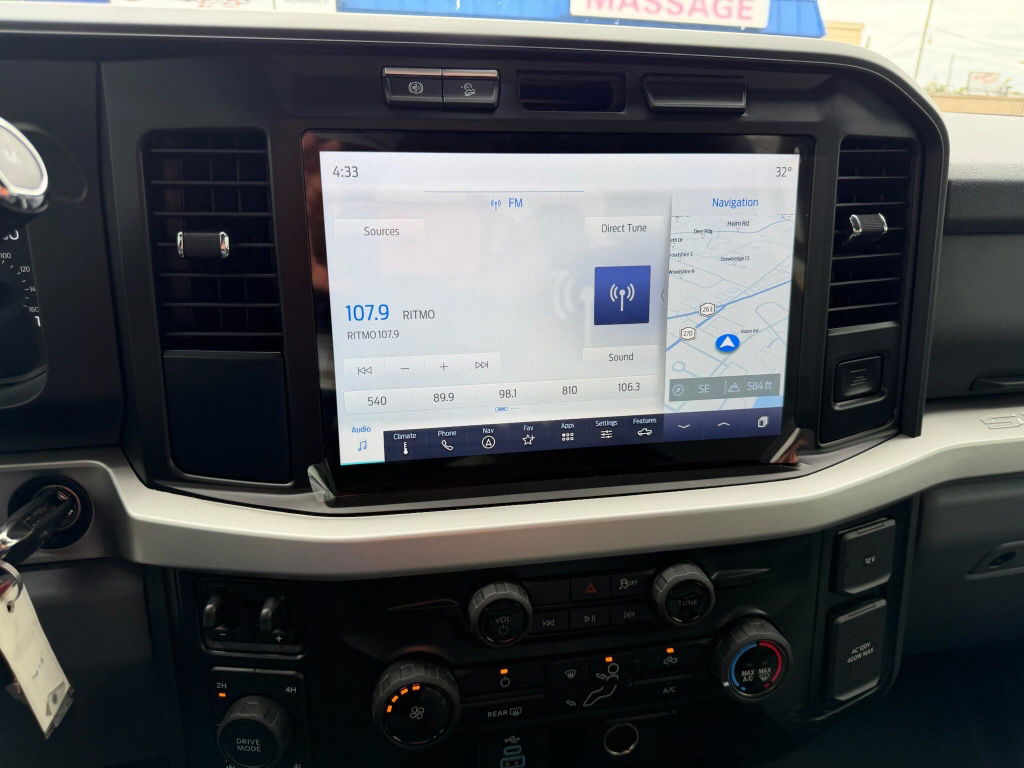
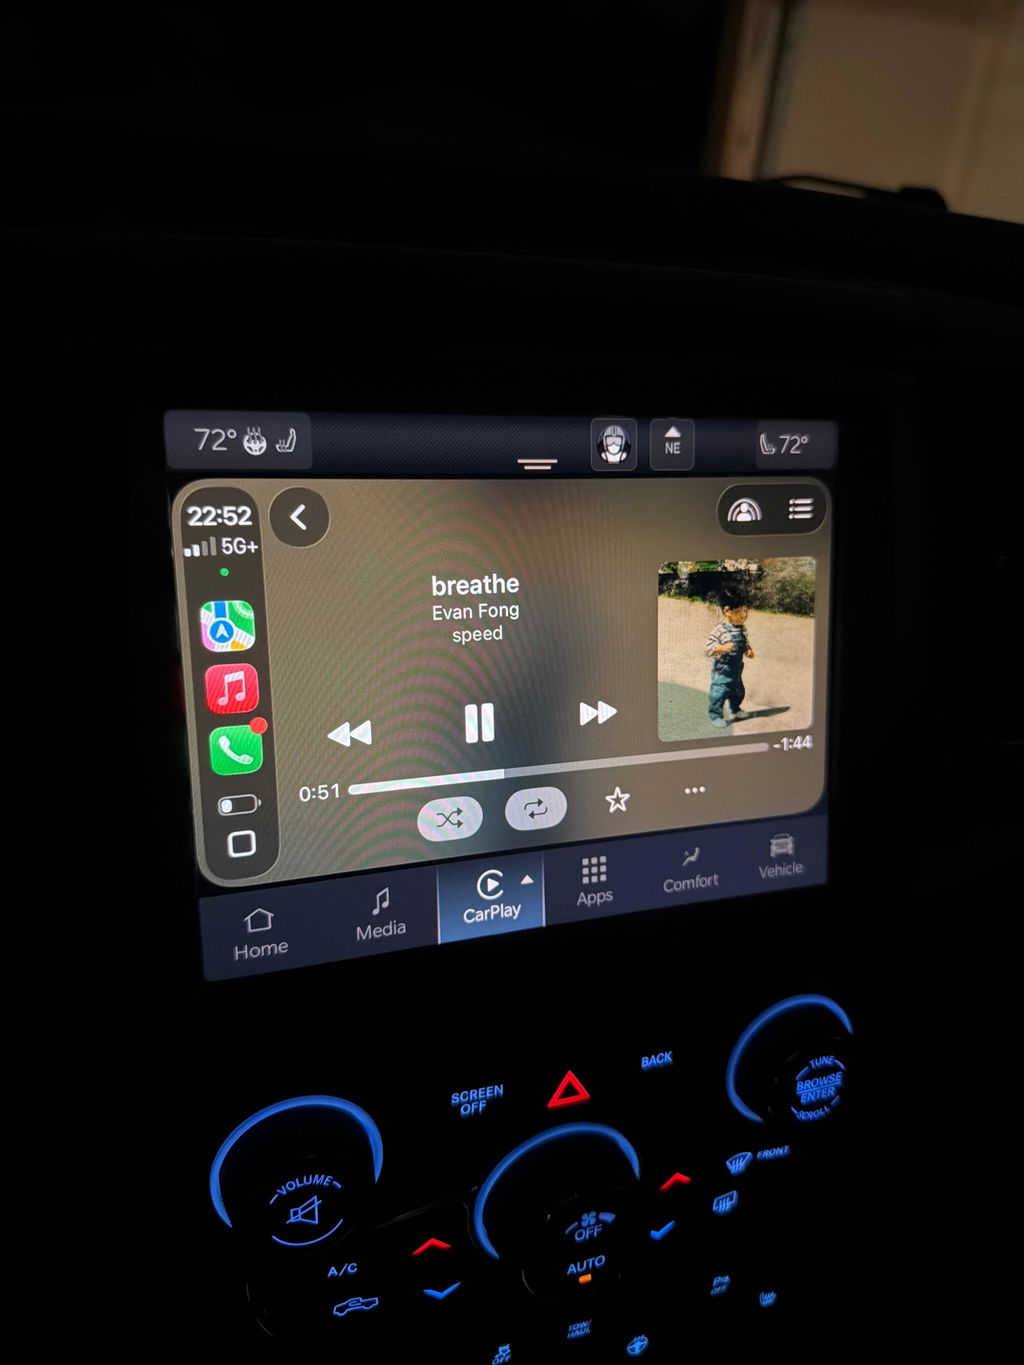
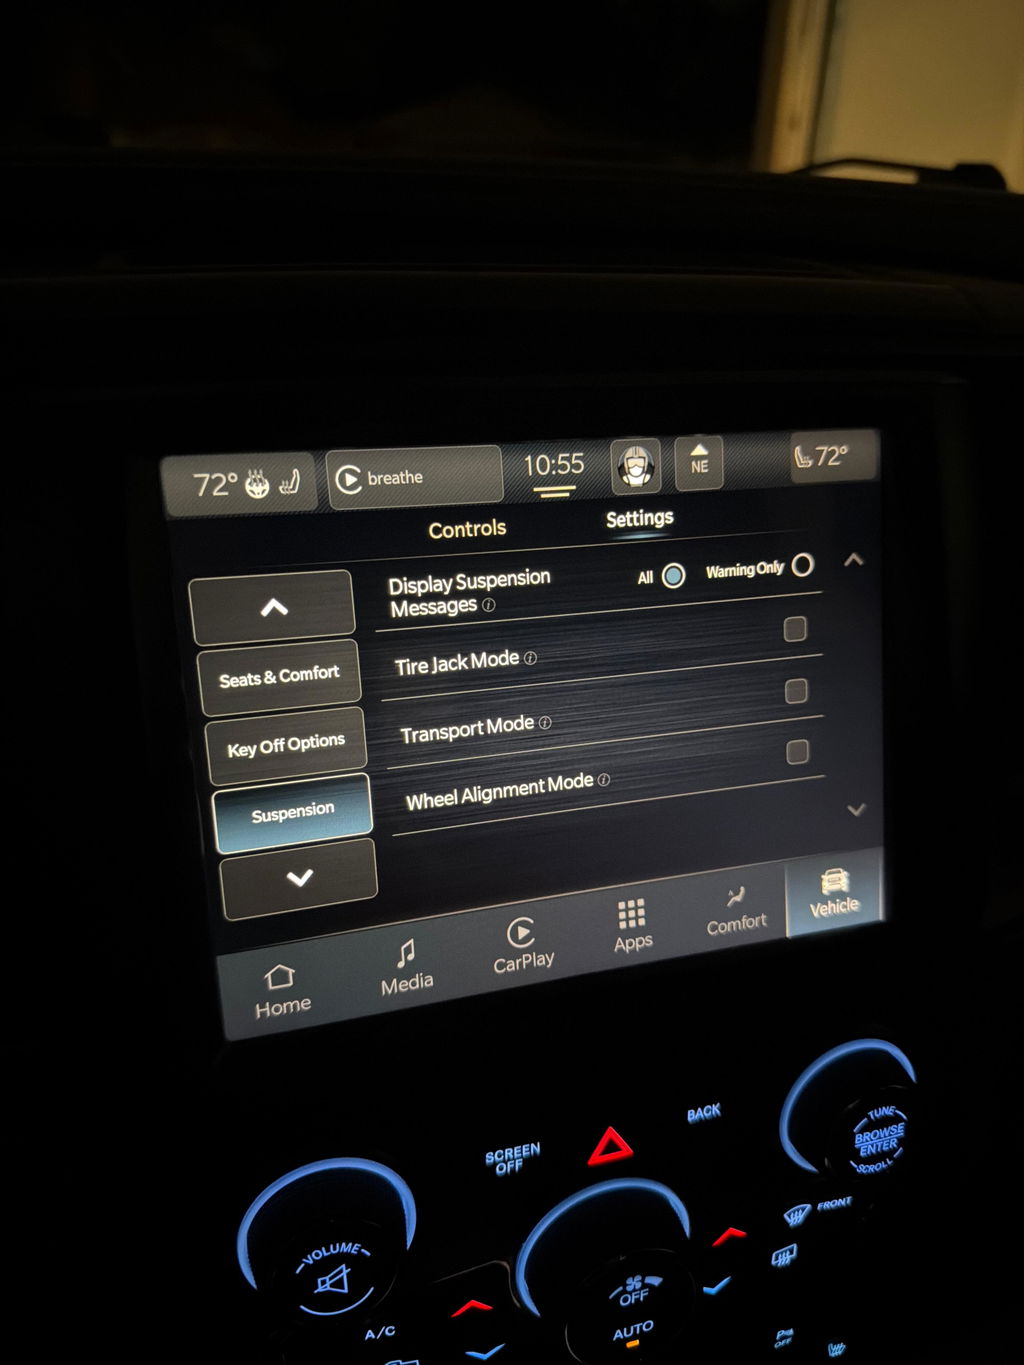
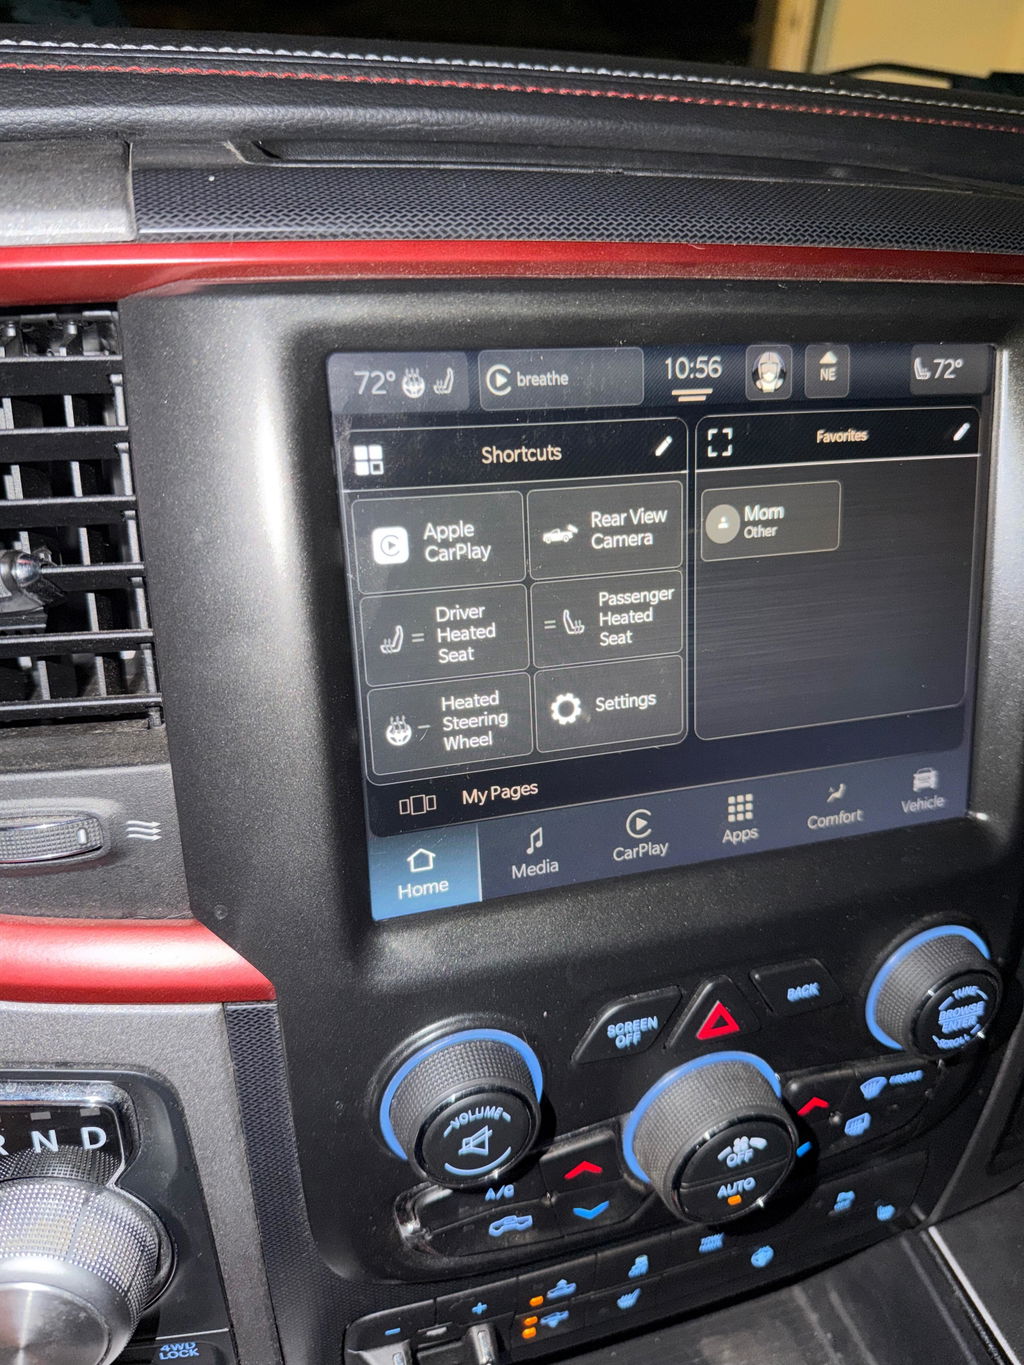
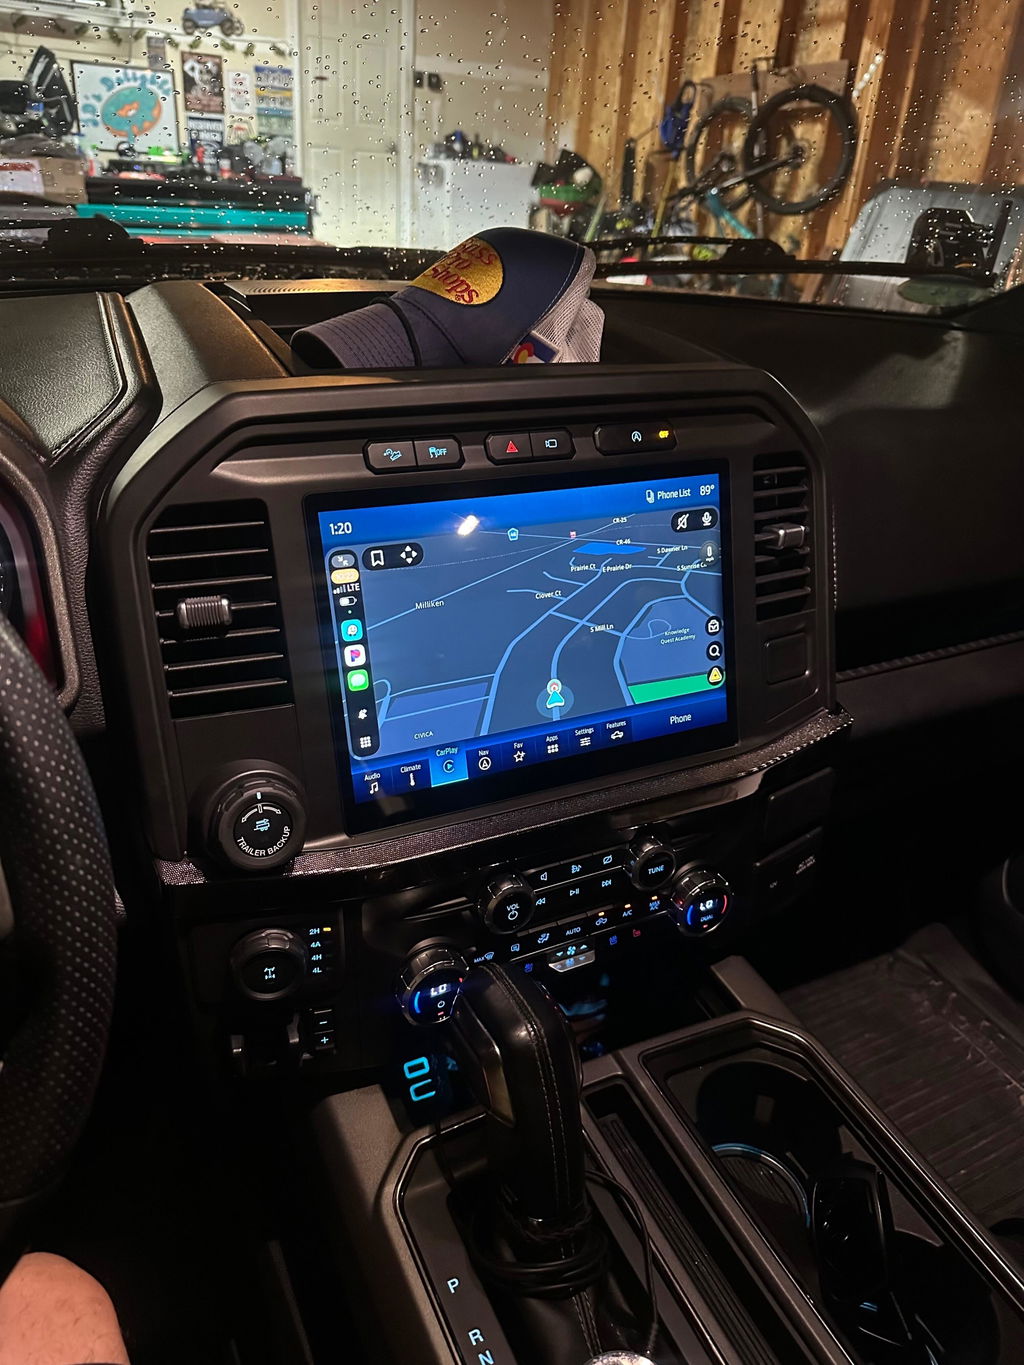
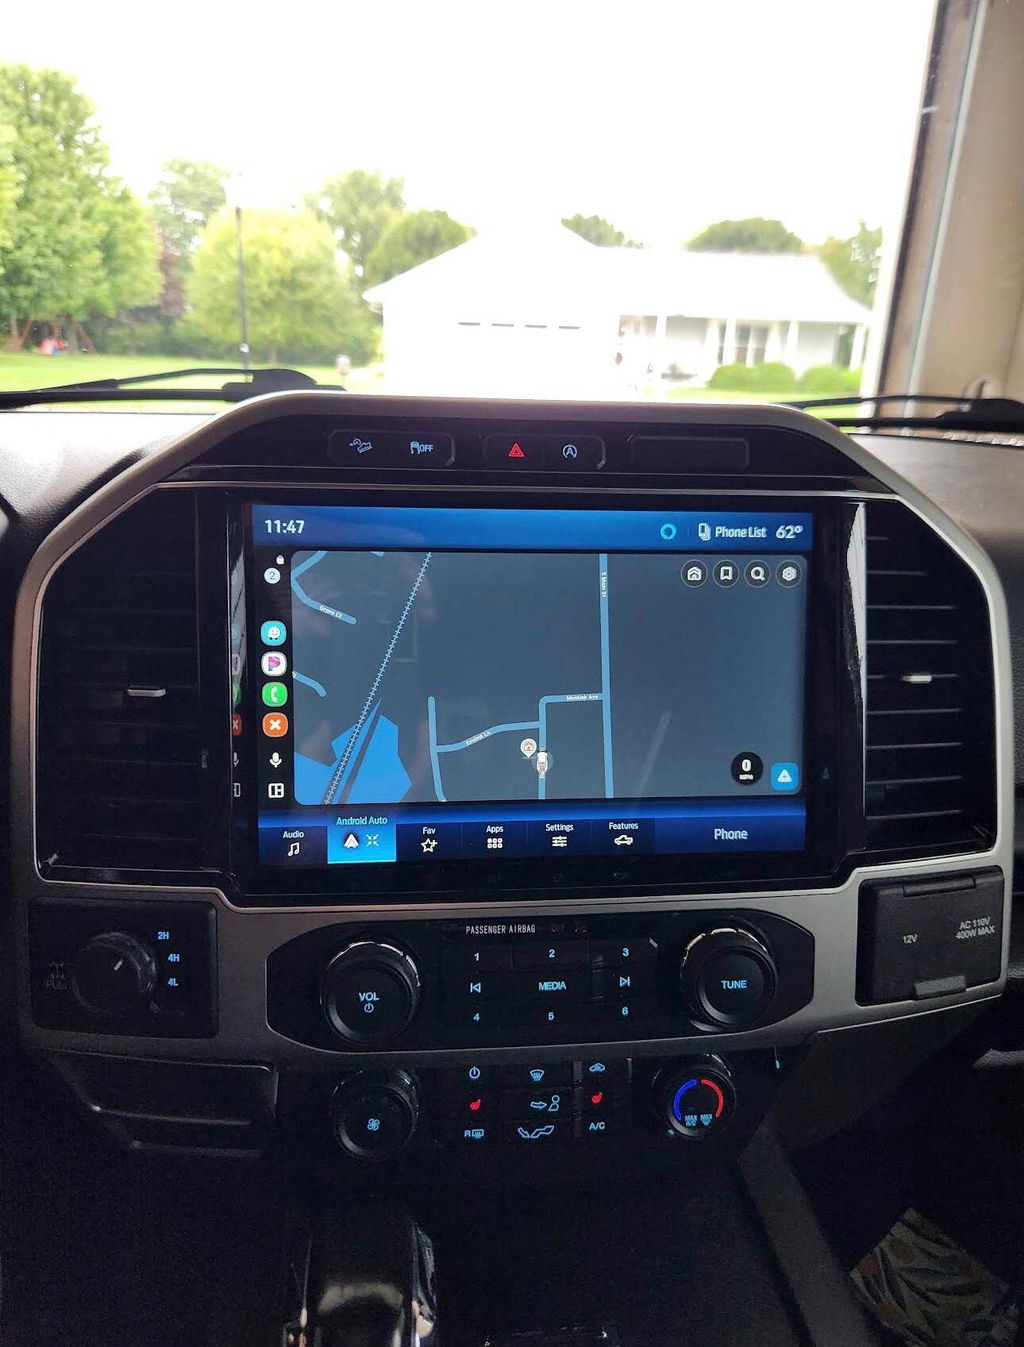
It also helps to photograph the current screen while the truck is running. Capture the home screen, audio source, climate controls, camera view, and any active warning messages. These photos provide a quick baseline if you need to verify functions after installation.
Gather Tools and Protect the Interior
Screen replacement is not a job for a flathead screwdriver and a loose pile of hardware. Most truck interiors use retaining clips, guided tabs, and soft-finish trim that can be damaged by the wrong tool. Use non-marring plastic trim tools whenever possible. A small socket set, ratchet, extension, Torx drivers, Phillips screwdriver, flashlight, microfiber towels, and a magnetic tray will cover most OEM-style screen conversions.
Have a clean place ready for the removed parts. Lay a towel across the center console and another over the steering column or shifter area. Place trim panels face-up where they cannot be stepped on or warped. If the installation involves a large touchscreen bezel, use a padded surface to protect the display and finish.
Avoid working in extreme heat or cold if you can. Interior clips are more likely to crack in cold conditions, while adhesive-backed pads and tape may not bond correctly in very low temperatures. A clean, dry garage is ideal. If you are working outside, keep dust, moisture, and direct sun off the open dash.
Before opening the dash, remove rings, watches, and metal belt accessories that can mark the console or screen. It sounds basic, but gloss-black trim and soft-touch dash panels show damage immediately.
Save Vehicle Settings and Check for Existing Problems
A screen replacement will not fix an unrelated issue with a camera, microphone, USB port, speaker, or HVAC control. Test those functions before you begin. If the backup camera is intermittent now, document it. If one steering-wheel audio button does not work, address that separately instead of assuming the replacement screen caused it.
Make note of radio presets, paired Bluetooth devices, favorite navigation locations, and personalized settings. Some trucks retain these settings after a conversion, while others may require the system to be programmed, reset, or paired again. The exact result depends on the platform and the components being replaced.
If your truck has a factory security code, account login, connected-services subscription, or anti-theft radio information, keep that information available. Many modern OEM infotainment systems use vehicle-specific configuration and may require setup after power is restored.
Disconnect Power the Right Way
Before handling infotainment connectors, disconnect the negative battery cable. This reduces the chance of a short circuit, unexpected module communication issue, or an airbag-related warning caused by unplugging components with the vehicle powered.
Turn the ignition fully off, remove the key or move the key fob away from the truck, and wait several minutes for modules to power down before disconnecting the battery. On push-button-start trucks, do not leave the fob in the cab while you work. Some systems can wake up when a door opens or a control is touched.
Use the correct wrench to loosen the negative terminal and move it away from the battery post so it cannot make accidental contact. Do not disconnect and reconnect the battery repeatedly during installation. Complete the physical install, double-check every connection, then restore power once.
There is a trade-off here: disconnecting battery power can reset clock settings, radio presets, automatic window indexing, and other learned functions. That is normal. It is still the safer approach when you are unplugging a factory screen, radio module, or center-stack controls.
Remove Factory Trim Without Forcing It
The dash comes apart in a specific order. Find the correct sequence for your platform and follow it. A bezel that feels stuck may still have a hidden screw, a connector that needs to be released, or a panel that must be lifted before it can be pulled outward.
Use a plastic trim tool to create a small gap, then work around the panel gradually. Pulling hard from one corner can bend a bezel or break a retaining clip. Keep your hands close to the clip locations when possible so force is applied evenly.
As each connector is exposed, inspect it before disconnecting. Most OEM connectors have a locking tab, lever, or color-coded retention feature. Release the lock first. Never pull on the wiring itself. Hold the connector body, press the proper release, and remove it straight from the port.
Take clear photos before unplugging anything that is not obvious. A quick image of connector routing, antenna leads, USB connections, or module mounting points can save time later. This is especially useful when a larger replacement screen requires transferring factory modules or brackets.
Inspect Every Connector and Component
With the factory unit removed, check the wiring harnesses for bent pins, loose terminals, damaged insulation, or debris. Look inside the replacement screen ports as well. A connector that is nearly seated is not seated, and forcing it can damage a pin or latch.
Match every plug by shape, keying, and lock style. Do not try to make a connector fit because the wire length seems right. OEM-style systems are designed to connect in defined locations. If something does not line up, stop and compare the vehicle equipment, included components, and installation instructions.
Transfer brackets, vents, switches, or modules only when the kit calls for it. Keep original screws separated by location. Factory screws often look similar but differ in length or thread pitch, and using the wrong one can damage a mounting point or interfere with the screen housing.
Prepare for Programming and First Power-Up
Some factory-style infotainment upgrades need programming to activate features, identify the correct vehicle configuration, or clear compatibility issues. Plan that step before reassembling the entire dash. If your kit includes a programmer or requires a specific procedure, read it completely before reconnecting the battery.
During first power-up, do not rush to reinstall every trim panel. Turn the ignition on and verify the screen boots normally. Check audio output, touch response, steering-wheel controls, climate functions, backup camera, USB input, Bluetooth, and wireless Apple CarPlay or Android Auto if equipped. Test the functions your truck actually uses, including trailer camera options or off-road pages where applicable.
If a feature is missing, power the vehicle down and inspect the related connector before assuming the screen is defective. Most post-install issues come down to a missed plug, an incomplete lock, an incorrect component match, or programming that has not been completed.
Once every function checks out, reinstall the trim in reverse order. Align tabs first, press near the clip locations, and confirm the bezel sits flush all the way around. Do not strike panels with your palm to force them home.
A clean screen replacement starts well before the new display goes in. Verify the truck, protect the dash, disconnect power, and inspect every connection. That preparation gives an OEM upgrade the best chance to look factory, operate correctly, and deliver the modern features you bought it for.