How to Activate Steering Wheel Controls Retrofit
Share
A larger factory touchscreen is only an upgrade if the buttons you use every day still work. If you searched activate steering wheel controls retrofit, you are likely dealing with a common issue: the new radio powers up, audio plays, and the screen looks right, but volume, track, voice, phone, or menu buttons on the wheel do nothing. On Ram, Ford, Dodge, Jeep, and Chrysler platforms, the fix is usually not a mystery module or a universal wiring splice. It is making sure the radio, steering wheel switch hardware, vehicle network, and programming all match.
For an OEM-style retrofit, steering wheel controls are part of the vehicle's integrated electronics system. They are not simply individual wires that can be connected to any head unit. That distinction matters when choosing parts, planning an install, and diagnosing what went wrong.
Why Steering Wheel Controls Stop Working After a Retrofit
Factory steering wheel controls communicate through the vehicle's network and body control modules. Depending on the platform and model year, button inputs may be read through the steering wheel control module, clockspring, radio bezel electronics, body control module, or the infotainment system itself. The radio then needs the correct configuration to recognize those commands.
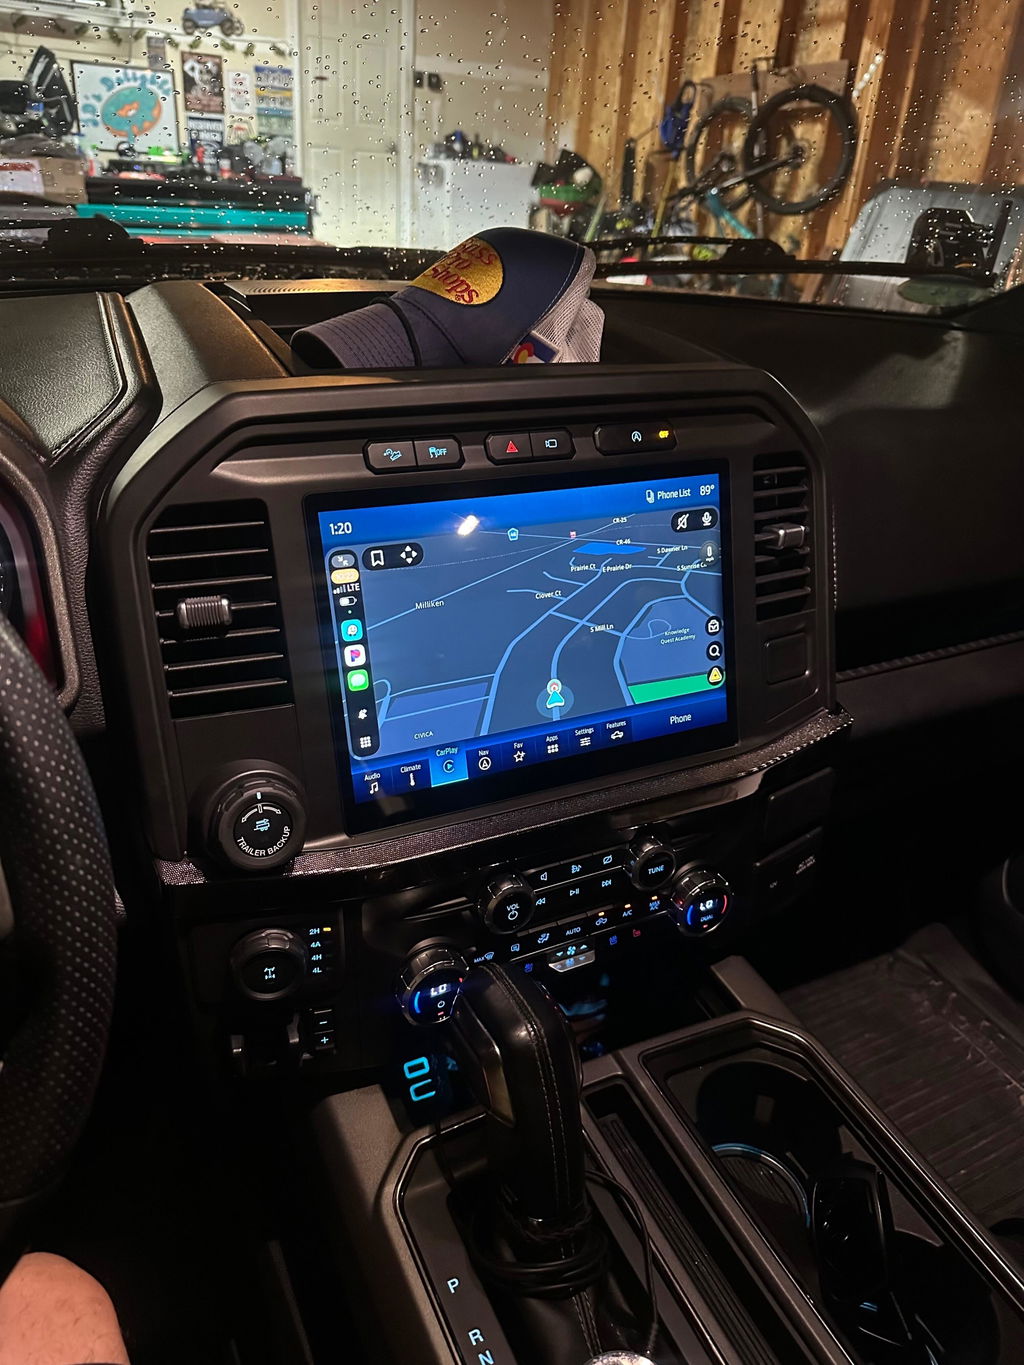
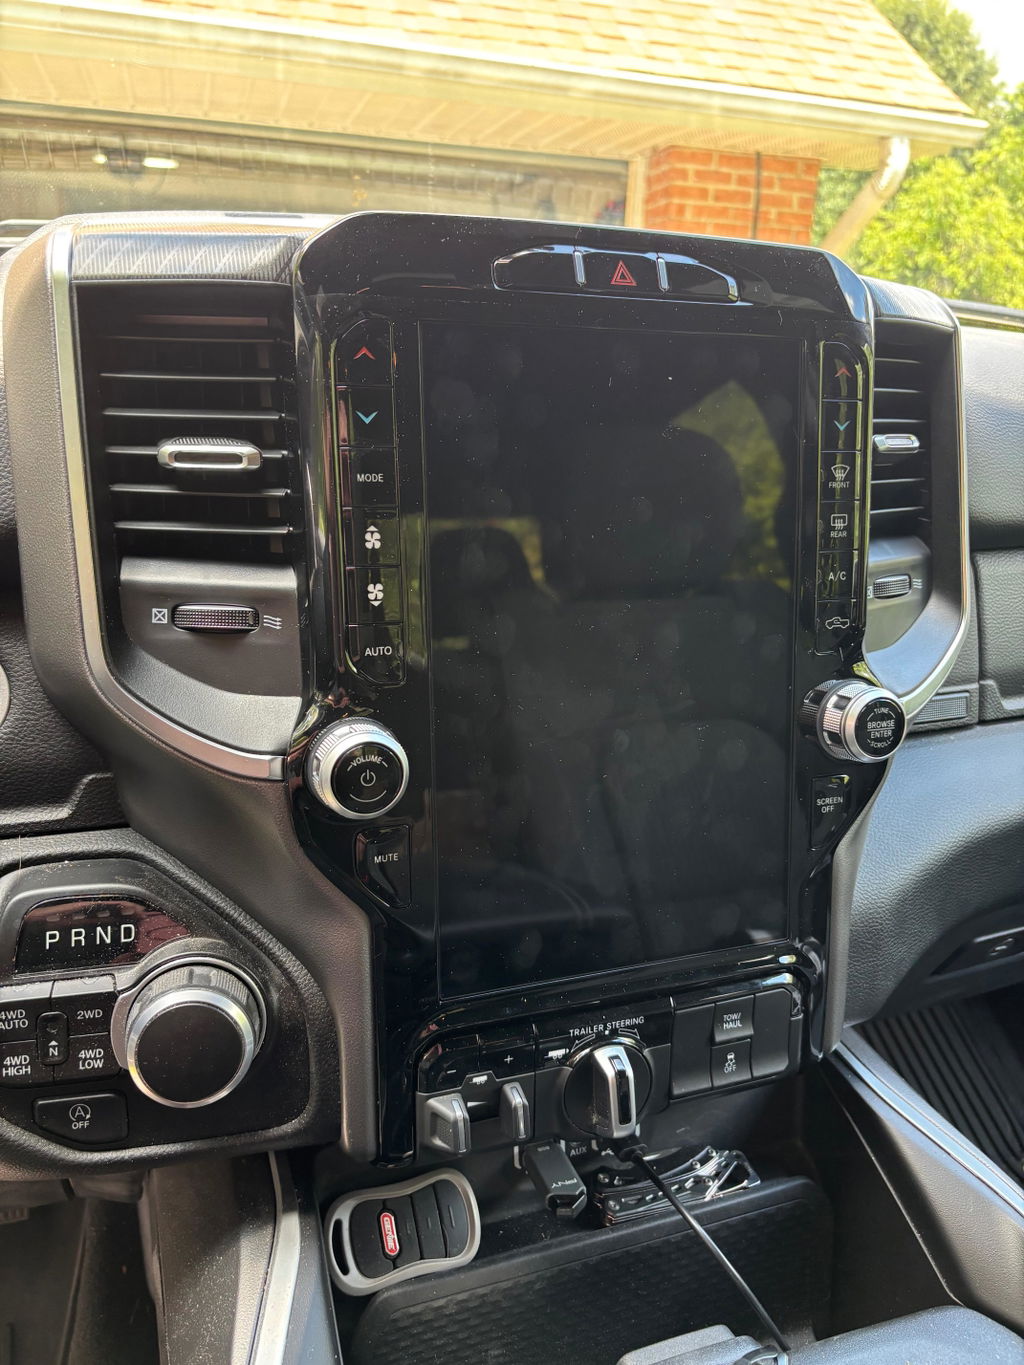
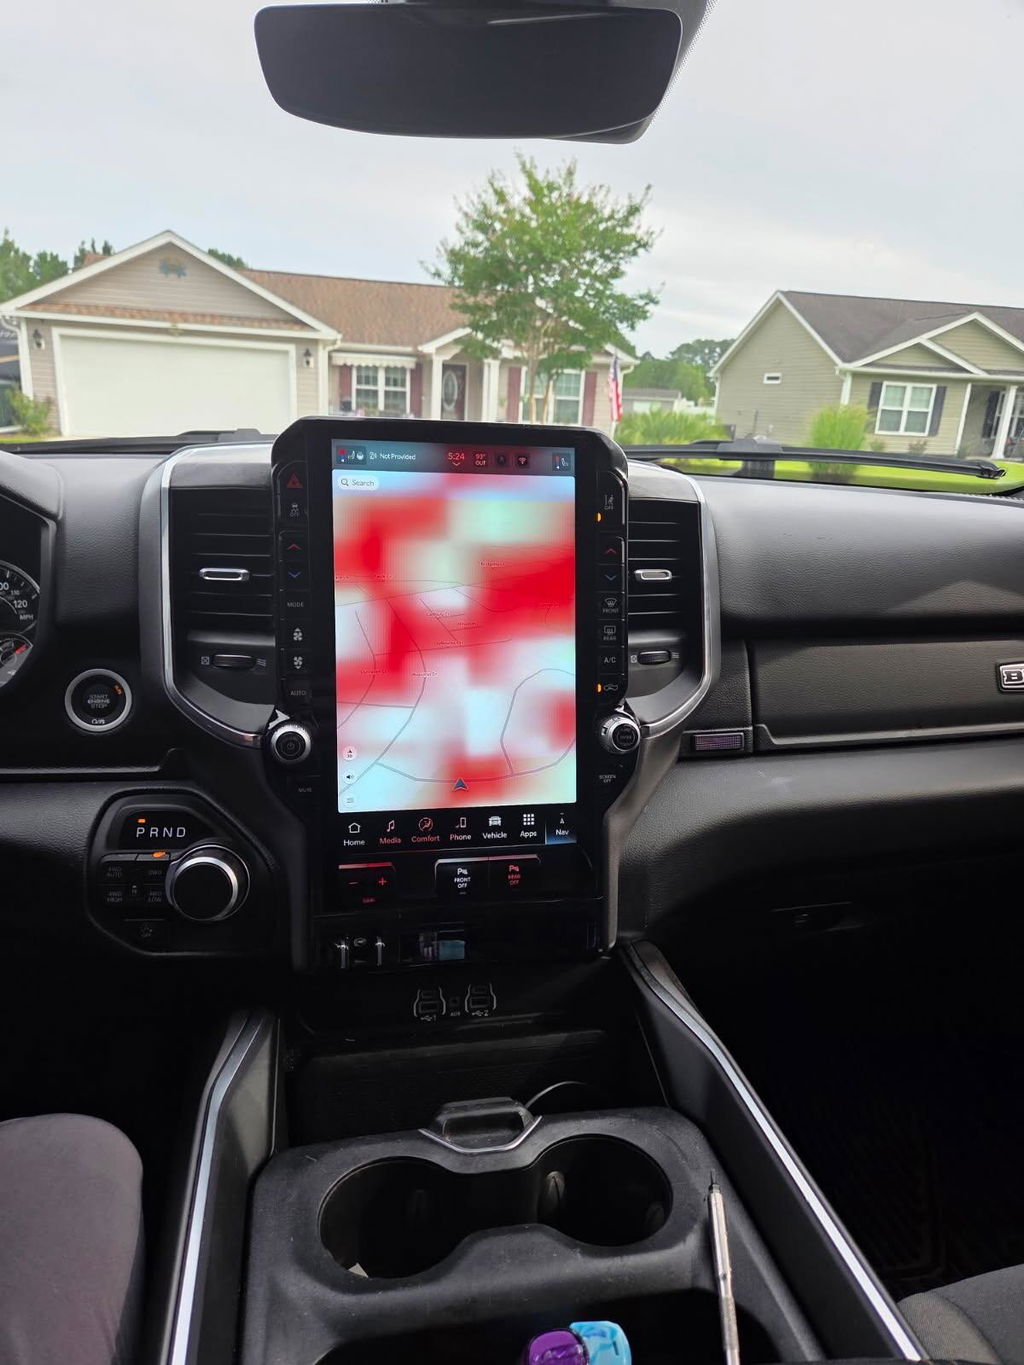
That is why a retrofit can look physically complete while the controls remain inactive. The most frequent cause is a component mismatch. A radio from a different year range, trim level, or system generation may fit the dash but not communicate correctly with the truck's existing modules. This is especially relevant on vehicles moving from an older Uconnect system to a newer factory-style screen and radio package.
Programming is the other major factor. Many factory features are controlled by vehicle sales codes, module configuration, or a programmer that updates the truck's settings. If the vehicle was not originally equipped with audio or phone switches, the system may not be told to accept their inputs after the hardware is installed.
There are also basic mechanical causes. A damaged clockspring, an unseated steering wheel connector, a failed switch pod, or a pinched harness can interrupt communication. These issues are less glamorous than a software problem, but they should not be ignored.
Confirm the Retrofit Parts Match Your Truck
Before trying to activate anything, verify exactly what is installed. Start with the truck's year, model, trim, cab configuration where applicable, and original infotainment system. Then identify the replacement radio or screen assembly by its part number and intended vehicle range.
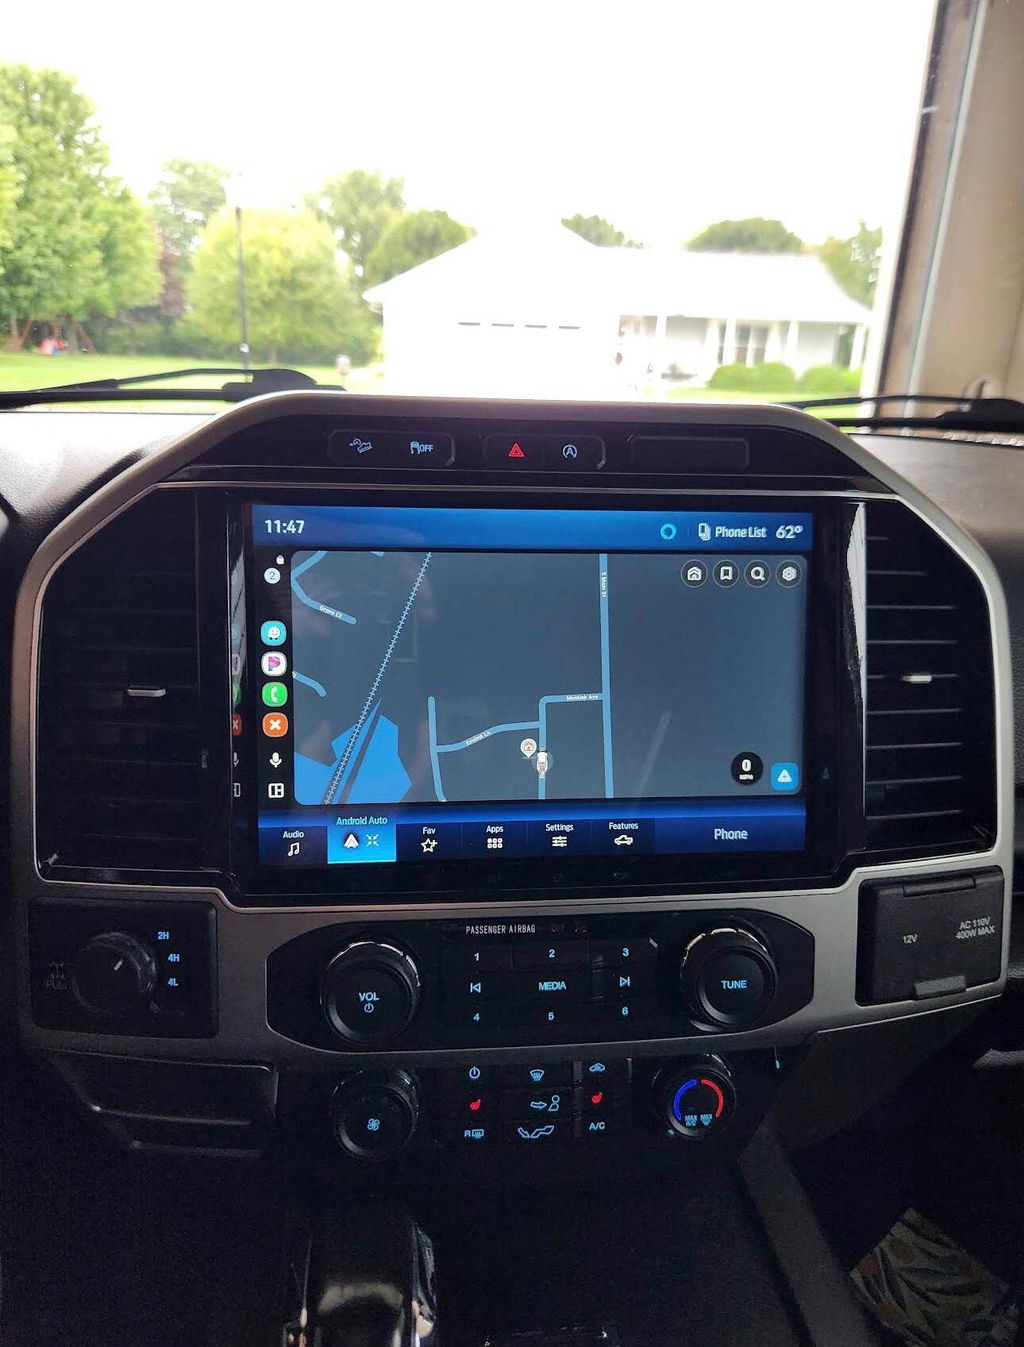
OEM components often have similar connectors across multiple applications, but similar is not the same as compatible. A Ram 1500 radio from one generation may physically resemble a unit from another, while the software, screen interface, USB hub requirements, amplifier support, and steering wheel control communication are different. The same applies to Ford SYNC generations and factory display upgrades.
A proper vehicle-specific kit removes much of this uncertainty. The right package should account for the radio or display, bezel, required harnessing, USB media hub when needed, antenna connections, and programming method. Piecing together individual components can save money at first, but it raises the chance of ending up with a screen that works only partially.
Check the steering wheel itself as well. If your truck did not leave the factory with the buttons you want, installing a compatible switch pod may be required. The switch pod must match the wheel design, connector style, and electronics used by your model year. A button assembly from a different trim can fit the opening yet fail to communicate.
Do not assume every button has the same job
Audio controls, phone buttons, voice recognition, cruise control, heated steering wheel functions, and driver information center buttons can operate through different modules. A retrofit may restore volume and track controls while a voice button still requires a compatible microphone, media hub, or infotainment feature to function. Cruise controls and driver-assist buttons should never be treated as radio-control wiring. Keep each system within its intended factory configuration.
How to Activate Steering Wheel Controls After a Retrofit
The activation process should follow a controlled order. First, inspect the installed hardware with the battery disconnected when working around the steering wheel or airbag area. Confirm that the steering wheel switch connectors are fully seated, the clockspring connector is secure, and no terminals are bent or pushed back. Reconnect the battery only after the steering wheel airbag and related connectors are properly secured.
Next, verify that the infotainment system is fully initialized. Some OEM radios require a complete ignition cycle or a short period of sleep time after installation before every module communicates normally. If the screen shows warning messages, asks for an anti-theft code, repeatedly reboots, or lacks sound, correct those issues first. Steering wheel buttons cannot be properly tested until the radio is operating normally.
Then apply the programming required for the retrofit. On many Ram, Dodge, Jeep, and Chrysler vehicles, an automatic programmer or compatible diagnostic programming process can enable the sales codes and settings needed for the new equipment. On Ford applications, configuration may be tied to the correct module setup, display system, and factory option structure. The exact procedure depends on the platform, which is why a programmer should be chosen for the specific vehicle and upgrade package rather than as a generic accessory.
After programming, cycle the ignition completely. Turn the vehicle off, remove the key or move the fob away as required by the vehicle, allow modules to power down, and restart. Test one function at a time: volume up and down, seek or track, phone answer and hang-up, voice command, and menu navigation where equipped. Testing in a quiet, parked vehicle makes it easier to separate a button issue from an audio or phone-pairing issue.
If the controls still do not respond, scan the vehicle for diagnostic trouble codes. A code related to the steering wheel control module, clockspring, radio, body control module, or CAN communication points the diagnosis in a more useful direction than swapping random parts. Clear only codes associated with completed repairs, then retest.
OEM Integration Versus Universal Interfaces
Universal steering wheel control interfaces have a place in custom aftermarket radio installations. They translate factory button signals into commands an aftermarket head unit can understand. For a truck receiving an OEM radio, Uconnect 5 conversion, factory-style display, or other OEM-based upgrade, a universal interface is often unnecessary and can add another failure point.
The cleaner route is to retain factory communication whenever the application supports it. OEM-compatible components preserve the original button layout, factory appearance, and expected operation. You avoid extra splices behind the dash, reduce the number of modules in the signal path, and make future service easier for both you and the next technician.
That does not mean every factory retrofit is plug and play in the casual sense of the phrase. Plug and play means the kit is designed around the vehicle's connectors and systems. It can still require programming, an updated USB hub, a different bezel, or configuration changes. Those are normal parts of a correct factory-grade upgrade, not signs that the kit is incomplete.
Common Problems and the Practical Fix
When only certain buttons work, look at feature compatibility first. Volume and track commands may operate while phone and voice commands fail because the installed radio does not support the original microphone setup or the required USB interface is missing. If no buttons work, inspect the switch connectors and clockspring, then confirm programming and radio fitment.
If controls worked before the retrofit and stopped immediately afterward, do not assume the steering wheel switches failed at the same time. Recheck every connector disturbed during the radio installation, including connectors behind the screen, center stack, media hub, and any inline harness supplied with the kit. A partially seated connector can produce a very convincing electronics problem.
If the truck has an aftermarket amplifier, camera module, remote start device, or previous radio wiring modifications, factor that into the diagnosis. These additions do not automatically prevent an OEM retrofit, but undocumented wiring changes can complicate network communication and power management. Restore questionable wiring before adding more adapters.
Buy for Fitment, Not Just Screen Size
The right infotainment upgrade starts with a complete fitment review, not a search for the largest display. Confirm the exact model year, original system, factory options, desired features, and whether the truck already has steering wheel audio controls. If you want wireless Apple CarPlay, Android Auto, navigation, backup camera retention, amplified audio, or an upgraded cluster to work alongside the radio, each feature should be considered as part of one system.
DD Offroad focuses on vehicle-specific, OEM-based upgrade paths because factory integration is what makes an upgrade worth doing. Genuine components, correct supporting parts, and the right programming reduce the guesswork that comes with universal electronics and improvised harnessing.
A steering wheel control retrofit should feel factory-installed when you are done. Take the time to verify hardware, fitment, and configuration before forcing a workaround. The best result is not another button adapter hidden behind the dash - it is a truck that responds exactly the way it should every time you reach for the wheel.