Transfer Vehicle Settings After a Retrofit
Share
A new OEM-style screen, digital cluster, or remote-start retrofit can change the way your truck feels every day. But the hardware is only one part of the job. To transfer vehicle settings after retrofit work correctly, the replacement module has to communicate with the truck's existing configuration, options, and network modules.
That is where many generic electronics upgrades fall short. A screen may power on, but factory menus, camera behavior, steering-wheel controls, audio settings, or vehicle personalization features may not work as expected. The goal is not simply to make a new component turn on. The goal is to retain the factory functions your specific truck was built with.
What "transferring settings" actually means
Vehicle settings are not all stored in one place. Depending on the platform and the upgrade, information may be held in the radio, body control module, instrument cluster, gateway module, amplifier, camera module, or other vehicle computers. The infotainment display is often just the visible part of a much larger system.
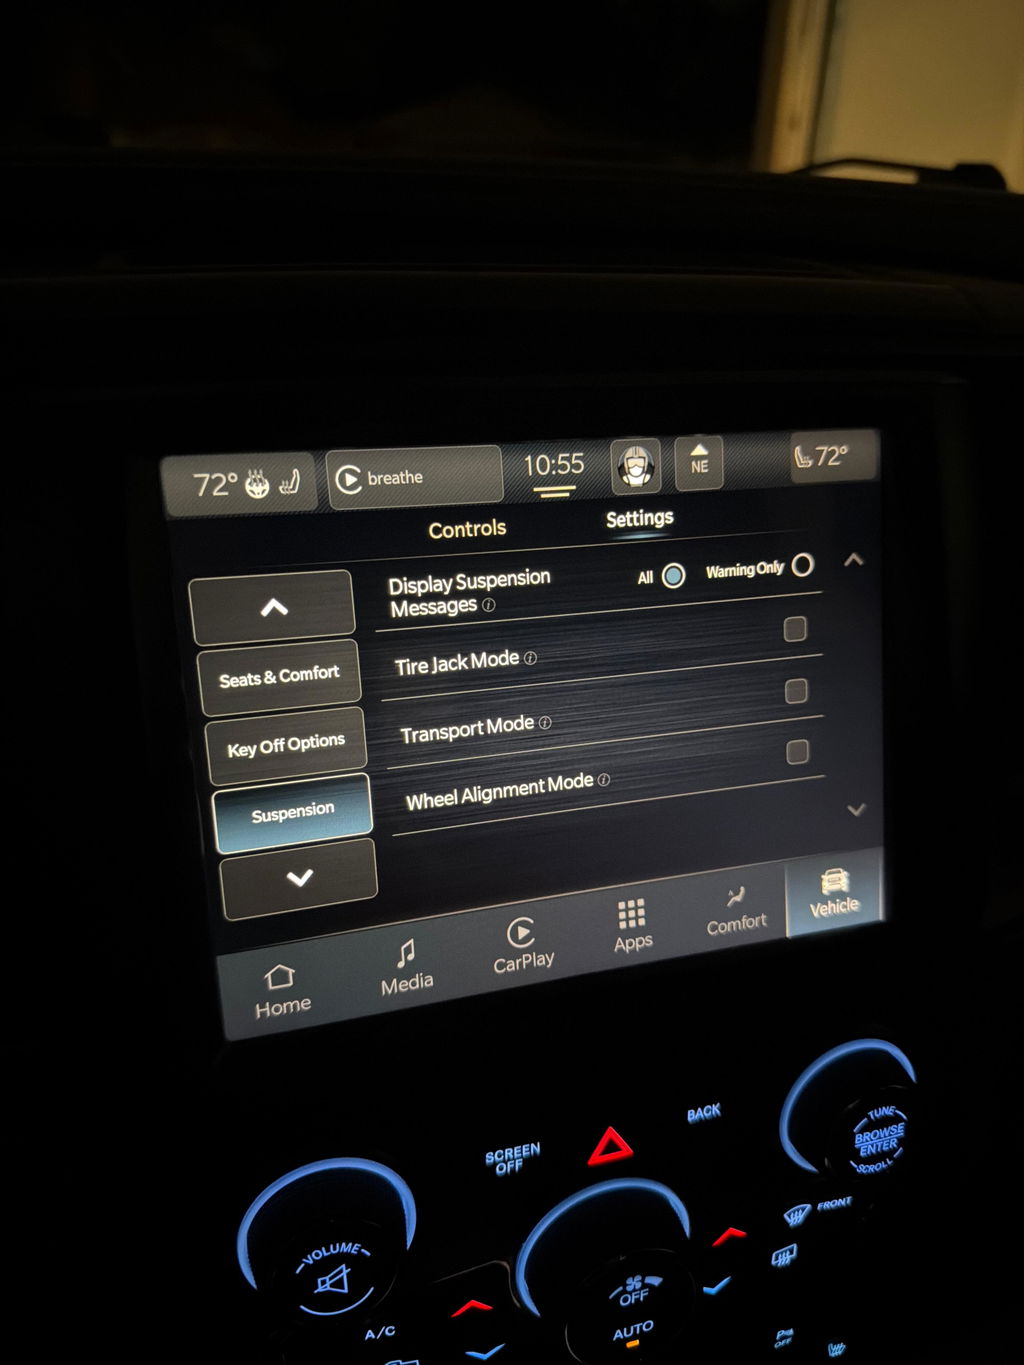
When owners say they need to transfer settings, they may mean several different things: retaining saved radio presets and paired phones, carrying over vehicle personalization menus, programming the vehicle identification number into a replacement module, or configuring a new module for factory options such as backup camera, heated seats, trailer brake controls, navigation, or premium audio.
Those tasks are not interchangeable. Personal preferences are convenient, but vehicle configuration is what makes the retrofit operate correctly. A properly matched, vehicle-specific OEM upgrade kit is designed to reduce the guesswork, yet programming and initialization may still be required based on model year, trim level, and the original equipment in the truck.
Start with the truck's factory build, not the new part
Before disconnecting the original radio, cluster, or module, document what currently works. Take clear photos of infotainment pages, active camera views, vehicle settings menus, warning messages, and audio controls. If the system displays software versions or module information, record those too.
This step gives you a baseline. After installation, you can confirm whether the new equipment retained the truck's original functions or whether a feature needs further configuration. It also prevents confusion over features the vehicle never had in the first place.
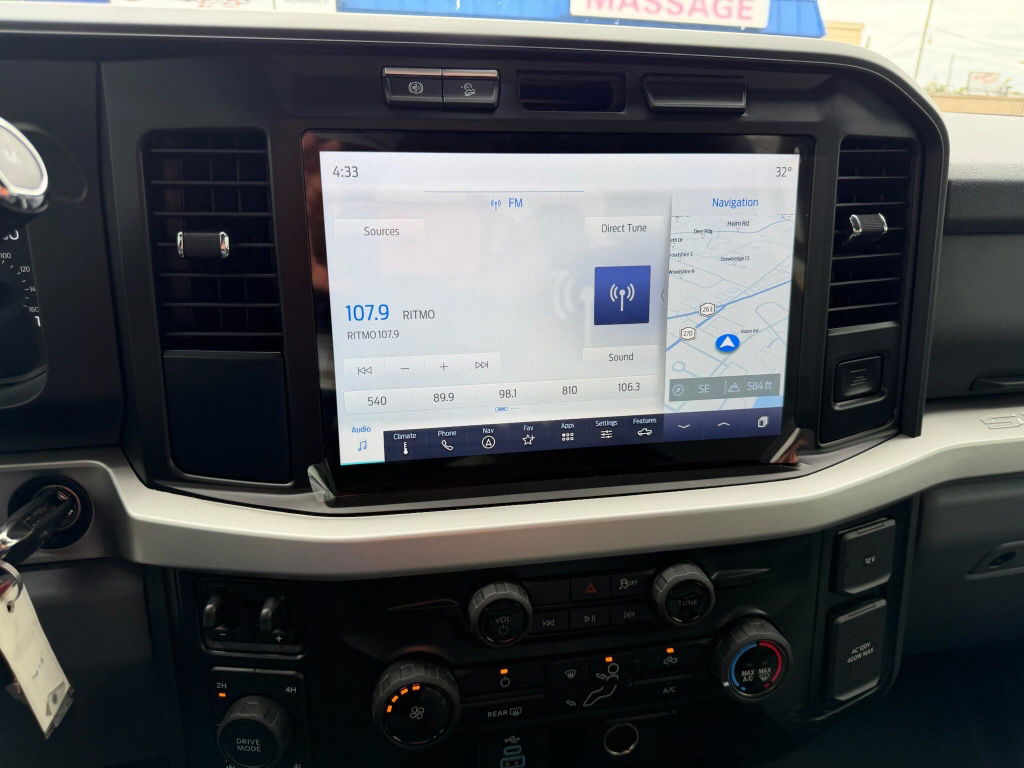
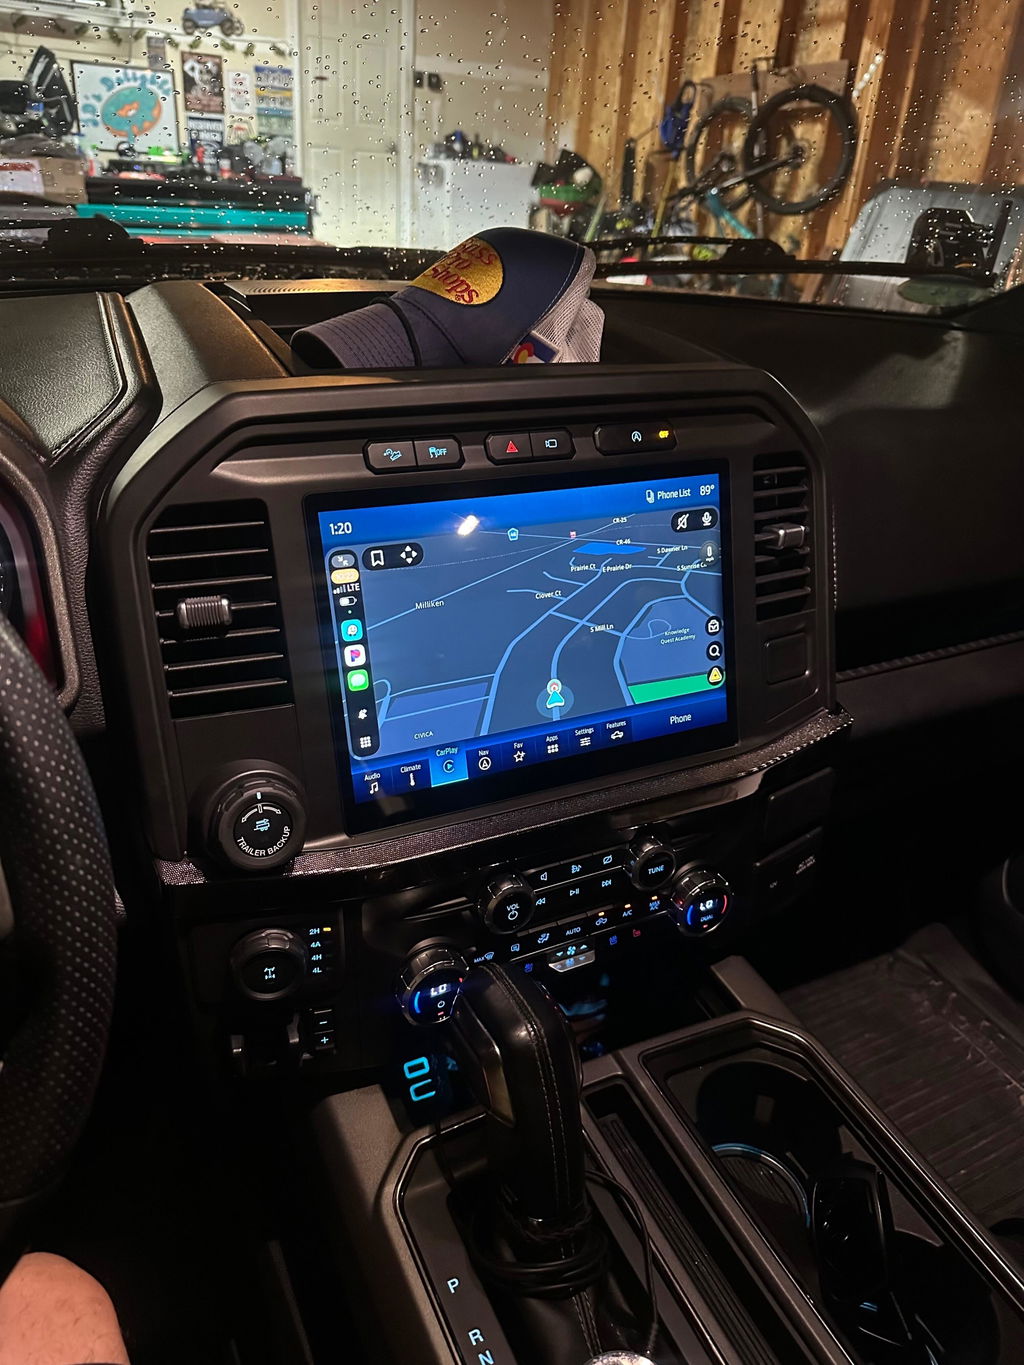
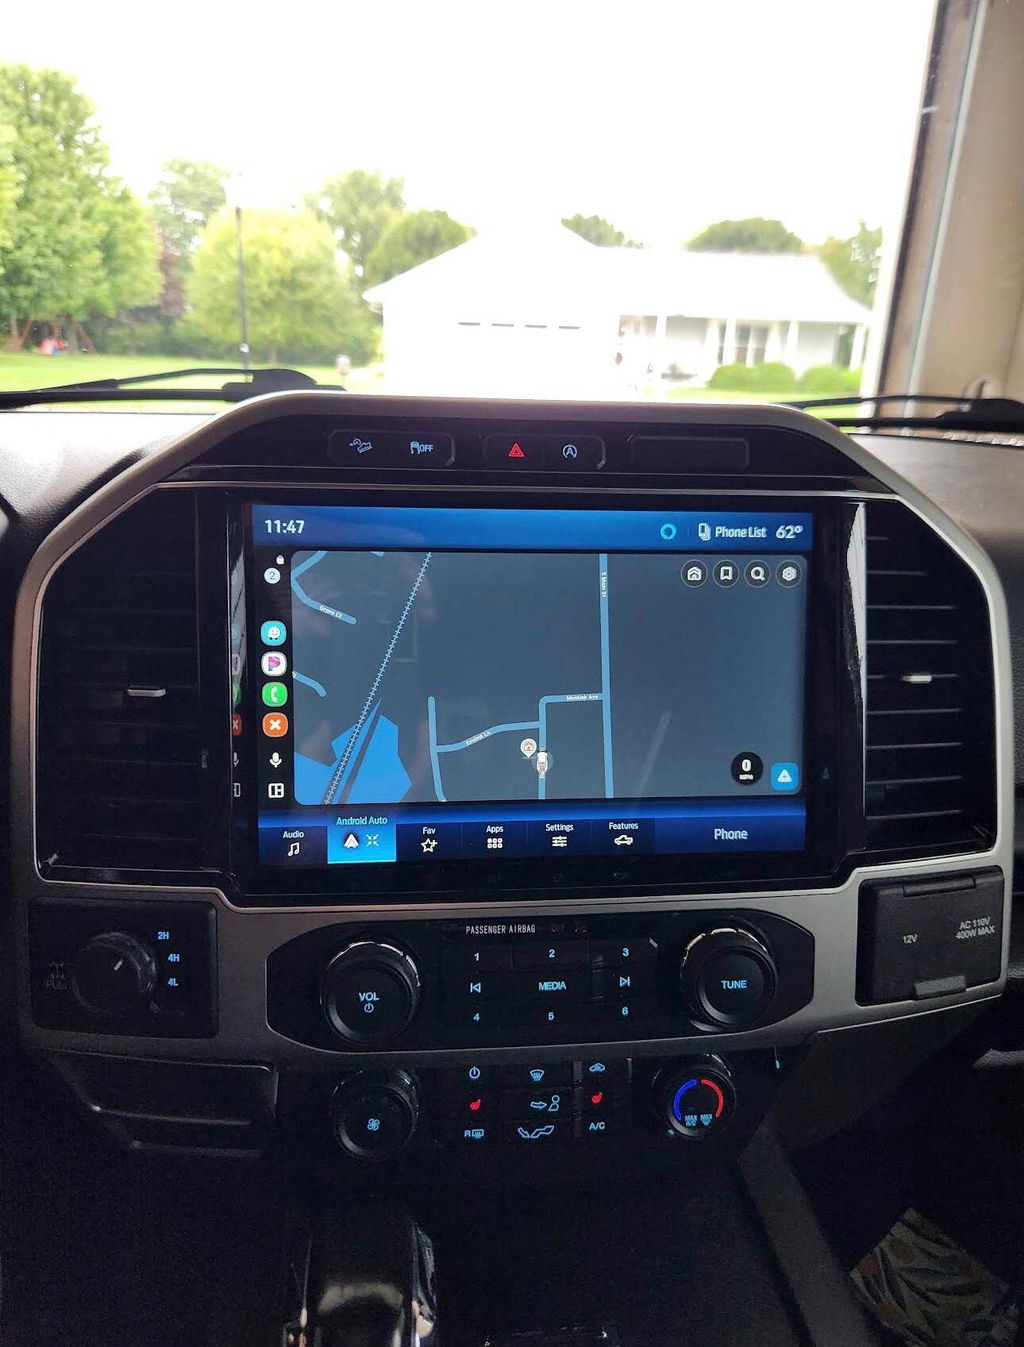
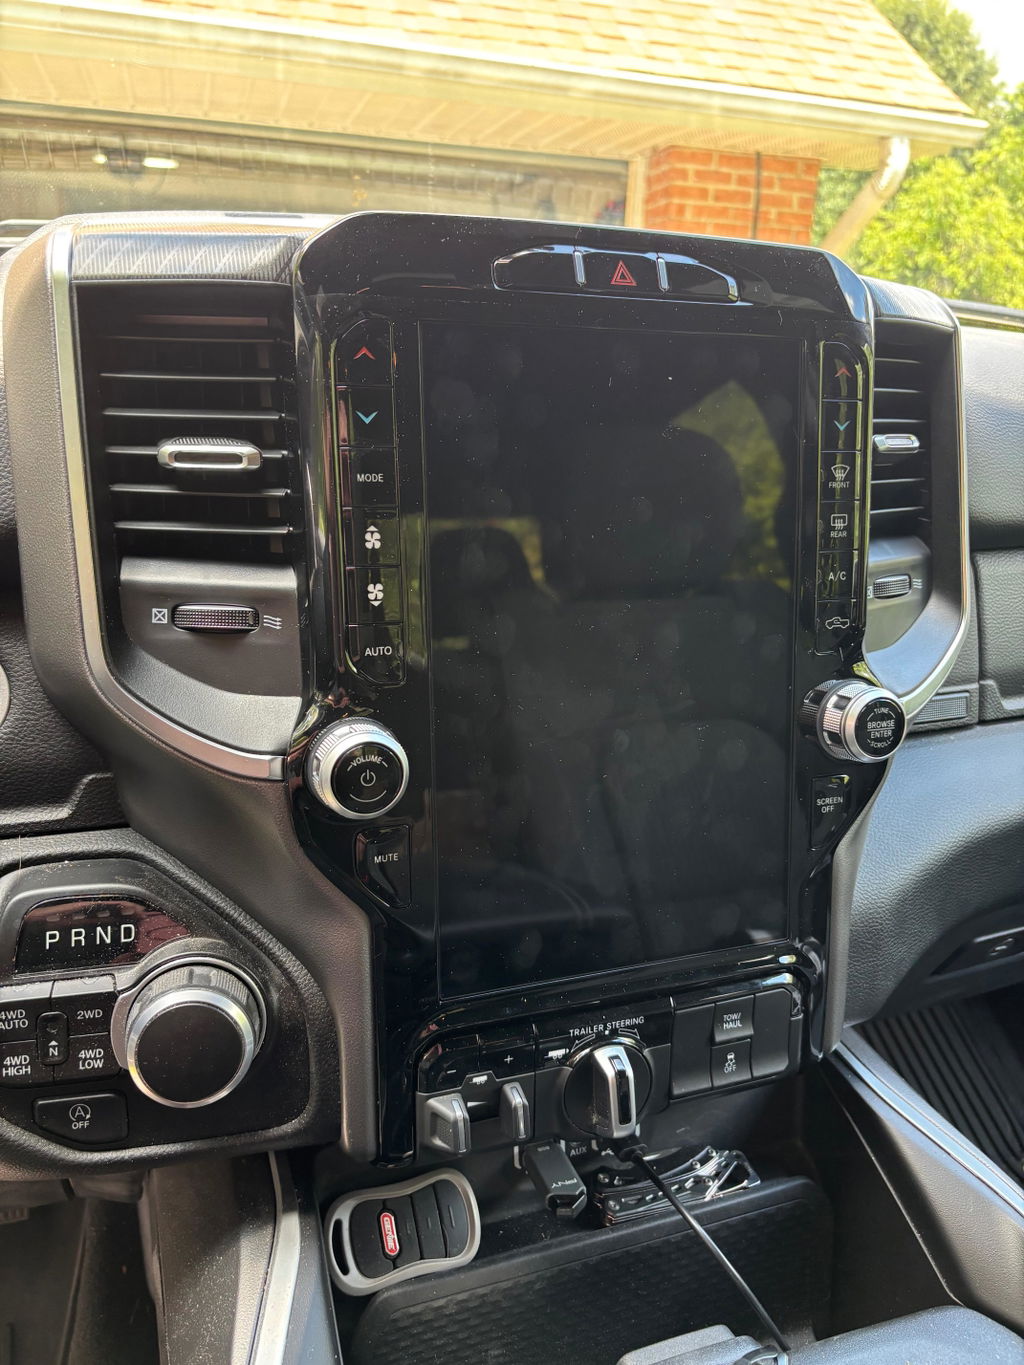
For example, a Ram with the factory 360-degree camera system requires more than a radio that physically fits the dash. A Ford with a premium amplified audio system may need a compatible module and correct configuration to keep all speakers operating normally. On either platform, selecting parts by screen size alone is not enough.
Save user-level settings where possible
Some user settings can be saved manually before the retrofit. Write down radio presets, favorite contacts, paired-device details, equalizer settings, and common climate or vehicle preference selections. Phone pairings and saved profiles may not move over automatically, especially when the replacement unit uses a different software generation.
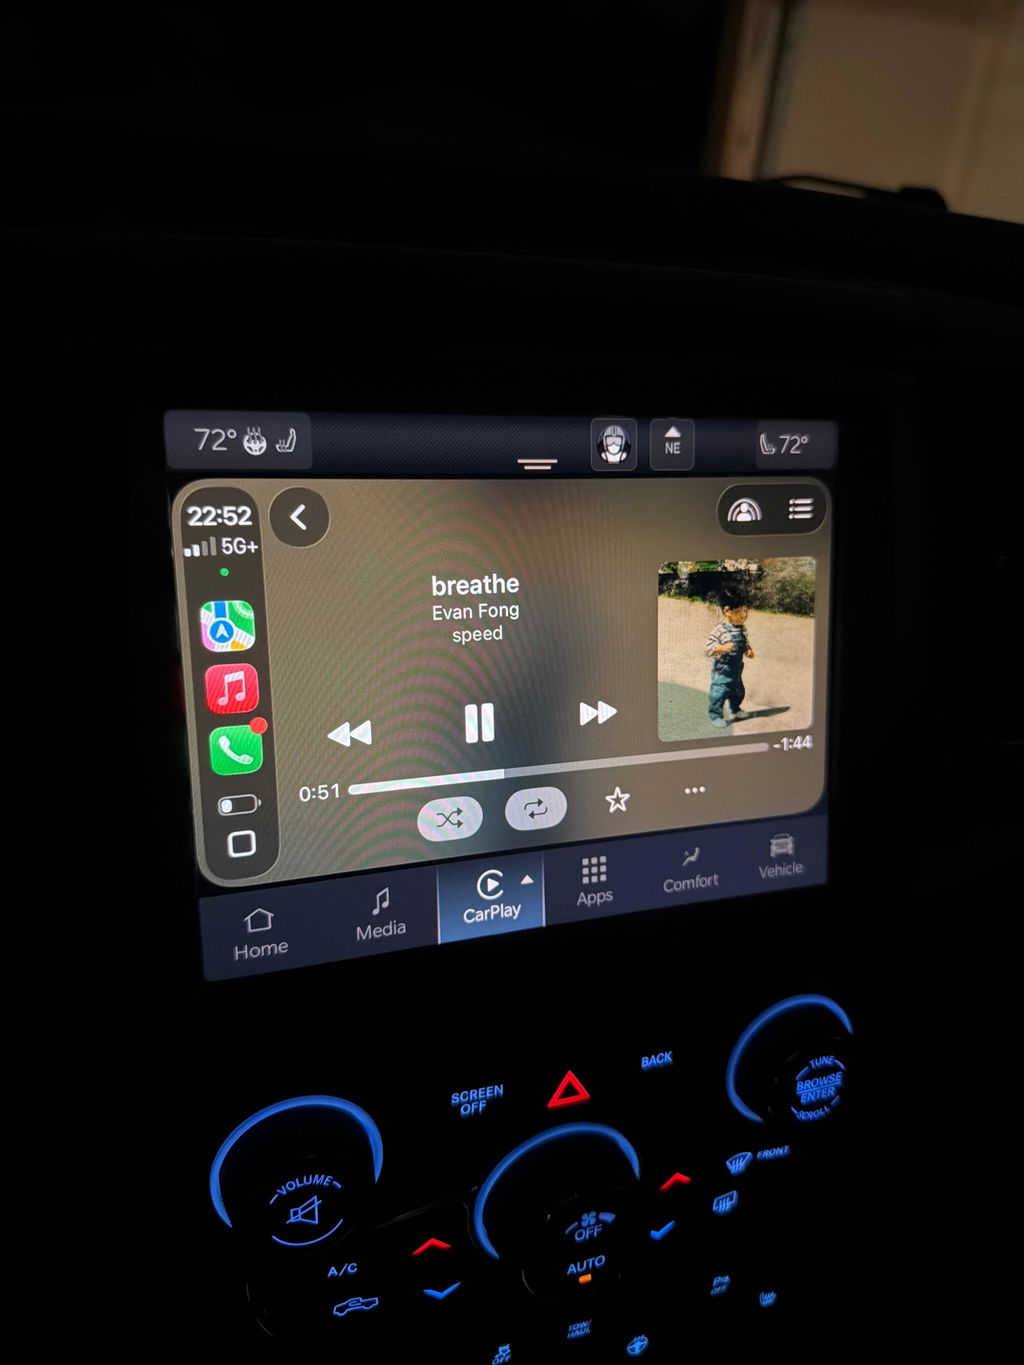
Expect to pair phones again after an infotainment conversion. That is normal and does not mean the installation failed. Wireless Apple CarPlay and Android Auto upgrades, in particular, often require a fresh Bluetooth and Wi-Fi pairing process.
Confirm the original option content
Know whether the truck has a factory backup camera, front camera, surround-view camera, parking sensors, heated or ventilated seats, heated wheel, power running boards, trailer brake controller, satellite radio, navigation, or premium audio. These are the details that determine whether a retrofit needs a specific harness, module variant, programming file, or setup procedure.
Factory build information matters more than assumptions based on trim badges. Two trucks with the same year and trim can have different audio, camera, and convenience packages.
Match the retrofit to the exact vehicle
OEM-based retrofits are more reliable when every major component matches the vehicle generation and option package. That includes the display, radio module, bezel, connectors, USB hub, antenna connections, and supporting harnesses. A plug-and-play kit should fit the vehicle's existing architecture, not force the vehicle to adapt to a universal unit.
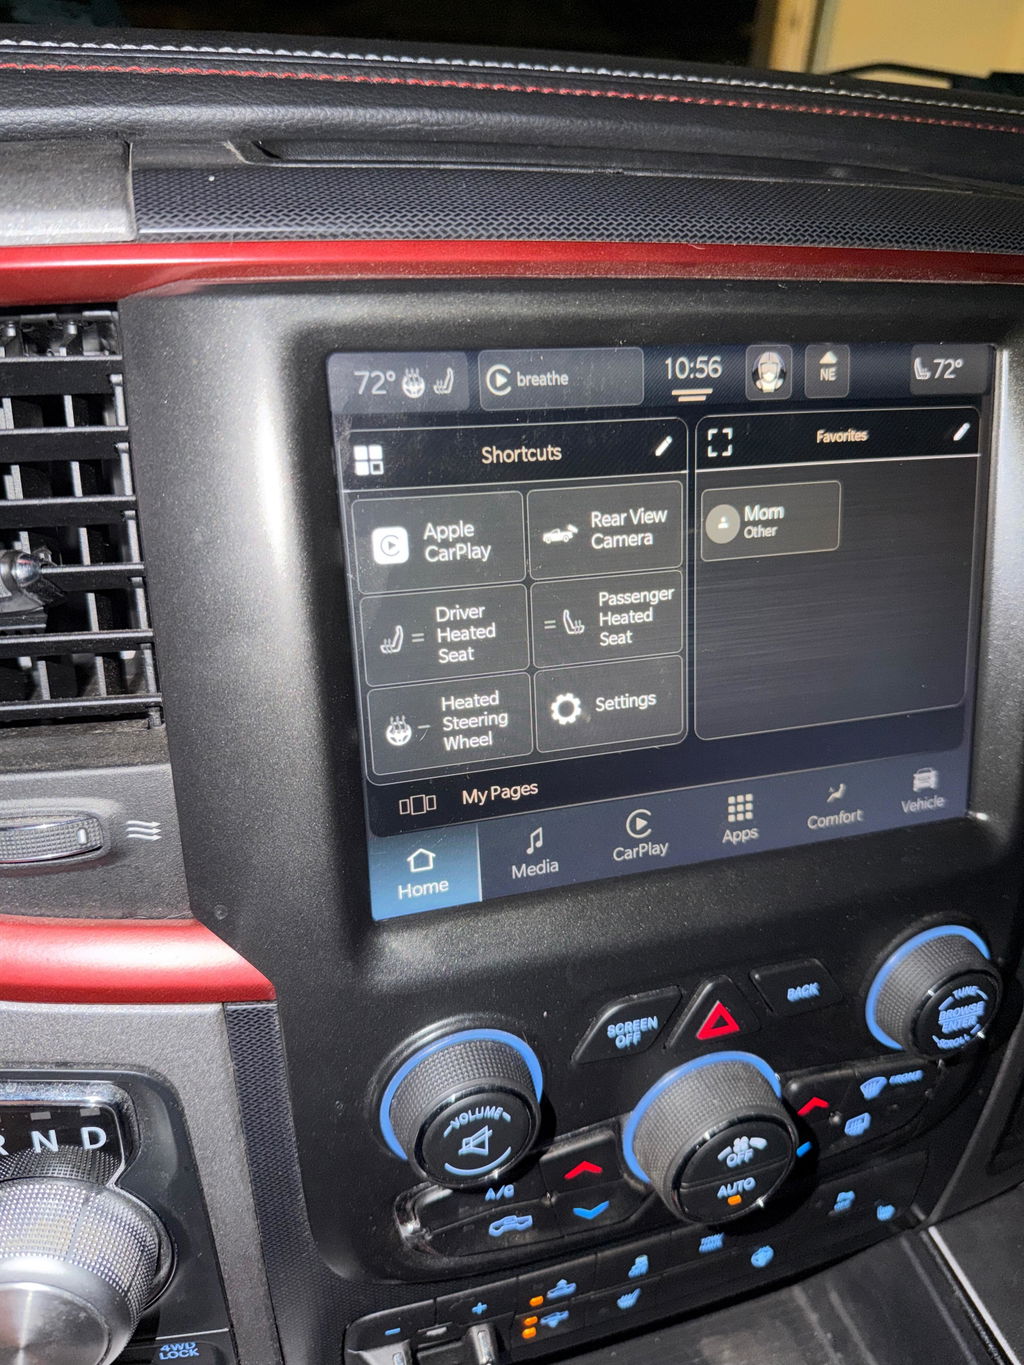
For late-model Ram trucks, a Uconnect conversion may require compatible radio hardware, the correct display assembly, and programming that recognizes the vehicle's factory equipment. For Ford SYNC-related upgrades, module compatibility, screen type, USB hardware, and vehicle configuration can all affect the final result.
Used OEM modules can add another variable. A donor part may retain information from its previous vehicle, including a stored VIN or incompatible option configuration. It may look correct and use the right connectors, but still need initialization before all functions are available.
DD Offroad focuses on vehicle-specific OEM upgrade solutions for this reason. Correct-fit components and clear model-year compatibility reduce the risk of chasing down extra adapters, cutting factory wiring, or losing features after the install.
Transfer vehicle settings after retrofit installation
Once the physical installation is complete, do not immediately assume the job is finished because the screen boots up. Begin with the ignition in the required position and follow the instructions supplied with the kit or programming tool. Some vehicles need a module reset, a configuration write, a VIN pairing procedure, or a short sleep cycle before every menu and feature appears.
Avoid cycling the battery or unplugging modules repeatedly while programming is underway. Low voltage and interrupted configuration processes can create additional faults. If the vehicle will be powered on for an extended setup session, use a stable battery support source when appropriate.
The exact process depends on the retrofit. In broad terms, it usually involves confirming module communication, applying the correct vehicle configuration, clearing expected installation-related fault codes, and testing every retained feature. Some settings can be restored through the infotainment menus. Others require a compatible programmer or professional diagnostic equipment.
Do not use random configuration files pulled from forums or a different vehicle. A setting that enables a camera or audio feature on one truck can cause problems on another. Factory modules are tied into safety, security, and network systems, so configuration should match the actual equipment installed on the vehicle.
What should return automatically
With a correctly matched OEM-style retrofit, basic functions such as steering-wheel audio controls, factory backup camera display, climate controls shown on the screen, door-chime behavior, and vehicle settings menus may return once the module is recognized and configured.
That does not mean every stored preference will follow the new hardware. Radio presets, favorite pages, connected services, phone profiles, and navigation history may need to be set up again. Treat retained vehicle functionality and retained personal data as two separate expectations.
What may require additional configuration
Features that commonly need special attention include premium audio amplifiers, multiple-camera systems, trailer camera integration, satellite radio, active park assist, off-road pages, factory navigation, remote services, and digital cluster displays. The more option content the truck has, the more important exact-fitment verification becomes.
A digital cluster conversion deserves particular care. The cluster may display fuel level, warning indicators, drive information, and menu data, but its behavior must match the truck's original module network. Mileage, security functions, and warning systems should never be handled casually. Follow the correct process for the vehicle and comply with all applicable laws regarding odometer information.
Test every function before reassembling the dash
Before reinstalling trim panels and finalizing the job, test the upgrade with a deliberate checklist. Start the vehicle and verify that the new module powers up normally. Check that the screen responds, the physical controls work, and the steering-wheel buttons perform the expected functions.
Then test the systems tied to the retrofit. Shift into reverse in a safe location and confirm the camera view, guidelines, and parking alerts. Check audio from each speaker, Bluetooth calls, USB ports, wireless phone projection, AM/FM reception, SiriusXM if equipped, navigation if applicable, and climate-control access. Open the vehicle settings menus and confirm the features shown match the truck's equipment.
Also check for warning lights or messages after a short drive. A feature can appear correct while stationary but reveal a communication issue once the vehicle is moving. If a function is missing, stop and identify whether it is a configuration issue, a hardware compatibility issue, or a feature the original truck did not support.
When to stop and get support
A no-start condition, repeated module resets, missing safety-related alerts, network communication faults, or a blank camera display are not issues to ignore. Disconnecting and reconnecting parts until something changes can make diagnosis harder.
Use the kit documentation, confirm part numbers and vehicle fitment, and seek qualified support when the problem involves security pairing, VIN programming, advanced module configuration, or safety systems. The right answer is sometimes a different module or harness, not more programming.
A retrofit is worth doing when it adds modern capability without turning a factory truck into a wiring project. Document the original setup, use compatible OEM Genuine Components, complete the required configuration, and test the system before calling the install finished. That approach keeps the upgrade clean, functional, and ready for the miles ahead.