Program Replacement Infotainment Module the Right Way
Share
A larger OEM touchscreen is only half of an infotainment upgrade. Once the correct screen, radio module, bezel, and related hardware are in the truck, the vehicle still needs to recognize what was installed. That is where a program replacement infotainment module process matters. Proper programming helps the replacement system communicate with the truck’s existing modules, retain supported factory functions, and operate as the vehicle was intended to operate.
For Ram, Ford, Dodge, Jeep, and Chrysler owners, this is not a place to guess with a universal scan tool or a random used module. Factory infotainment systems are tied to vehicle configuration, feature codes, network communication, and, in many cases, security information. The right programming method depends on the vehicle year, platform, original equipment, and the exact module being added.
What Programming a Replacement Infotainment Module Does
Programming is the configuration step that tells the vehicle what the replacement infotainment hardware is and how it should behave. It is different from simply clearing a warning light or changing a convenience setting. A replacement radio or infotainment module may need to be matched to the truck so it can communicate correctly on the vehicle network.
On an OEM-style upgrade, programming can address items such as screen size, radio configuration, camera support, audio settings, steering-wheel controls, climate-control display functions, satellite radio capability, and vehicle-specific options. The exact list varies by platform. A Ram with a basic factory screen does not necessarily use the same configuration as a Ram equipped with a premium sound system, factory navigation, surround-view cameras, or an integrated trailer camera setup.
This is why a replacement module can physically power up yet still be incomplete. You may see a screen, but lose audio, have a persistent anti-theft message, find that backup camera guidelines are missing, or discover that a factory feature does not appear in the menu. The hardware may be genuine OEM, but it still needs the correct vehicle-specific configuration.
When a Program Replacement Infotainment Module Is Needed
A programming step is commonly needed when you are replacing the main radio module, moving to a newer OEM infotainment generation, or converting from a smaller factory screen to a larger factory-style display. It is also common when installing a used OEM module sourced from another vehicle, since that component may carry configuration information from its original application.
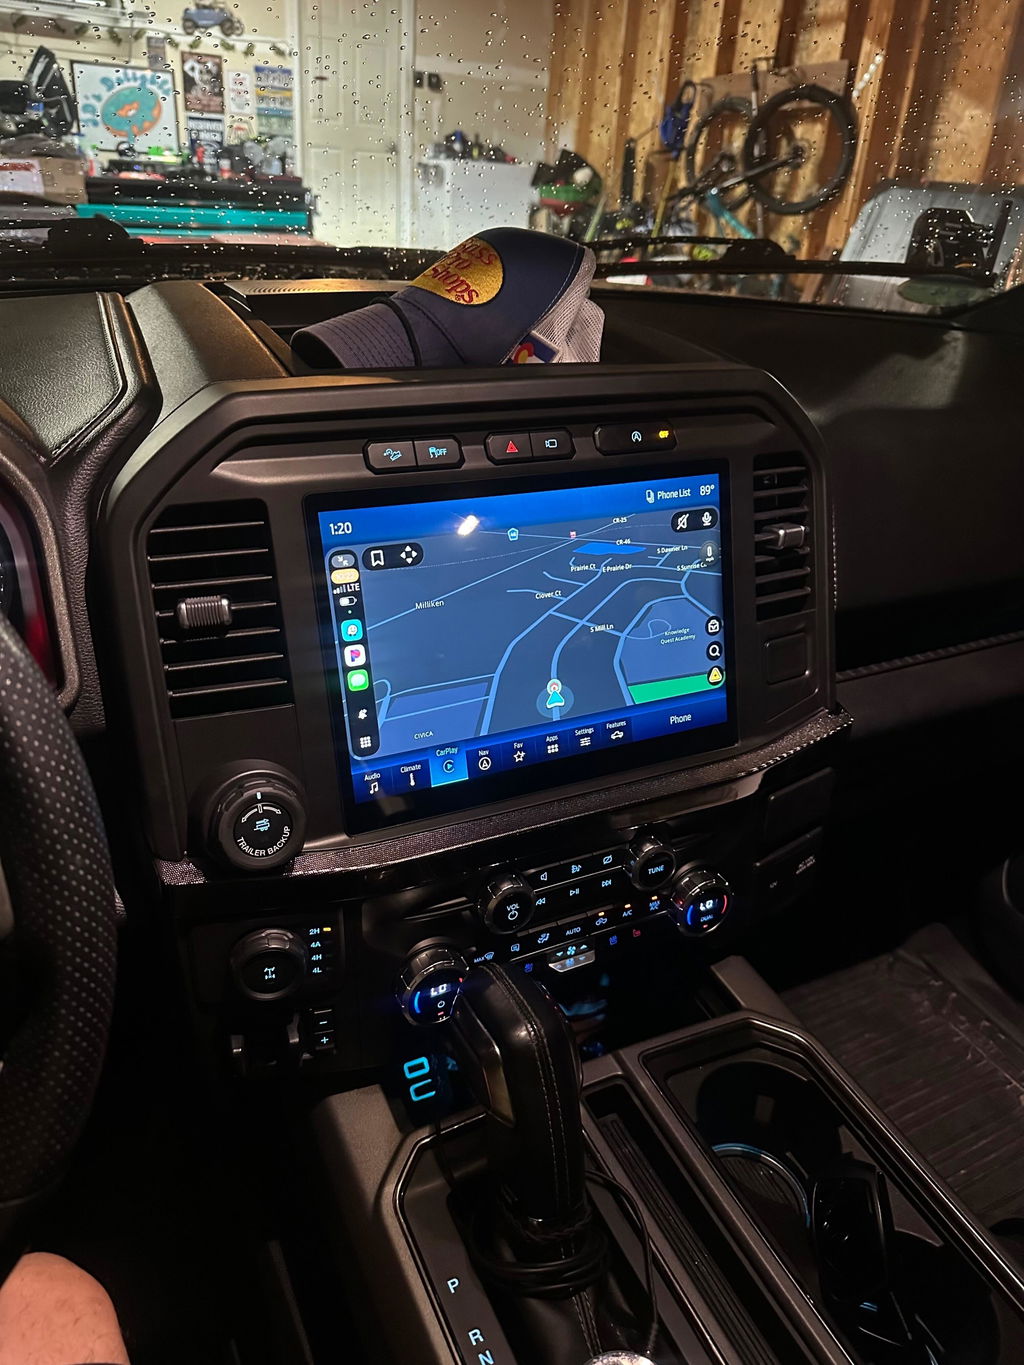
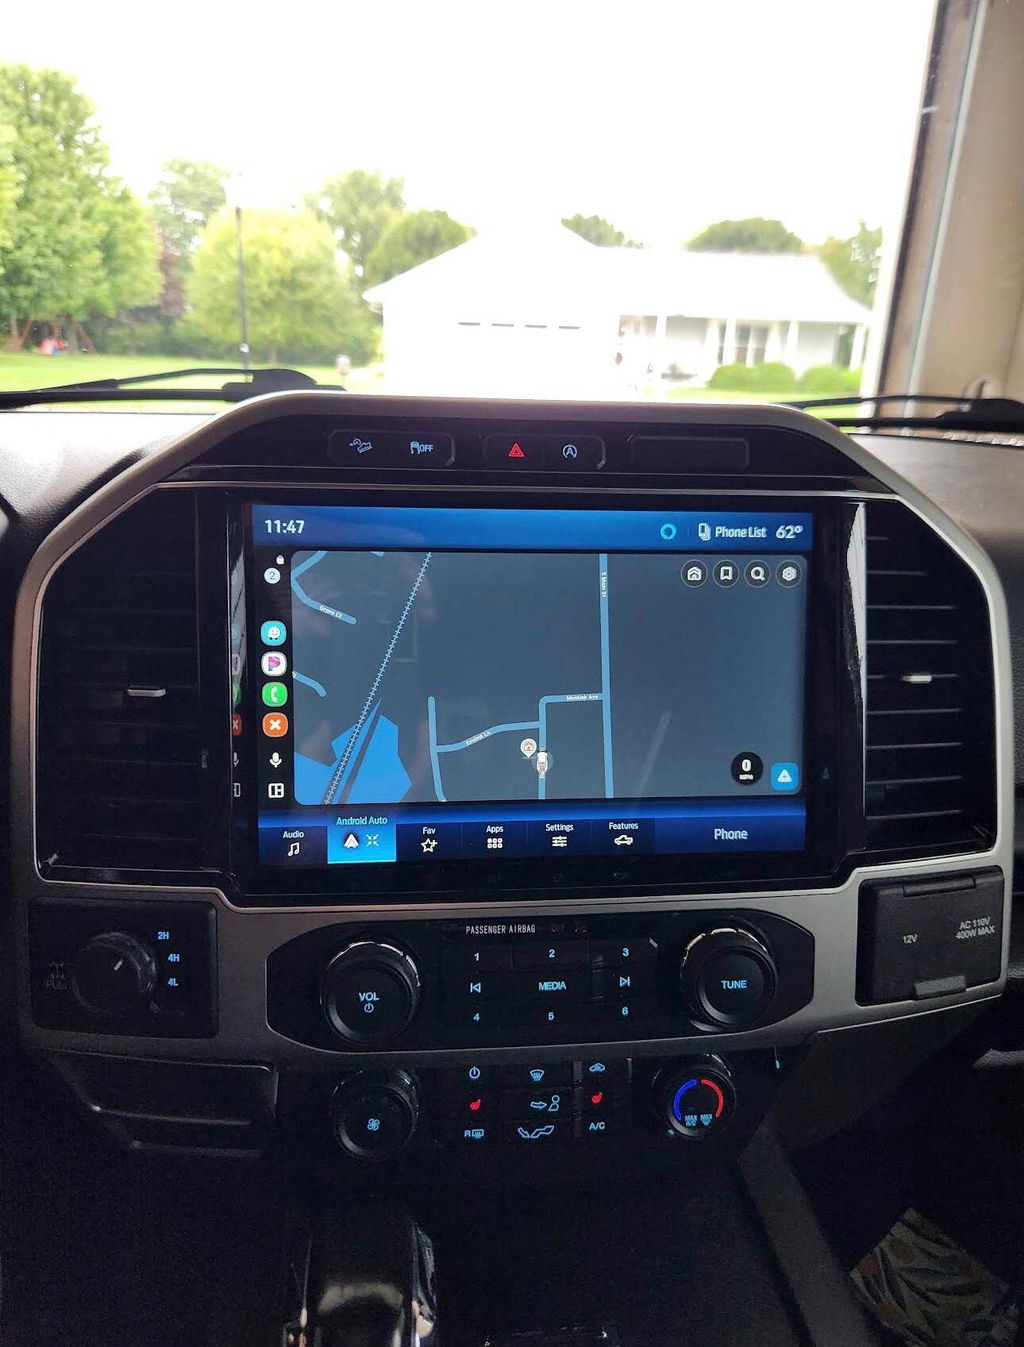
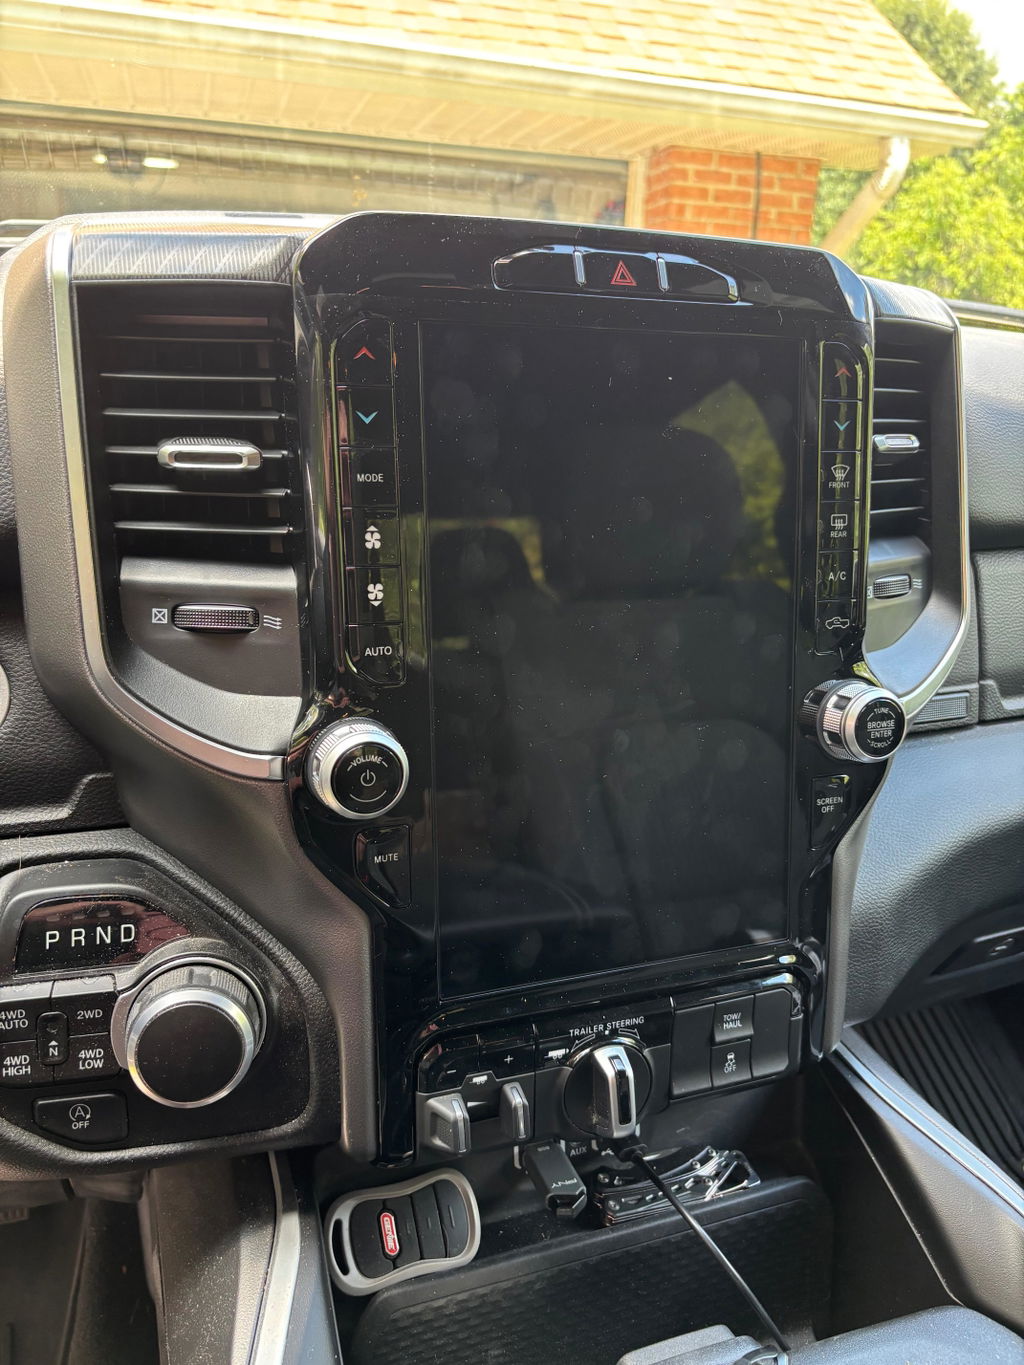
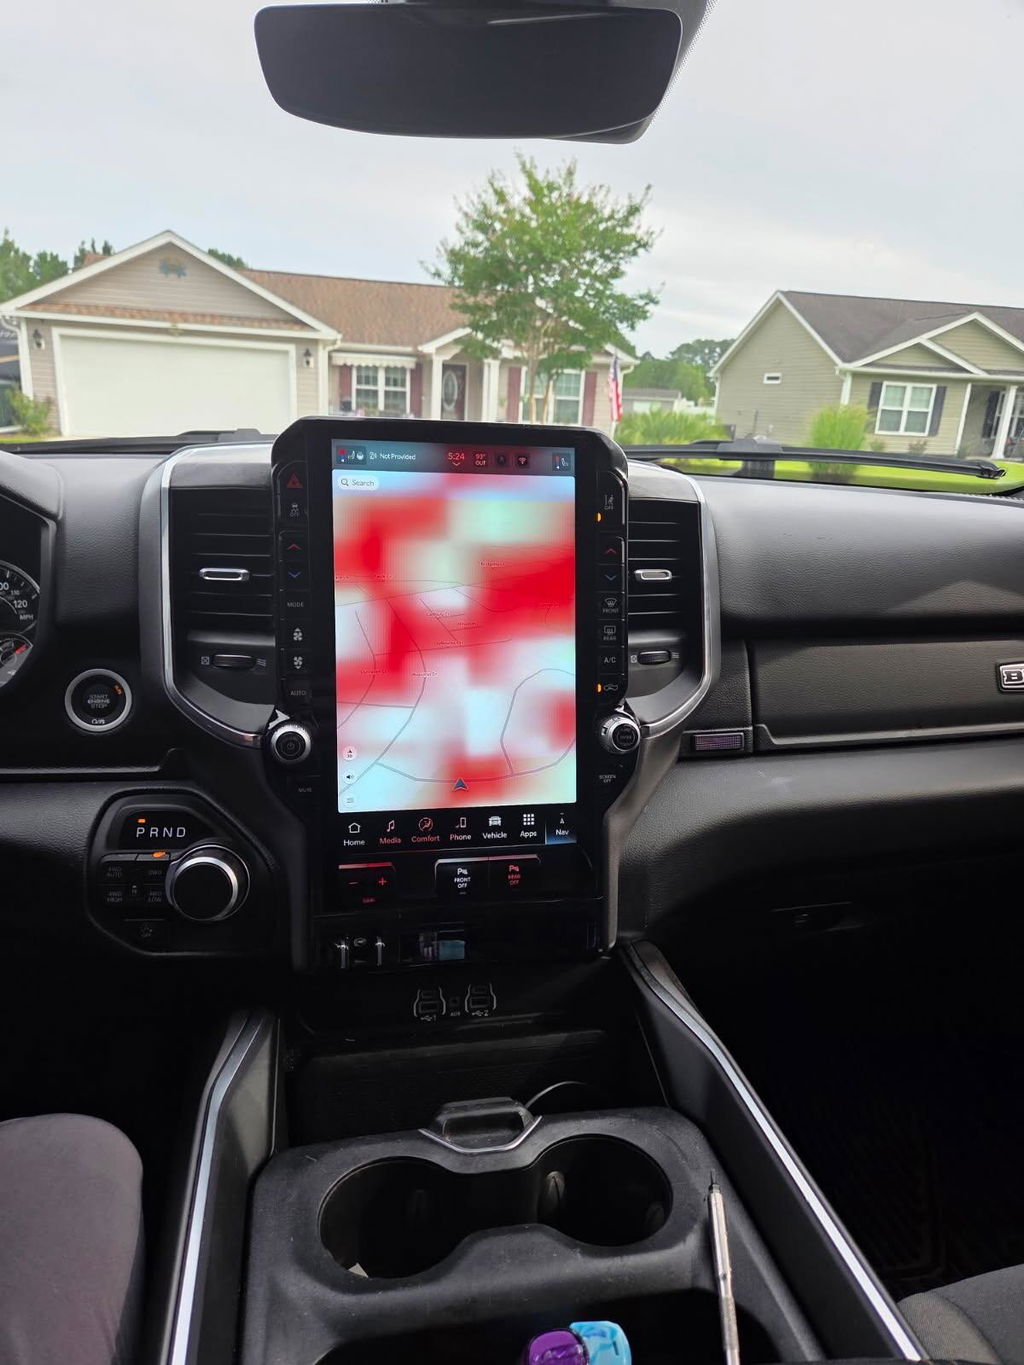
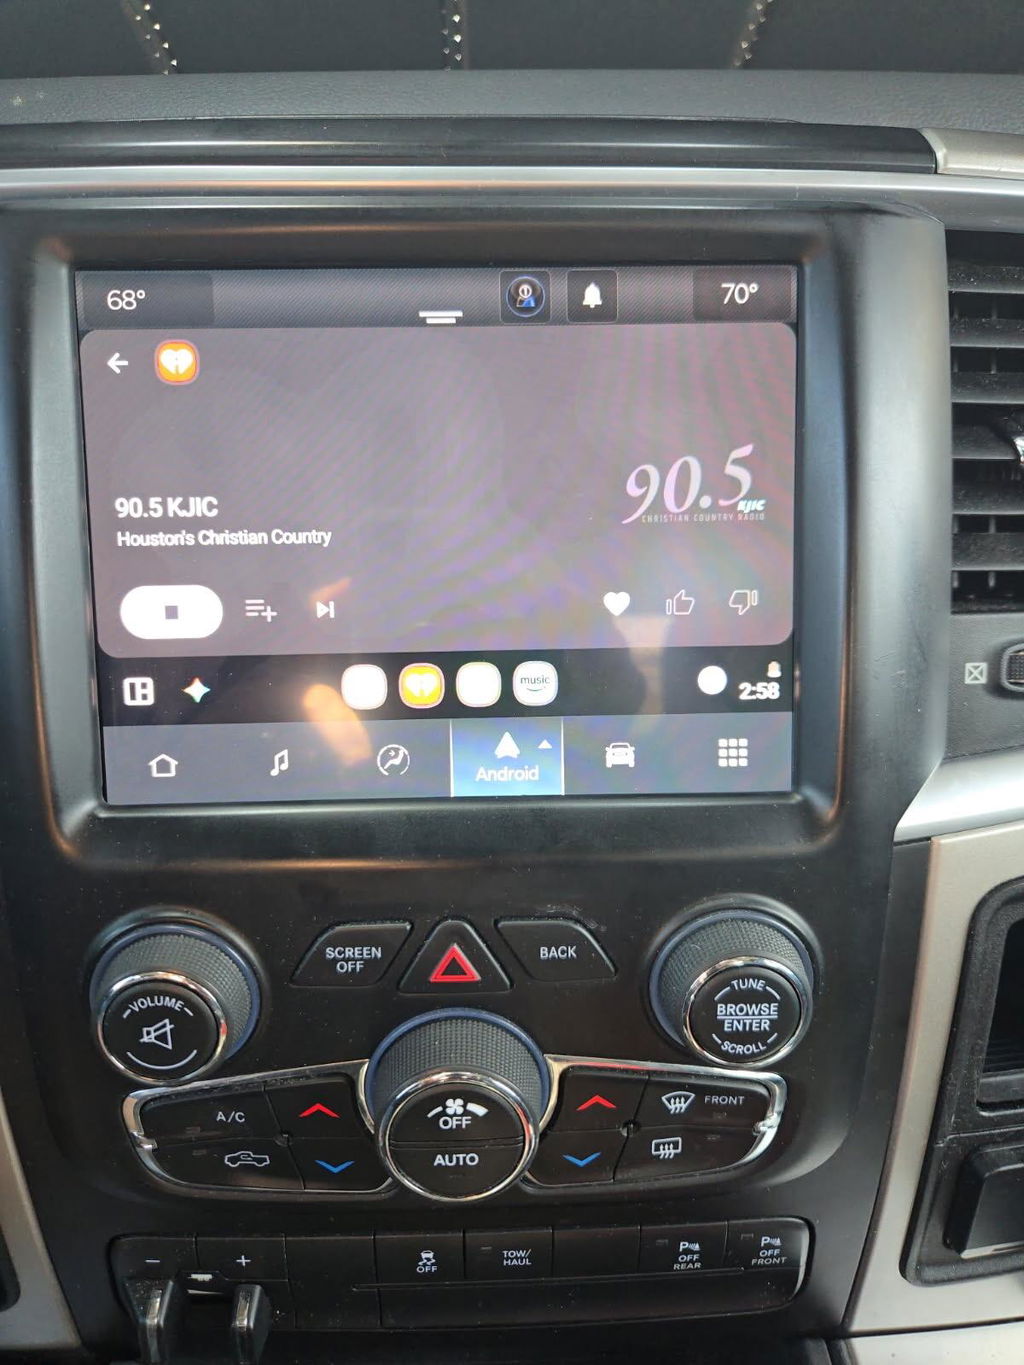
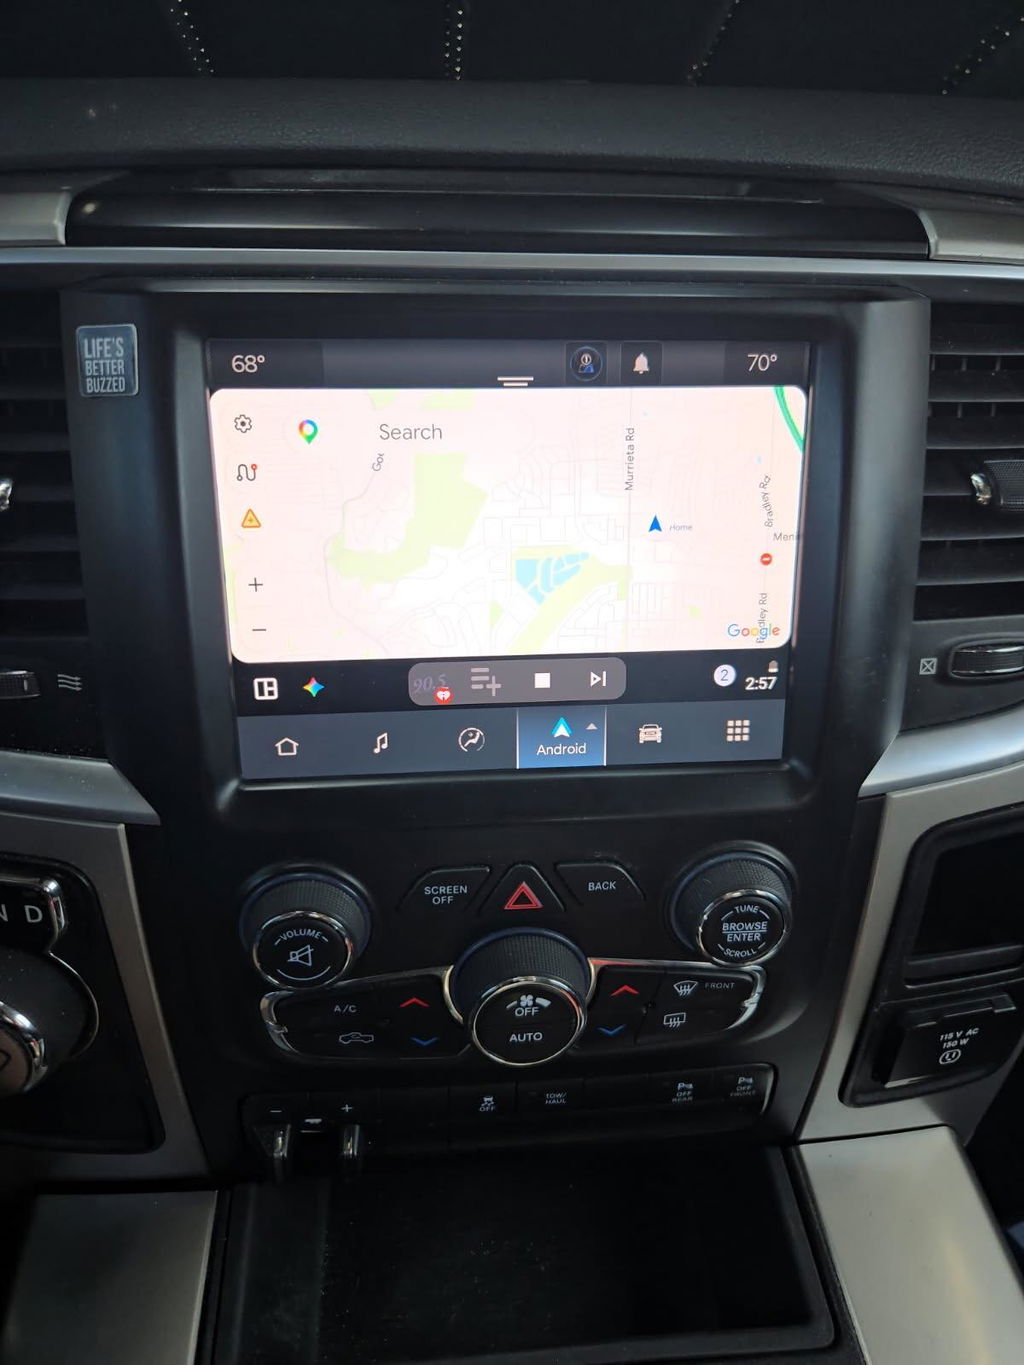
For example, a Uconnect 5 conversion can involve more than installing a touchscreen. Depending on the truck and kit, the upgrade may include a compatible radio module, display, trim pieces, USB media hub, wiring, and programming solution. The kit needs to match the model year and factory setup, not just the screen opening in the dash.
Programming may also be required after a module replacement caused by failure. If the original radio has a dead screen, repeated rebooting, water damage, missing audio, or internal fault codes, swapping in a replacement unit does not automatically restore every function. The replacement needs to be appropriate for the vehicle and configured accordingly.
There are exceptions. Some vehicle-specific upgrade kits are designed to minimize programming or include an automatic programmer that handles the required configuration through the diagnostic port. That does not mean programming is unnecessary. It means the process has been simplified for the owner by using the correct components and an application-specific programming tool.
Why OEM-Based Kits Matter More Than a Universal Screen
Universal aftermarket head units can add features, but they often require adapters, custom harnessing, trim modification, separate camera interfaces, and extra modules to keep factory controls working. That approach can make sense for a dedicated custom build, but it is not the cleanest answer for many truck owners who want factory integration.
An OEM-based, vehicle-specific kit is built around the equipment architecture already in the truck. The display location, controls, factory camera, steering-wheel buttons, microphone, and vehicle menus are considered as part of the upgrade path. When the kit is matched correctly, the end result looks and functions closer to a higher-trim factory configuration rather than an add-on stereo installation.
That distinction matters on work trucks and off-road rigs. A factory-style system is easier to live with when you rely on backup camera visibility, hands-free calling, trailer settings, climate controls, and steering-wheel buttons every day. It also helps preserve the clean dashboard fitment that owners expect from a modern Ram or Ford interior.
OEM Genuine Components are not automatically interchangeable across every year and trim. A module from a similar-looking truck can have different connectors, software requirements, feature support, or network architecture. Compatibility should always be based on the full vehicle application, including year, make, model, trim, original radio style, and available factory options.
What to Verify Before You Order
The fastest way to avoid a bad infotainment upgrade is to identify the truck before shopping by screen size alone. Two trucks from the same model year can have different audio systems, camera packages, media hubs, or factory radio generations.
Start with the vehicle year, make, model, and trim. Then confirm the existing screen size and radio system. On many applications, a photo of the current dash and the vehicle identification number can help confirm the correct kit. If the vehicle has premium audio, factory navigation, a 360-degree camera, rear-seat entertainment, trailer camera provisions, or other high-level options, those details should be part of the fitment check.
Also determine what features you expect after installation. If wireless Apple CarPlay and Android Auto are the priority, a newer OEM infotainment conversion may be the right move. If you only need to replace a failed factory module, the best option may be a direct replacement configured for the original equipment level. Spending more on an upgrade is not always the right answer if it removes a feature you use or requires components not included in a basic swap.
A complete vehicle-specific package may include the module, screen, bezel, wiring, USB hub, antenna components, and programming device. Do not assume every component is interchangeable from your existing system. Missing one supporting piece can turn a Plug and Play project into an avoidable troubleshooting session.
How Automatic Programmers Simplify the Process
An automatic programmer is designed to apply the needed vehicle configuration without requiring the owner to navigate dealer-level software menus. In a compatible application, the device connects through the diagnostic port and follows a defined process to update the truck for the replacement module or added feature.
The benefit is consistency. Instead of paying a shop to experiment with configuration settings or trying to use a generic scanner with limited access, the programmer is intended for a specific supported upgrade. This helps reduce installation time and removes much of the uncertainty around configuration.
That said, the process still needs to be followed carefully. Keep battery voltage stable, use the programmer only on the listed vehicle application, and do not disconnect it while it is writing changes. A battery charger or maintainer is a smart precaution, especially if the vehicle battery is older or the programming procedure takes more than a few minutes.
Programming tools are not universal magic devices. A programmer made for one Ram generation or one Uconnect conversion may not support another model year, trim, or radio family. Using the wrong tool can leave features unconfigured or create fault messages that take more time to correct.
Common Problems Caused by Skipping the Correct Setup
The most common issue is a system that appears to work but does not fully integrate. The screen may boot, Bluetooth may connect, and audio may play, yet the factory camera, climate pages, park-assist display, or steering-wheel buttons may not respond correctly. These are configuration and compatibility concerns, not necessarily signs of a defective module.
Owners also run into anti-theft messages or radio lockouts when installing a used module without addressing its original vehicle association. In other cases, the wrong radio module creates communication fault codes because the truck is expecting equipment it does not recognize.
Poor fitment research can create more basic problems. A newer screen may require a different bezel, a different USB hub, or a compatible harness. Premium factory audio can need different handling than a standard audio system. The goal is not to force parts to fit. The goal is to install a package designed for the exact platform.
Choose the Upgrade Path That Fits the Truck
The right program replacement infotainment module setup starts with an honest look at the truck and the goal. A dependable work truck with a failed radio may need a direct OEM replacement. A Ram owner looking for a larger screen, updated interface, and wireless smartphone integration may benefit from a complete Uconnect conversion kit. A truck with advanced camera and audio options may require a more specific package than a base-model application.
DD Offroad focuses on OEM-based, vehicle-specific upgrade solutions because clean fitment and factory integration matter more than a screen that merely turns on. Confirm the application before ordering, use the correct programming method, and the finished upgrade can feel like equipment the truck should have had from the factory.