How to Program Ram Modules the Right Way
Share
A Ram module is not a universal plug-in part. Whether you are adding an OEM remote start kit, replacing a Uconnect radio, installing a digital cluster, or correcting a body control issue, the vehicle has to recognize the module, its configuration, and the options installed on that specific truck. That is the real answer to how to program Ram modules correctly: use the right hardware, the right software access, and settings that match your VIN.
Programming can be straightforward with a vehicle-specific kit and compatible programmer. It can also create expensive problems when a module is flashed with low voltage, wrong vehicle data, or generic settings. A clean OEM-style result starts before the scan tool ever connects.
What Programming a Ram Module Actually Means
“Programming” gets used for several different processes. On Ram, Dodge, Jeep, and Chrysler vehicles, it may mean writing a new software calibration to a module, enabling factory sales codes, restoring configuration data, clearing a replacement module for the vehicle, or running a relearn procedure after installation.
Those are not interchangeable jobs. A radio upgrade may require configuration changes so the truck recognizes the correct screen size, amplifier, camera, steering-wheel controls, and feature set. An OEM remote start installation may require the vehicle configuration to enable remote-start functions after the physical components are installed. A replacement powertrain, ABS, or airbag-related module may need VIN writing, initialization, or dealer-level programming procedures.
The module matters as much as the truck. Common Ram modules that may require setup include the body control module, radio or Uconnect head unit, instrument cluster, radio frequency hub, HVAC controls, parking sensors, cameras, and gateway-related components. Each one has its own rules.
Before You Program Ram Modules, Verify Fitment
Start with the full vehicle details: model year, platform, trim, engine, cab configuration, screen size, factory options, and current module part number. “Ram 1500” alone is not enough information. A Classic truck and a newer-generation Ram 1500 can use different electronics, connectors, network architecture, and software requirements even when the interiors look similar.
For infotainment and cluster upgrades, record the original equipment before removing anything. Take clear photos of connector locations, module labels, radio screens, and current settings. If the truck has a factory amplifier, 360-degree camera, trailer camera, heated steering wheel, or other premium option, confirm that the replacement system supports it.
A VIN-specific OEM upgrade kit reduces guesswork because the components and programming path are selected around the truck rather than around a generic feature claim. That is especially valuable on newer Ram platforms where factory options are controlled through multiple communicating modules.
Check for Existing Fault Codes First
Do not begin programming a truck that already has unexplained communication faults. Scan the vehicle and save the diagnostic report before installation. Low-voltage codes, CAN bus faults, stored configuration errors, or missing-module codes can interfere with programming and make it difficult to tell whether the new part is the problem.
Fix basic electrical issues first. A weak battery, loose ground, damaged connector, aftermarket wiring splice, or blown fuse can turn a simple module setup into a no-start or no-communication condition.
The Equipment You Need
The correct tool depends on the job. A basic code reader can clear trouble codes and show live data, but it usually cannot flash modules, modify vehicle configuration, or complete OEM initialization routines.
For most programming work, you need a compatible diagnostic interface, the correct software or programming device, and a stable battery maintainer. Many newer Ram, Dodge, Jeep, and Chrysler vehicles also use a Security Gateway Module. The gateway restricts access to certain diagnostic commands, so a tool must have authorized access or an approved procedure for the vehicle being serviced.
Do not confuse a programmer with a tuner. A performance tuner may change engine or transmission calibrations, while a configuration programmer is used to enable or disable factory options and write module settings. Neither tool automatically replaces the other.
Use a battery maintainer designed to hold steady voltage during programming. A charger that cycles aggressively or an aging battery can cause voltage drops during a flash. If communication is interrupted while software is being written, the module may fail to boot afterward.
For a professional-level job, have these items ready:
- A vehicle-compatible scan tool or dedicated automatic programmer
- A reliable laptop, tablet, or handheld device with current software
- A battery maintainer that can support programming voltage
- The correct OEM or vehicle-specific module and harnesses
- A saved pre-install scan report and original configuration details
A Safe Process for Programming Modules
The exact menu names vary by software and module, but the process follows the same basic order.
First, connect the battery maintainer and confirm stable voltage. Turn off unnecessary electrical loads, including lights, HVAC, phone chargers, and aftermarket accessories. Do not leave doors opening and closing during a flash if it can be avoided, since wake-up events can activate additional modules and affect voltage.
Next, connect the approved diagnostic tool and identify the vehicle by VIN. Let the software read the current module inventory before changing anything. This is your chance to confirm that the truck sees the replacement module and that no major network issue is present.
If you are replacing a module, follow the tool’s prescribed replacement procedure rather than selecting a similar-looking function from a menu. A proper procedure may copy configuration data, request the correct calibration, write the VIN where applicable, and complete required relearns in sequence.
For an OEM feature upgrade, select only the options that physically exist on the truck. Enabling a feature without the required hardware can create warning messages, inoperative controls, or module faults. For example, adding camera-related settings to a radio without the correct camera system and wiring will not create a working camera.
Once programming begins, leave it alone. Do not cycle the ignition, unplug the tool, start the truck, connect another diagnostic device, or let the battery voltage fall. Wait for the tool to confirm completion, even if the display goes blank, modules reboot, or warning lights appear temporarily.
After the procedure, cycle the ignition exactly as directed. Then perform a full scan, clear only the codes related to the programming event, and scan again. Confirm that the codes do not return before calling the job complete.
Module-Specific Considerations for Ram Trucks
Uconnect Radios and Screen Upgrades
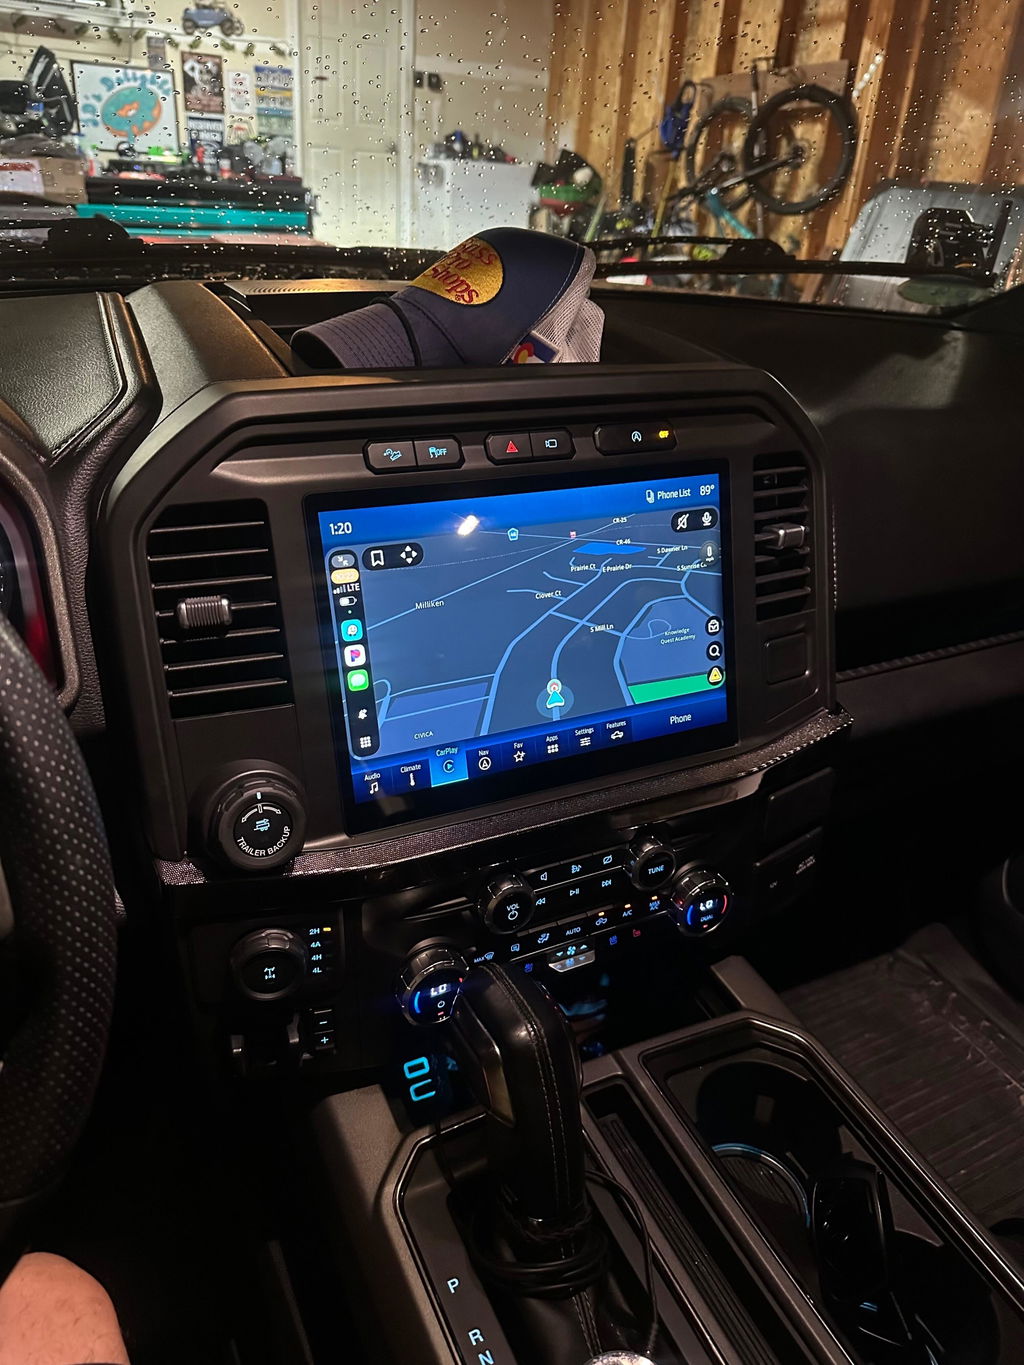
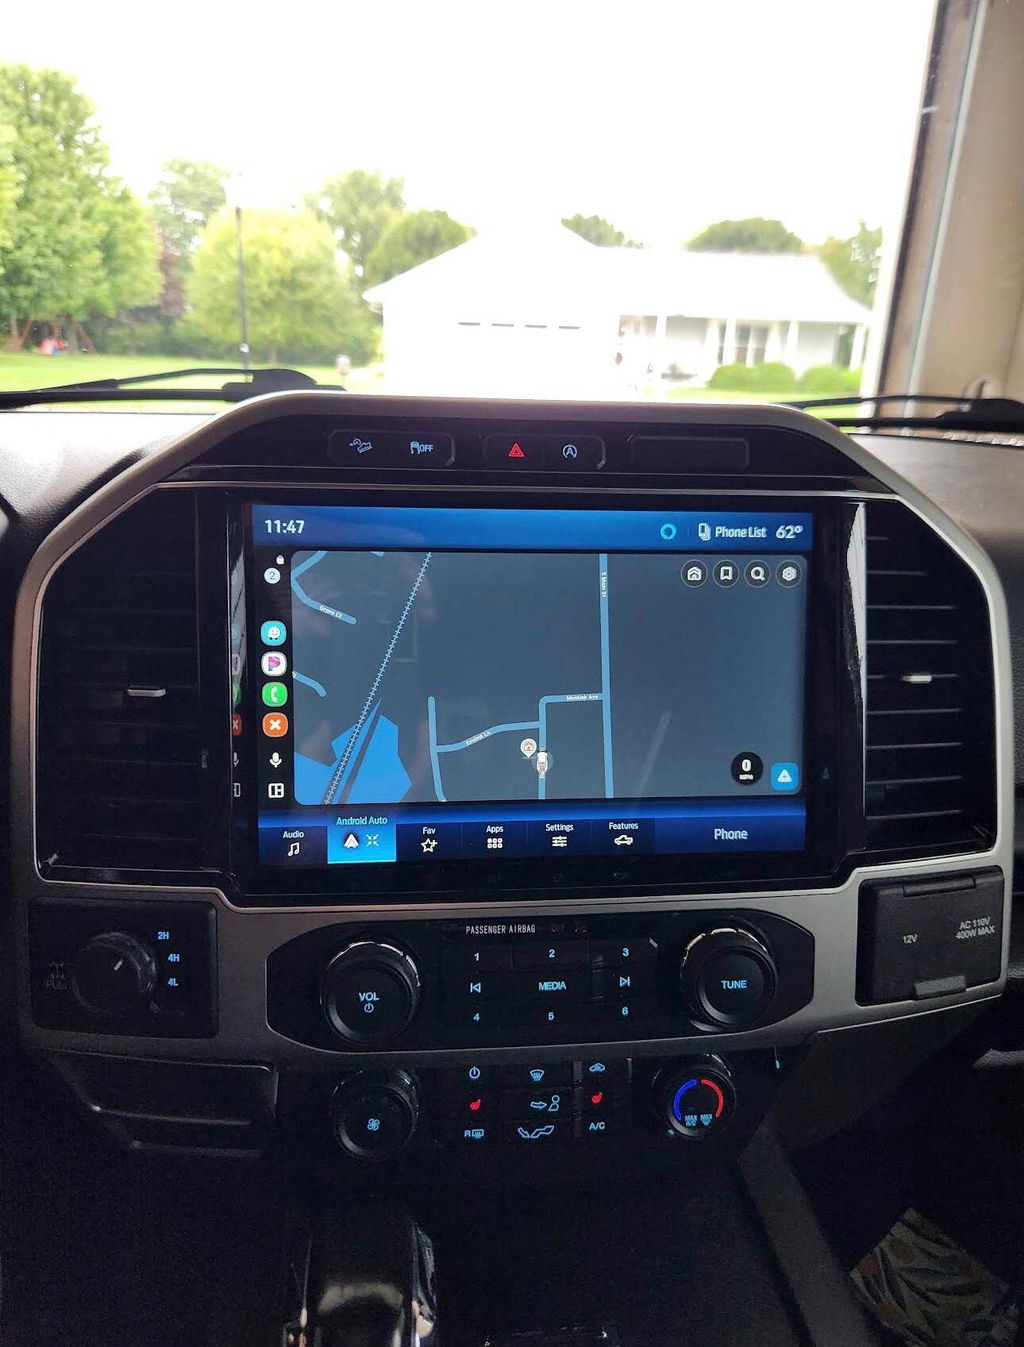
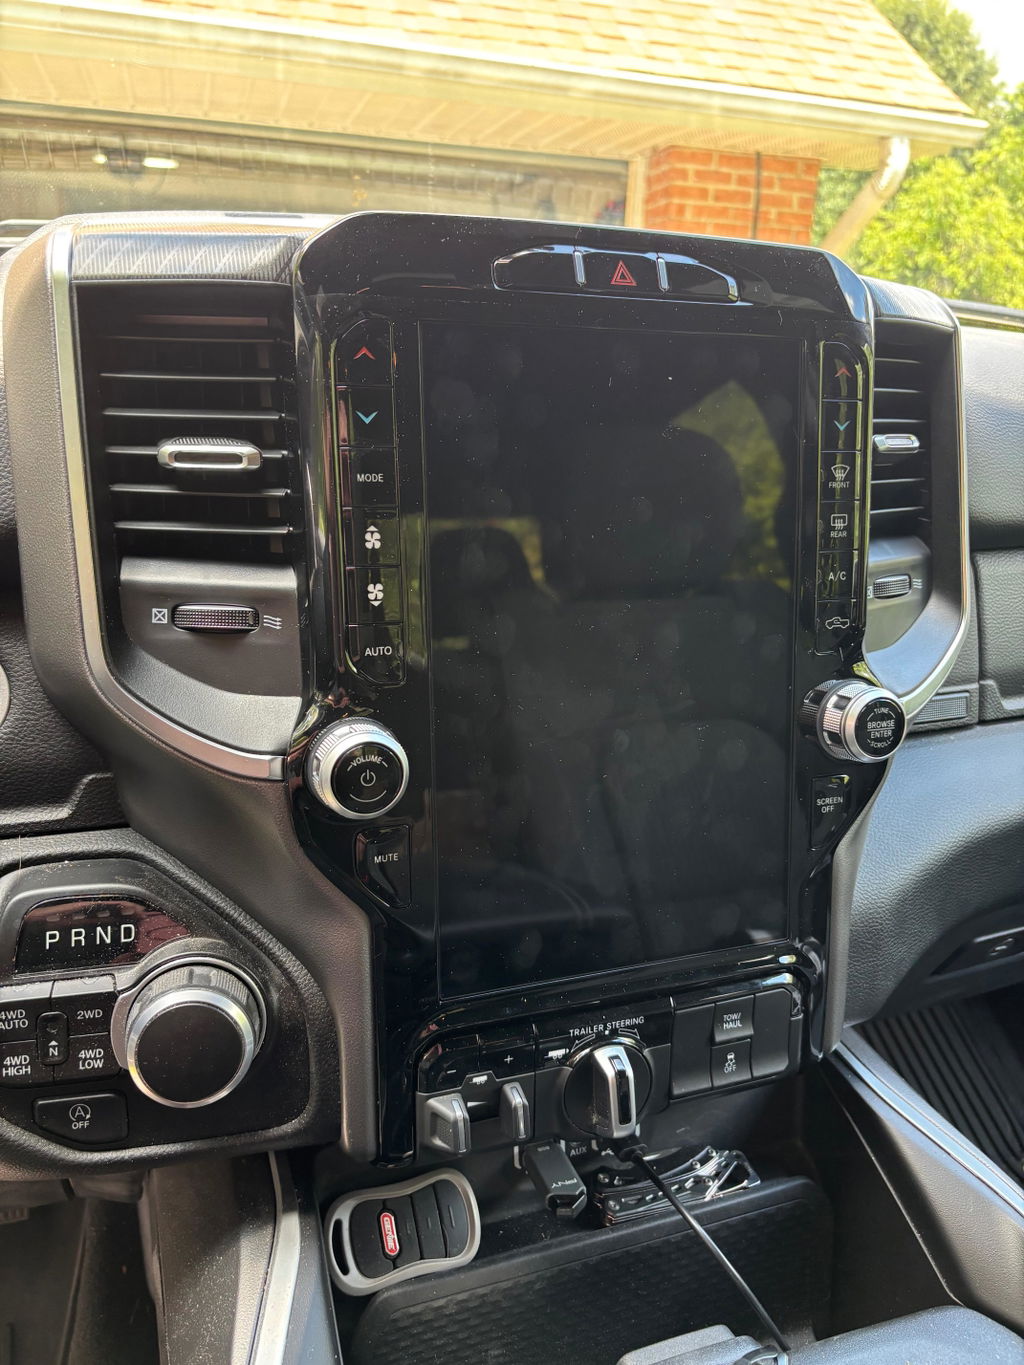
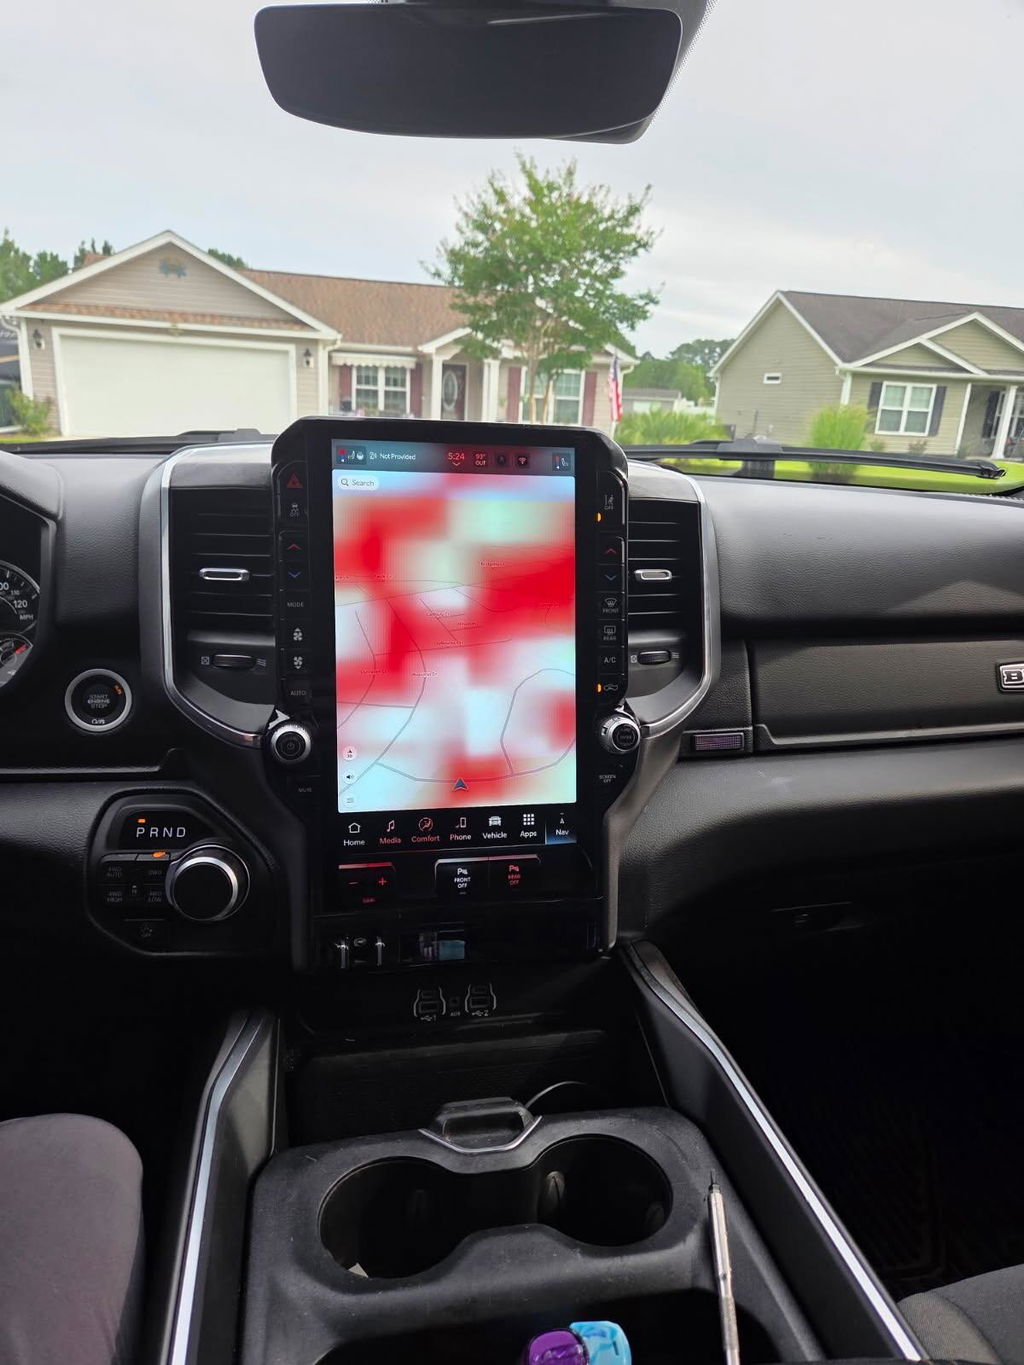
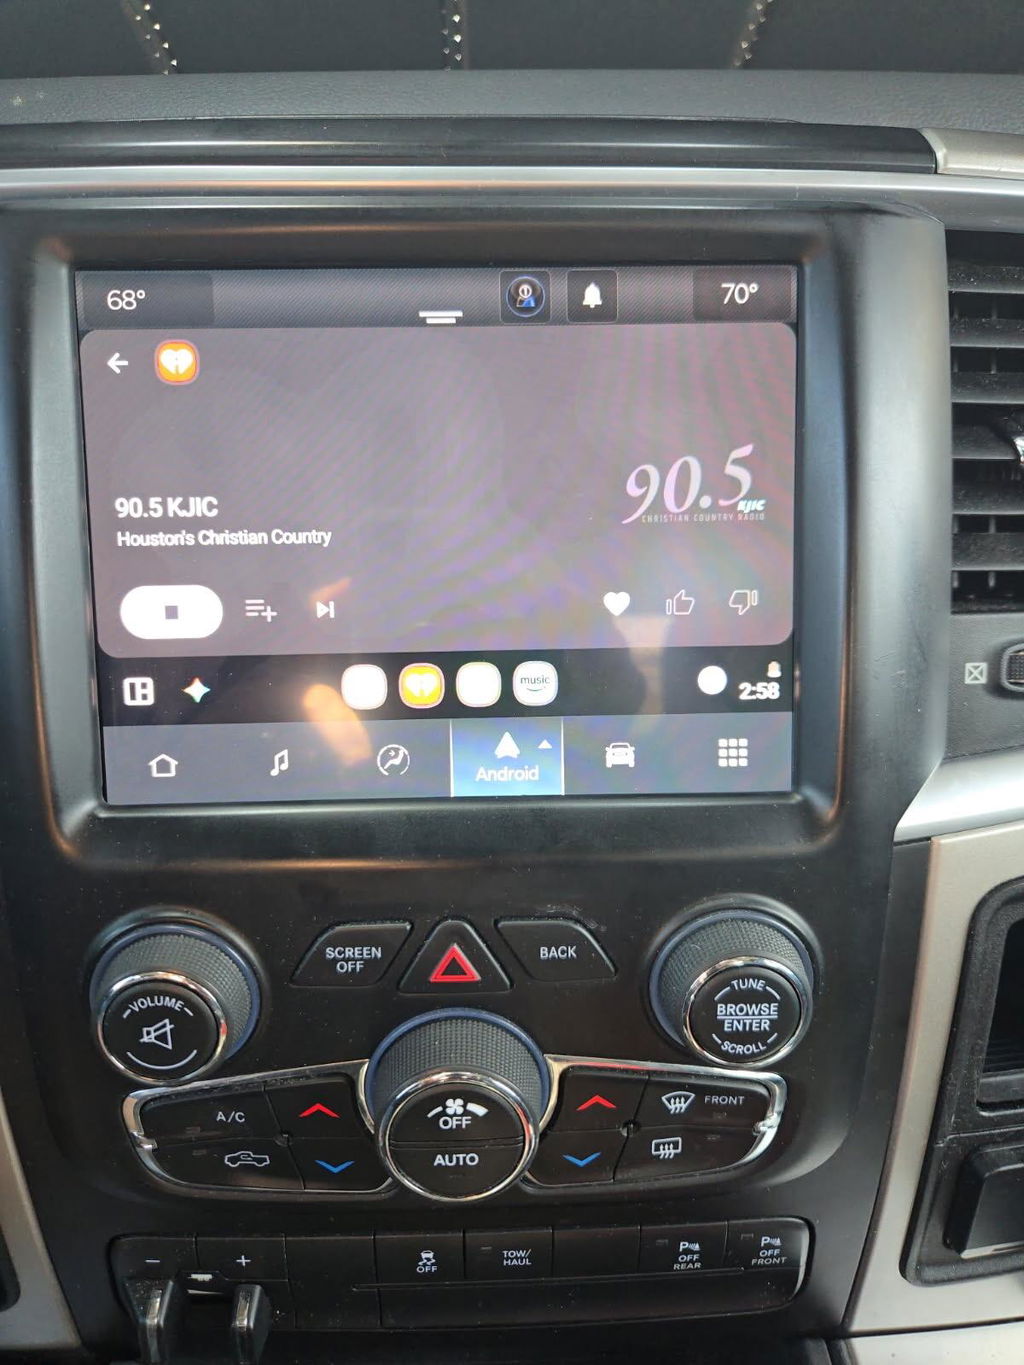
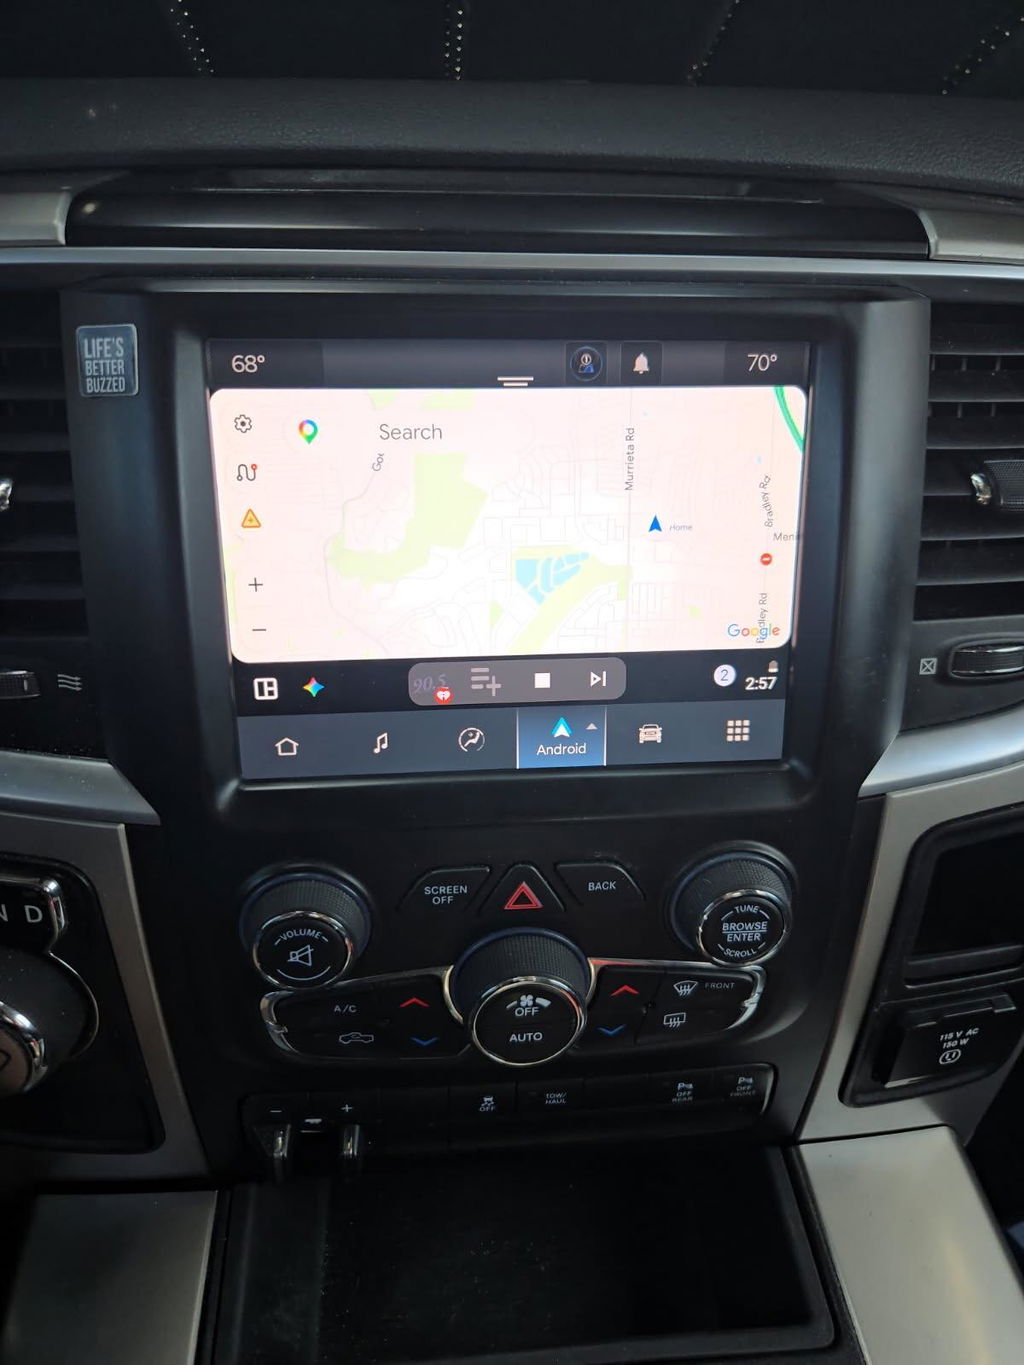
An OEM Uconnect upgrade is more than mounting a larger screen. The radio must communicate correctly with the vehicle, amplifier, HVAC system, backup camera, USB hub, microphones, and steering-wheel controls. Depending on the truck and the system being installed, programming may be needed to configure screen size, camera support, premium audio, satellite radio, navigation, or other factory features.
A complete plug-and-play kit can simplify installation because it accounts for the correct radio, display, bezel, adapters, and programming requirements. Piecing together unrelated used components may cost less at first, but it often creates compatibility questions that are harder to solve after the dash is apart.
OEM Remote Start Kits
Remote start programming normally involves more than plugging in a switch or adding a fob. The truck must have compatible modules and the proper configuration enabled. The system also has to recognize valid keys and meet factory safety conditions, such as hood status, gear position, and security checks.
If remote start does not work after programming, verify the hood latch circuit, key fob capability, battery condition, stored fault codes, and the exact remote-start option selected in the vehicle configuration. Do not assume the radio screen is the final authority on whether the feature is active.
Instrument Clusters and Security-Related Modules
Clusters, RF hubs, and modules tied to immobilizer functions require extra caution. These parts can contain mileage, VIN, security, or key-related information. Some procedures require OEM-level access, proof of ownership, or a qualified automotive locksmith or dealer.
Avoid unknown software files, VIN-cloning services, and shortcuts that bypass security functions. They can create legal issues, disable critical vehicle functions, or leave the truck with a module that cannot be updated correctly later.
When a Professional Is the Better Call
A vehicle-specific automatic programmer is a practical choice for supported upgrades where the instructions clearly match the truck. It makes sense for owners who want a clean, repeatable setup without learning dealer diagnostic software.
Professional programming is the better route when the truck has a no-start condition, multiple modules offline, airbag or ABS module replacement, key and RF hub work, major network faults, or a failed flash. These jobs can require factory subscriptions, advanced diagnostics, and recovery equipment that is not cost-effective for a one-time installation.
DD Offroad focuses on OEM-based, model-specific upgrade paths because correct fitment is what keeps an upgrade from becoming a troubleshooting project. The right components and a defined programming process protect factory integration while adding the features you actually want.
Treat module programming like precision electrical work, not a quick menu change. Match the part to the truck, keep voltage stable, follow the exact procedure, and verify every factory function before the final test drive. That is how a Ram upgrade stays plug and play where it should be - and dependable long after installation.