Vehicle Programming: What Your Truck Needs
Share
Your truck may already have more capability than its current settings show. Vehicle programming is often the missing step between an OEM upgrade kit and the factory-style operation you expect. Whether you are adding remote start, replacing an older radio with a larger Uconnect screen, or activating features after a cluster conversion, the right programming tool can make the difference between a clean install and a warning-light headache.
For Ram, Dodge, Jeep, Chrysler, and select Ford platforms, programming is not a generic one-size-fits-all job. Model year, trim level, factory options, modules, and the specific upgrade all matter. That is why vehicle-specific programming solutions are usually the better choice for owners who want OEM functionality without experimenting with universal electronics.
What Vehicle Programming Actually Does
Modern trucks are built around a network of electronic control modules. The radio, body control module, instrument cluster, security system, HVAC controls, cameras, and steering-wheel buttons all need to communicate correctly. When a feature is added, replaced, or activated, the vehicle may need to be told that the new equipment is installed.
Vehicle programming can update configuration settings, clear module faults, enable supported factory features, reset service information, or write the correct vehicle data to a compatible component. In practical terms, it helps a new OEM-based part behave like it belongs in the truck.
That does not mean every upgrade requires programming. Some plug-and-play kits are designed to work with the included harnessing and existing modules without additional setup. Others require a programmer because the vehicle needs a configuration change before the feature will operate correctly. The right answer depends on the exact year, make, model, trim, and equipment already in the vehicle.
When Your Truck May Need Programming
The most common need comes after an OEM feature upgrade. A factory remote start kit, for example, may require activation through the vehicle's modules after the hardware is installed. Without that activation, the button sequence may do nothing even though the components are physically in place.
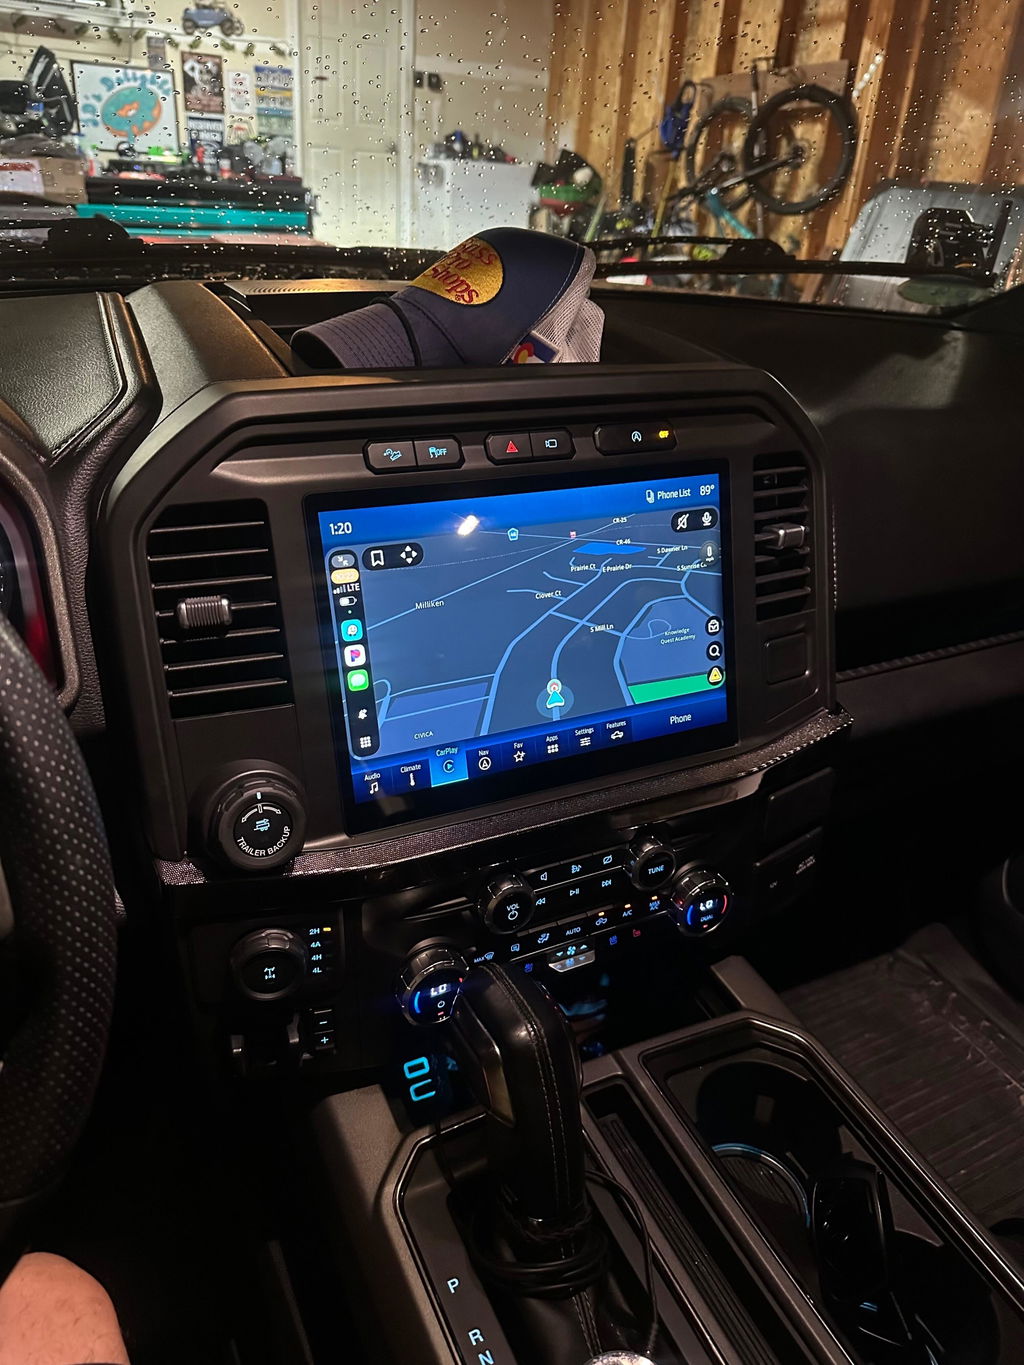
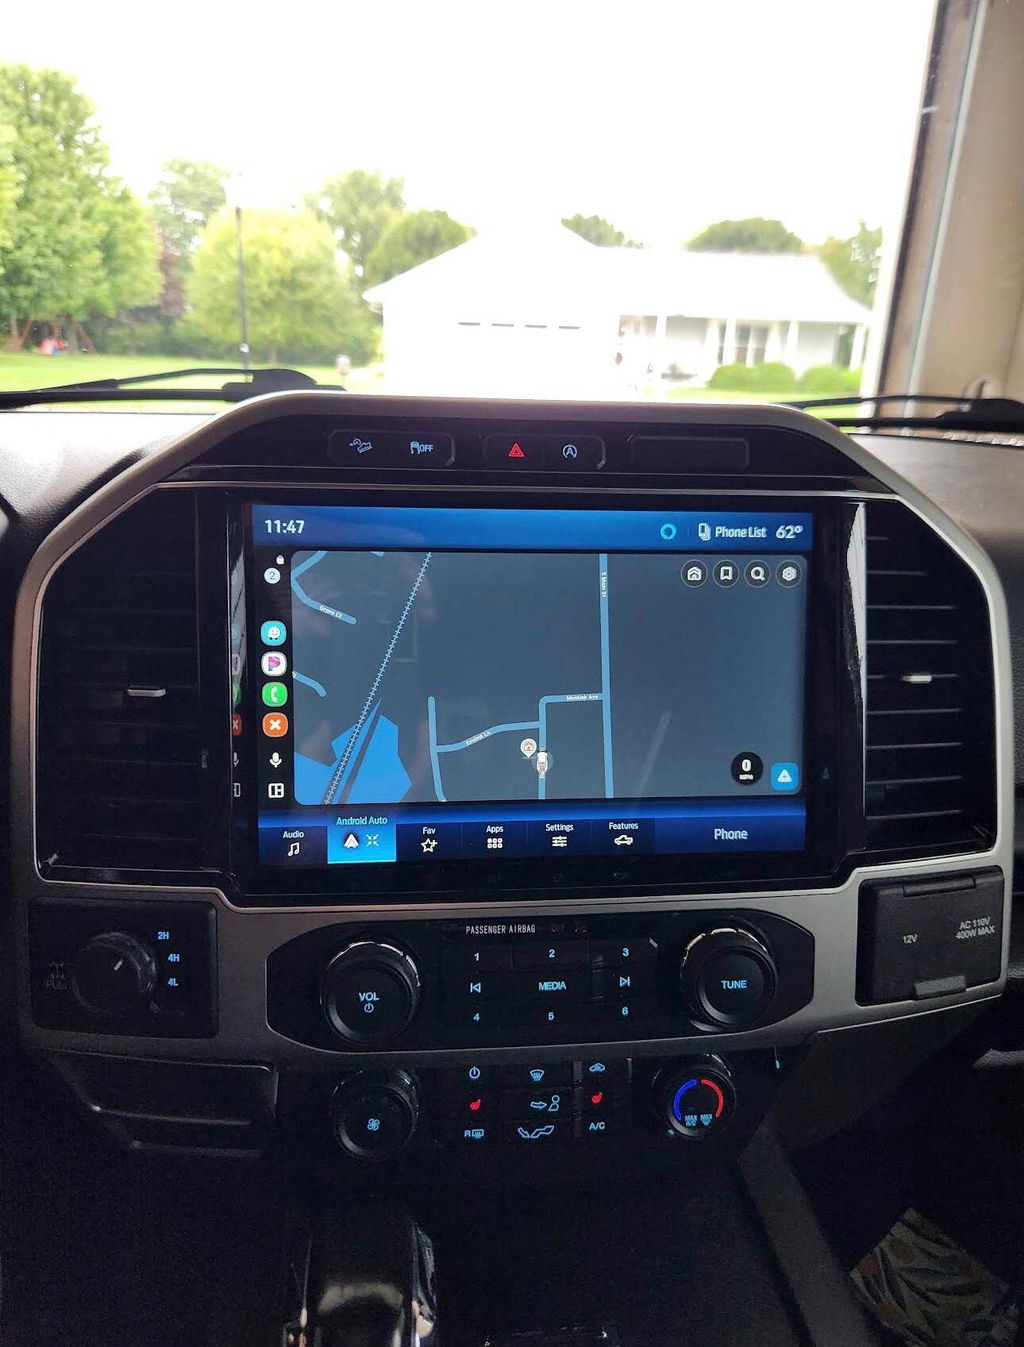
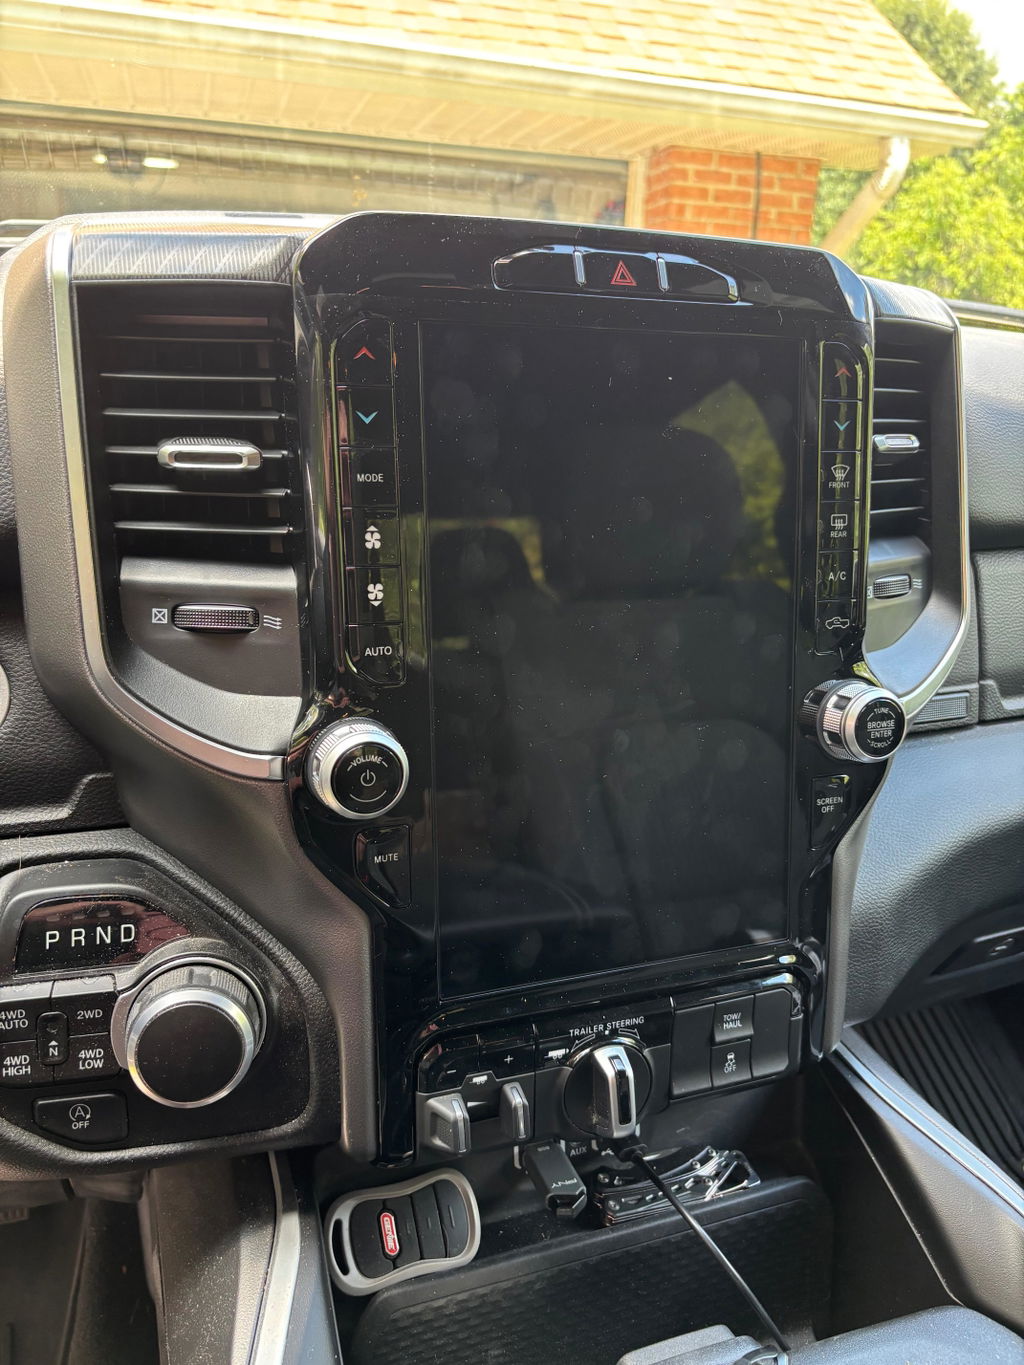
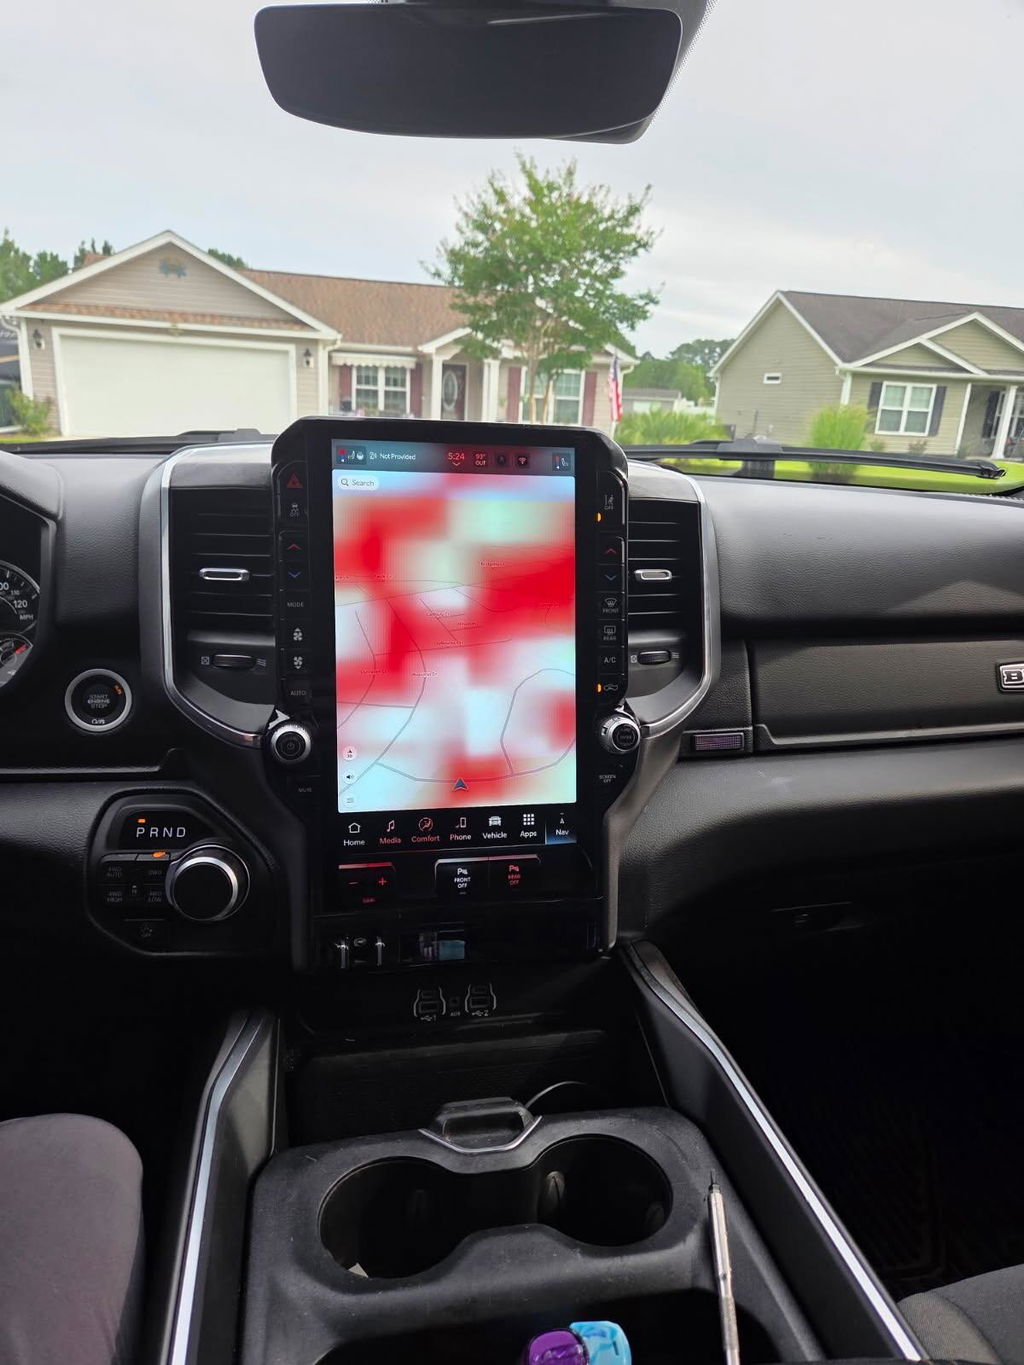
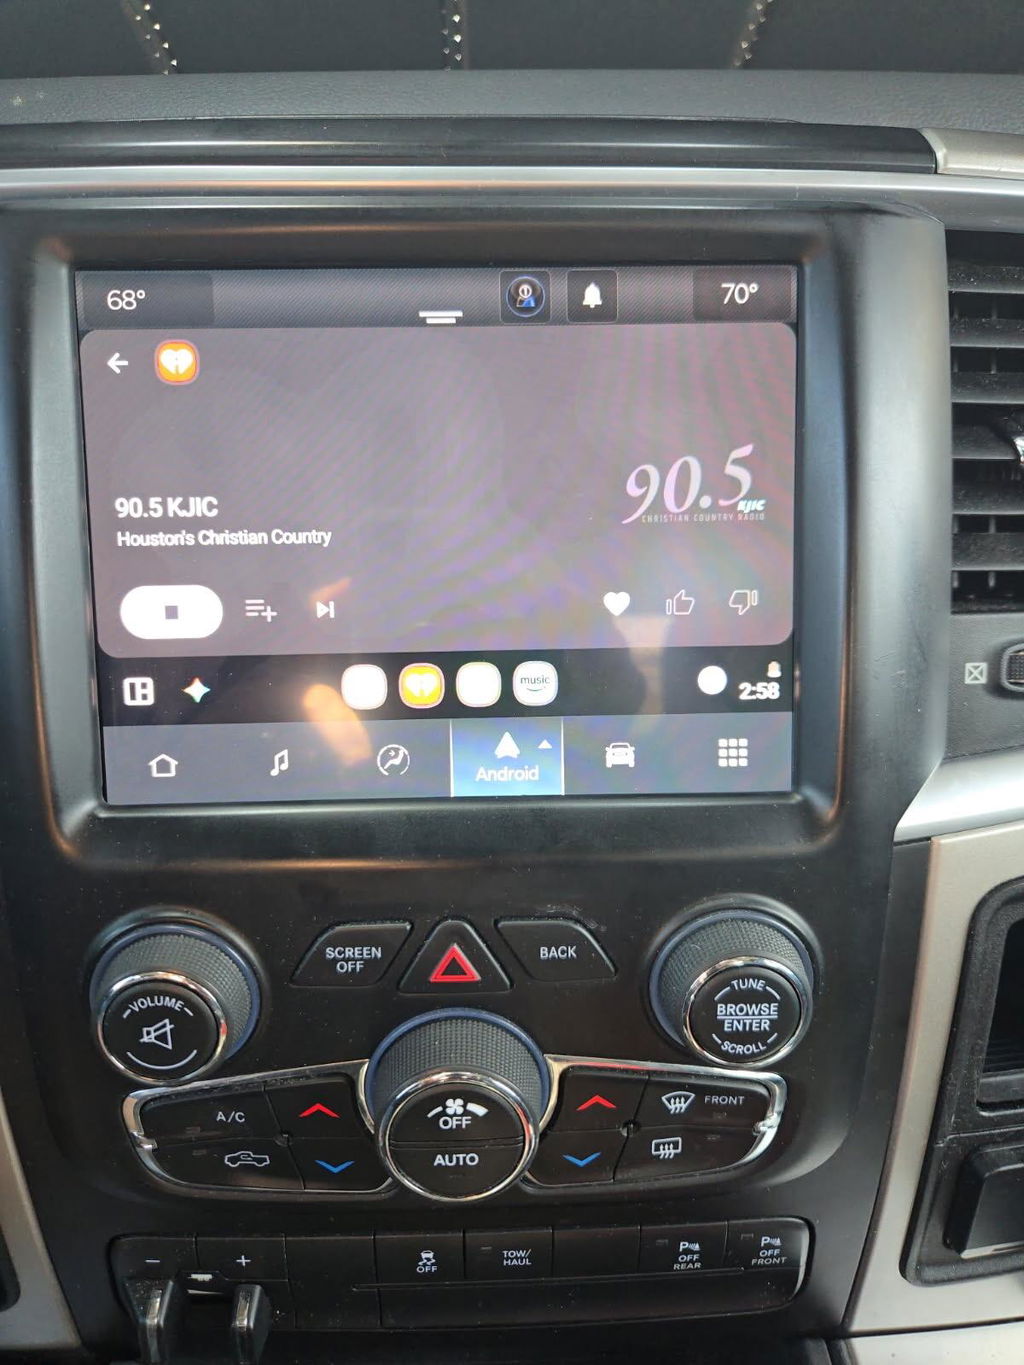
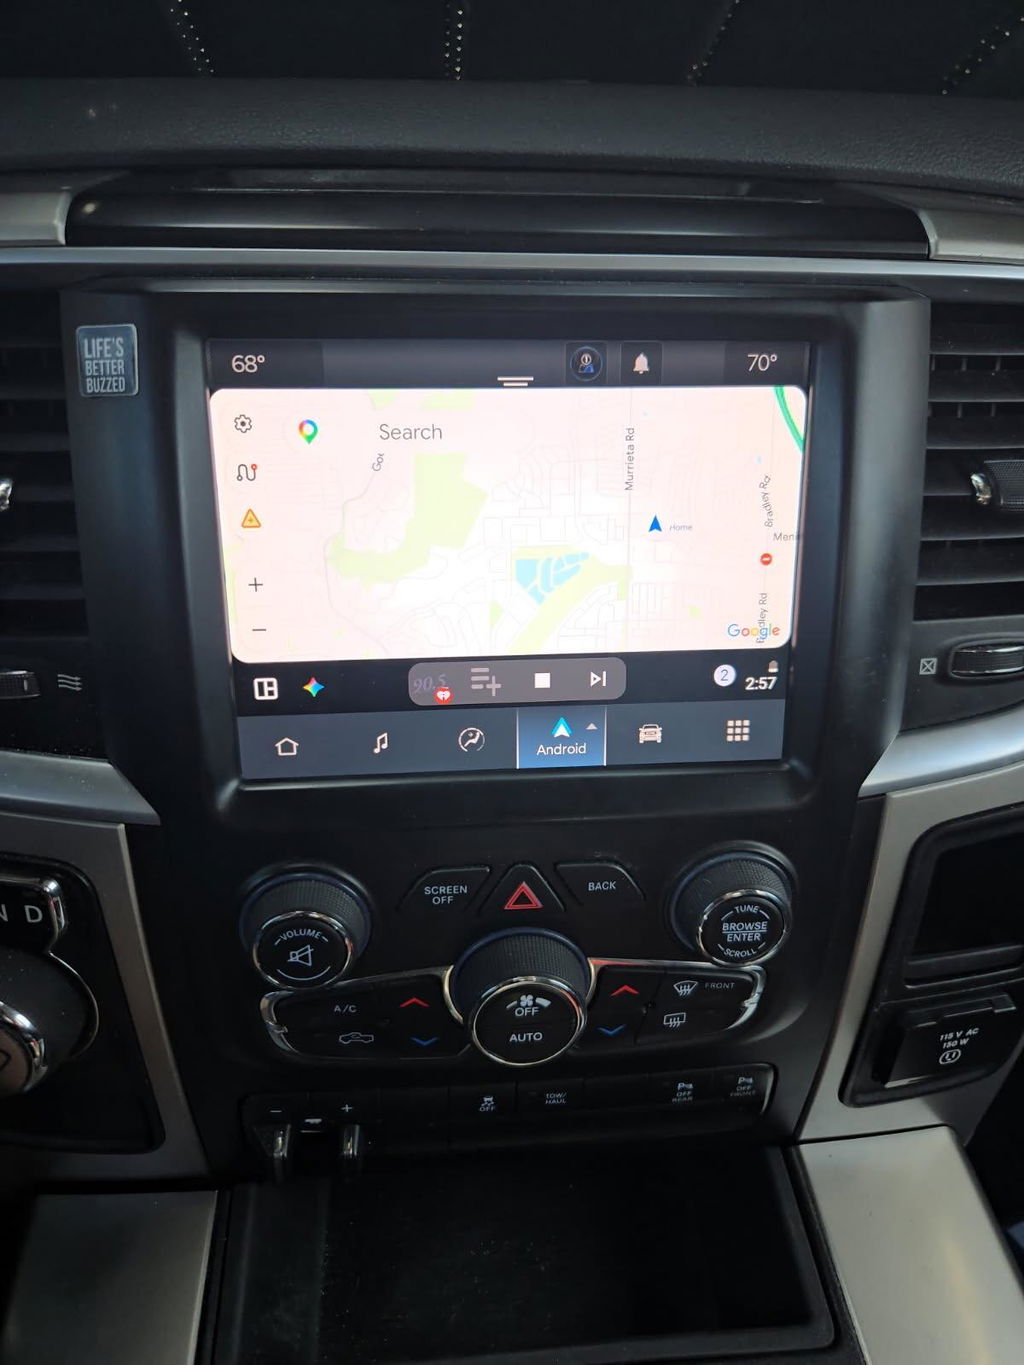
Infotainment upgrades are another common example. Moving from an older small-screen system to a newer Uconnect 5 touchscreen can involve more than swapping the display. Screen size, radio generation, USB hub compatibility, backup camera integration, satellite radio settings, and steering-wheel controls can all affect the final result. A properly matched kit reduces those variables, while programming handles the configuration items the truck cannot automatically recognize.
Digital cluster conversions can also require setup. Mileage information, warning indicators, trim-specific display options, and module communication need to be handled correctly. Installing a cluster that looks right but is not configured for the truck can leave you with incorrect alerts, features that do not display, or fault codes that continue to return.
There are also cases where programming is used to change supported settings on a factory-equipped truck. Depending on the platform and tool, this may include tire size adjustments, TPMS-related settings, daytime running lamp options, lighting preferences, camera functions, or other configurable features. The key word is supported. A programmer can configure factory modules within their available parameters, but it cannot reliably create hardware that is not present.
Programming Is Not a Substitute for the Right Parts
A common mistake is assuming that a scan tool or programmer can activate any feature on any trim. That is rarely how OEM systems work. If a truck does not have the required antennas, sensors, wiring, switches, module support, or compatible radio, programming alone will not turn it into a fully equipped trim level.
For example, activating a camera-related menu does not install a camera. Enabling remote start in a module does not replace the required hood switch, key fob support, or factory-compatible hardware. Trying to force unsupported options can create faults, odd behavior, or a feature that appears in a menu but never functions.
Start with a kit built for your exact vehicle, then use the programming method specified for that kit. This approach keeps the upgrade focused on factory integration instead of trial-and-error modifications.
Choosing the Right Vehicle Programmer
Not every programmer is intended for the same job. Some are designed for feature activation and module configuration. Others focus on performance calibration, diagnostic functions, code reading, or maintenance resets. For an OEM-style electronics upgrade, the best option is generally a tool that supports the required factory settings for your vehicle platform.
Before ordering, confirm the following details:
- Exact model year, make, model, and body style
- Engine and trim level when required
- Current radio, screen size, and factory option package
- The OEM part number or kit application
- Whether the product is for feature activation, diagnostics, calibration, or all three
Ram owners should be especially careful around generation changes and radio platforms. Two trucks that look nearly identical can use different security gateways, radio systems, connectors, and module logic. The same applies to Ford F-150, Super Duty, Maverick, and Expedition applications, where model-year and package differences can affect compatibility.
At DD Offroad, the emphasis is on vehicle-specific OEM-based solutions because fitment is part of the product. A programmer matched to the application is a cleaner path than buying a universal device and hoping its advertised functions apply to your exact truck.
Install First, Program Second
A reliable programming session starts before the tool is connected. Complete the physical installation first, including all required harnesses, antennas, USB hubs, switches, and modules. Check every connector for full engagement and make sure pins are not bent, pushed back, or damaged.
Battery voltage matters as well. Programming should be performed with a healthy battery and, when the procedure calls for it, a stable battery maintainer. Low voltage can interrupt module communication and lead to incomplete writes or stored errors. Avoid programming while the vehicle is connected to questionable aftermarket accessories, and do not cycle the ignition, open doors, or disconnect the tool unless the instructions tell you to do so.
Once programming is complete, allow the vehicle to go through any required ignition cycles or sleep cycles. Some modules do not update immediately. A radio may reboot several times, a cluster may take a moment to populate information, or a newly enabled feature may require a key cycle before it responds.
Clear Codes Only After the Cause Is Corrected
It is normal to see temporary communication codes after disconnecting a radio, cluster, or module during installation. Clearing those codes is appropriate after all parts are reconnected and configured.
However, repeatedly clearing a code that returns is not a repair. A recurring fault can point to an incorrect part number, incompatible configuration, missing component, loose connector, or an issue with the underlying vehicle. Treat the code as useful information, not an inconvenience to erase.
OEM-Style Programming Versus Universal Aftermarket Electronics
Universal aftermarket electronics can be attractive because they promise broad compatibility and a long feature list. The trade-off is usually integration. You may need to splice wiring, mount external modules, add separate microphones, work around factory cameras, or accept that certain steering-wheel and screen functions will not behave like stock.
OEM-based upgrade kits and compatible programming products cost more in some cases, but they are built around the way the vehicle was engineered. The goal is factory-style operation: the screen fits correctly, controls work as intended, factory menus remain available, and the system communicates with the rest of the truck.
That approach is particularly valuable for owners who use their trucks every day. A remote start system needs to work on a cold morning without random glitches. A new touchscreen needs to retain camera and HVAC functions. A digital cluster needs to display accurate information every time you drive. Saving money upfront is not a win if the result creates electrical problems or requires a second installation later.
Know the Limits Before You Change Settings
Programming should improve usability, not compromise safety, emissions compliance, or legal operation. Avoid disabling safety systems or changing settings you do not understand. Certain modifications can affect warranty coverage, inspection requirements, dealer diagnostics, insurance considerations, or the way safety equipment operates.
Performance-related programming deserves extra caution. Engine and transmission calibration changes are different from activating a factory convenience feature. They can affect emissions equipment, drivability, towing behavior, fuel requirements, and manufacturer warranty coverage. If your goal is an OEM remote start, infotainment conversion, or feature activation, use a product intended for that job rather than a generic performance tuner.
The cleanest upgrades start with accurate vehicle information and end with a feature that works like it was installed at the factory. Confirm fitment before ordering, follow the procedure without shortcuts, and choose programming that matches the parts in your truck. That is how you add modern capability while keeping the factory systems you rely on intact.