How to Install Digital Cluster the Right Way
Share
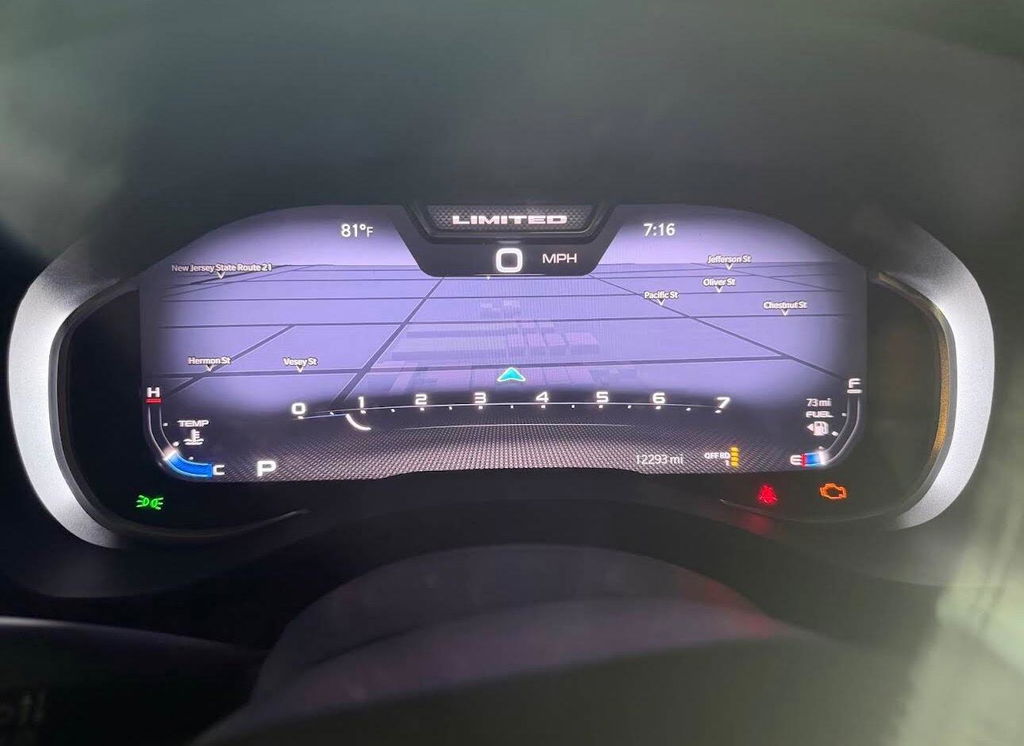
You usually know a digital cluster swap is worth it the first time you sit behind one. Better graphics, better vehicle data, and a factory-style cabin that looks like it should have come that way from day one. But if you are figuring out how to install digital cluster upgrades in a Ram, Ford, or similar truck platform, the real question is not whether it looks better. It is whether the parts, programming, and installation process match your exact vehicle.
That is where most bad installs start. Not with the dash coming apart, but with the wrong expectations. A digital cluster is not just a screen swap. On modern trucks, it is tied into vehicle configuration, trim-level options, steering wheel controls, warning indicators, and network communication. If the kit is truly OEM-based and vehicle-specific, installation is usually straightforward. If it is pieced together from mixed parts, things get complicated fast.
Before you install a digital cluster
The first step is fitment, and this matters more than any tool in your garage. You need to confirm model year, trim level, engine, drivetrain, and in some cases whether the truck already has supporting features that the cluster expects to see. A 12-inch digital cluster for one generation of Ram or Ford may look physically similar to another, but that does not make it compatible.
This is why plug-and-play kits have value. With a vehicle-specific setup, the harnessing, bezel compatibility, and programming path are already accounted for. With a generic or used-parts approach, you may spend less up front and lose that savings trying to sort out missing functions, warning lights, or a no-start condition caused by incorrect module configuration.
You also want to know whether programming is required before the cluster will display correctly. In many OEM applications, the answer is yes. Mileage syncing, VIN assignment, feature activation, and communication with other modules can all come into play. Some trucks will power up the display without full programming, but that does not mean the install is complete.
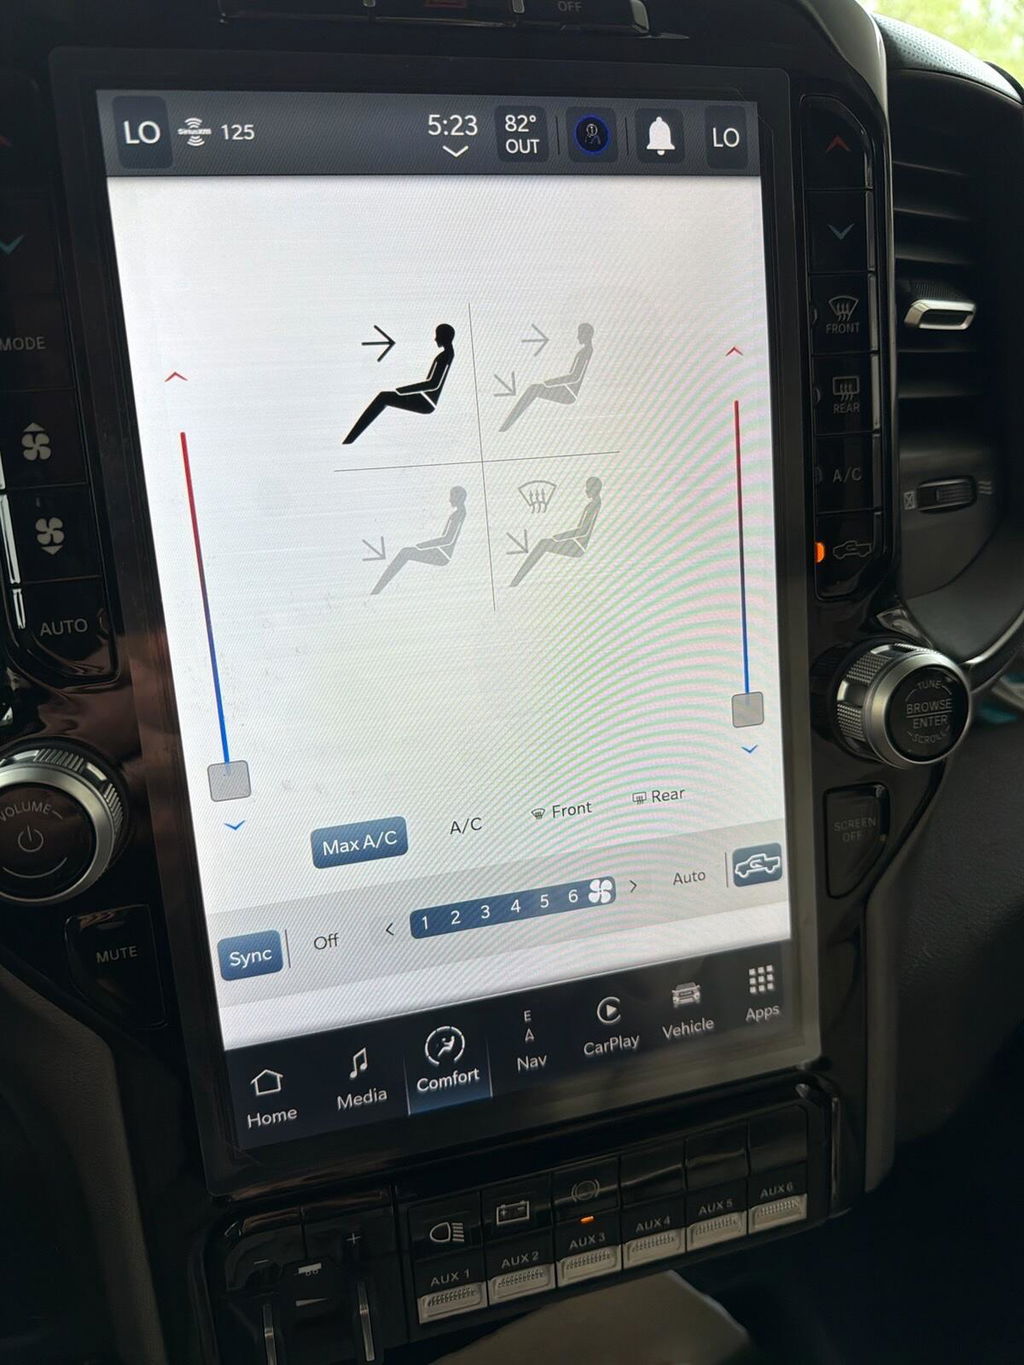
Tools and setup for how to install digital cluster kits
Most installs do not require exotic tools. A trim removal set, ratchet, sockets, microfiber towel, and a clean work area will handle the physical side of the job. The bigger issue is protecting trim pieces and avoiding rushed disassembly. Dash bezels scratch easily, clips break when pulled from the wrong angle, and forcing parts is how a one-hour install turns into a weekend problem.
Before touching the cluster, disconnect the negative battery terminal. That is standard practice anytime you are working around instrument panel electronics. It helps reduce the chance of shorting a connector, triggering faults, or setting unnecessary codes while modules are waking up and going offline.
Take a minute to position the steering wheel down and out, and move the seat back for working room. That sounds basic, but extra access matters when you are trying to remove a cluster without dragging it across the column shroud or dashboard face.
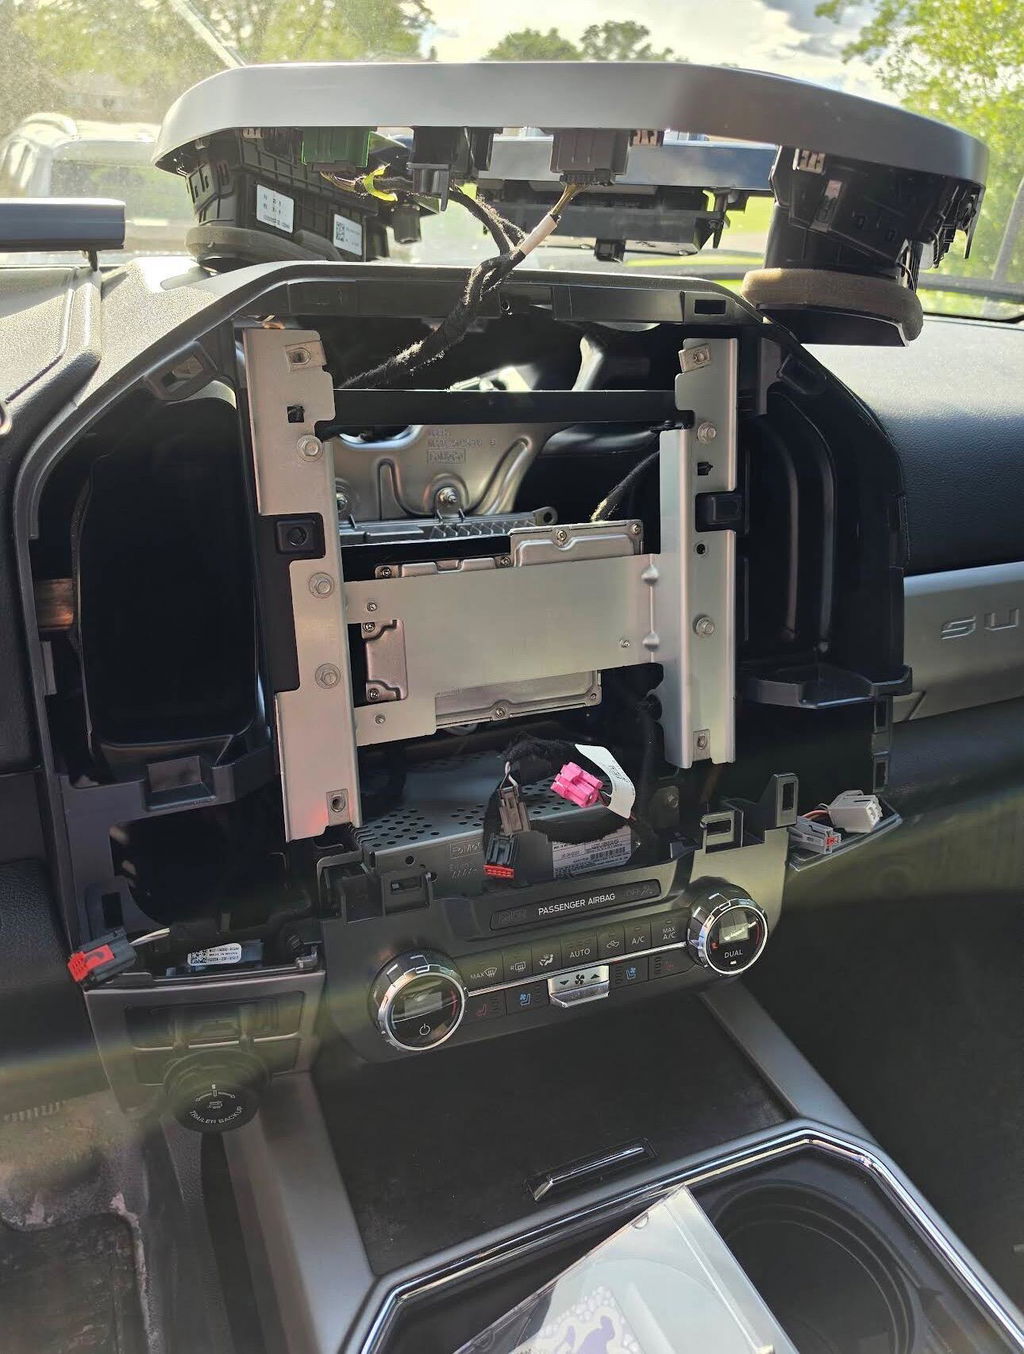
Removing the factory cluster
On most late-model trucks, the process starts with the dash bezel surrounding the cluster. This piece is usually held in place by clips, though some applications include screws hidden behind trim covers or lower panel sections. Use a plastic trim tool and work evenly around the edges. If one side feels locked in, stop and check for a fastener instead of pulling harder.
Once the bezel is off, the factory cluster is normally retained by a few screws. Remove them, then pull the unit forward carefully. The electrical connector on the back will often have a locking tab or lever. Release it fully before disconnecting. Do not yank the harness because these connectors are secure for a reason, and damaging one can create communication issues that look like a bad cluster.
With the original unit out, compare it to the replacement before installing anything. Check mounting points, connector locations, and bezel alignment. If something is obviously off, now is the time to stop. Forcing an incorrect part into place is one of the fastest ways to damage a good dash and still end up with a non-working upgrade.
Installing the digital cluster
If your kit is designed correctly, the new cluster should seat cleanly in the factory location. Connect the harness firmly and make sure the lock is fully engaged. A loose connector can cause intermittent display loss, warning lights, or dead controls that are hard to diagnose later.
Before reinstalling the bezel, reconnect the battery and do a basic power-on check. You want to confirm that the cluster wakes up, the display is visible, and the truck responds normally to ignition cycling. This is also the point where programming-related issues usually become obvious. In some cases the screen may illuminate but show missing menus, incorrect vehicle graphics, or fault messages. That does not always mean the hardware is bad. It often means the truck and cluster still need to be matched properly.
If the display powers up as expected, turn the ignition back off and finish reassembly. Reinstall the mounting screws to factory-tight, not overtight. Then snap the bezel back into place evenly so the panel gaps stay clean and factory-looking.
Programming is where most installs are won or lost
If you want a real answer to how to install digital cluster upgrades, this is it: the hardware swap is only half the job. The programming side is what determines whether the truck treats that cluster like a factory component or a foreign part.
Depending on the platform, programming may include VIN writing, mileage configuration, enabling cluster options, and syncing the module with the body control system. Some vehicles also need updates so features like drive mode displays, trailer information, navigation prompts, or warning chimes work correctly.
This is where OEM-based kits separate themselves from random marketplace parts. A complete kit built around exact fitment usually comes with a known programming path, whether that is pre-programming before shipment, a programmer tool, or clear vehicle-specific setup instructions. Without that, you are guessing. And on late-model trucks, guessing with module programming gets expensive.
There is also a legal and practical point with odometer handling. Mileage must be addressed correctly and in compliance with applicable rules. If you are installing a used cluster, mileage discrepancies can create obvious issues down the road when servicing or selling the vehicle. That is another reason buyers often stick with a properly supported solution instead of trying to piece one together from salvage components.
Common problems after installation
A cluster swap can go physically smooth and still need troubleshooting. The most common issue is a powered screen with limited function. That usually points to configuration, not installation. The connector is attached, the screen is on, but the truck is not fully communicating with the new module.
Another common problem is warning lights that were not present before. Sometimes these are temporary and clear after programming or a full ignition cycle. Other times they indicate that the cluster expects options your truck does not have, or another module has not been coded correctly.
Screen flicker, blank display sections, or controls that do not respond can come from a poor harness connection, wrong part number, or incompatible software version. If the truck starts and drives but the cluster behavior is off, resist the urge to keep cycling power and hoping it fixes itself. Verify fitment, confirm the connector lock, and review the programming requirements tied to that exact application.
Should you install it yourself or have a shop do it?
That depends on the truck and the kit. If the setup is truly plug and play and you are comfortable removing trim without breaking it, a DIY install is realistic. Many truck owners can handle the physical swap in a home garage with basic tools.
If programming is involved, the answer shifts. Some kits make the software side simple enough for a capable DIY buyer. Others are better handled by a professional installer or a retailer that supports the programming process directly. There is no trophy for creating a network issue in a late-model truck just to say you did it yourself.
The smart move is to be honest about where your comfort level ends. Mechanical disassembly is one skill. Module configuration is another.
What a clean digital cluster install should look like
When the job is done right, the cluster fits like stock, boots up without drama, displays the correct information, and works with the truck as if it were factory-equipped from day one. No hacked wiring, no loose trim, no warning lights that you decide to ignore. That is the standard.
For truck owners shopping this upgrade, the best install is usually the one that starts with the right kit, not the cheapest one. Genuine OEM components, vehicle-specific compatibility, and a defined programming path save time and reduce risk. That is why companies like DD Offroad focus on exact-fit, plug-and-play upgrade solutions instead of generic electronics that leave the hard part to the customer.
If you are planning the upgrade, slow down at the fitment stage and treat programming as part of the install, not an afterthought. That is what keeps a digital cluster swap looking factory and working like it belongs there.